Before you can use the Nop Minimal Theme you need to install it.
For more information about the installation of a nopCommerce Theme refer to our How To Install A Theme article.
Plugins
The theme comes with 13 of our plugins:
- Nop Ajax Cart
- Nop Ajax Filters
- Nop Anywhere Sliders
- Nop Cloud Zoom
- Nop Instant Search
- Nop JCarousel
- Nop Mega Menu
- Nop Product Ribbons
- Nop Quick Tabs
- Nop Quick View
- Nop Rich Blog
- Nop Previous/Next Product
- Nop Social Feed
MINIMAL Theme - General settings
The Nop Minimal Theme has different configuration options which you can manage from the administration. This is the Theme settings section. It can be accessed by Administration -> Plugins -> 7Spikes Themes -> Nop Minimal Theme -> Settings. When you open the theme settings you will see three tabs present with different settings: General, Additional and Newsletter Settings. Here is a list of General Settings of the theme.
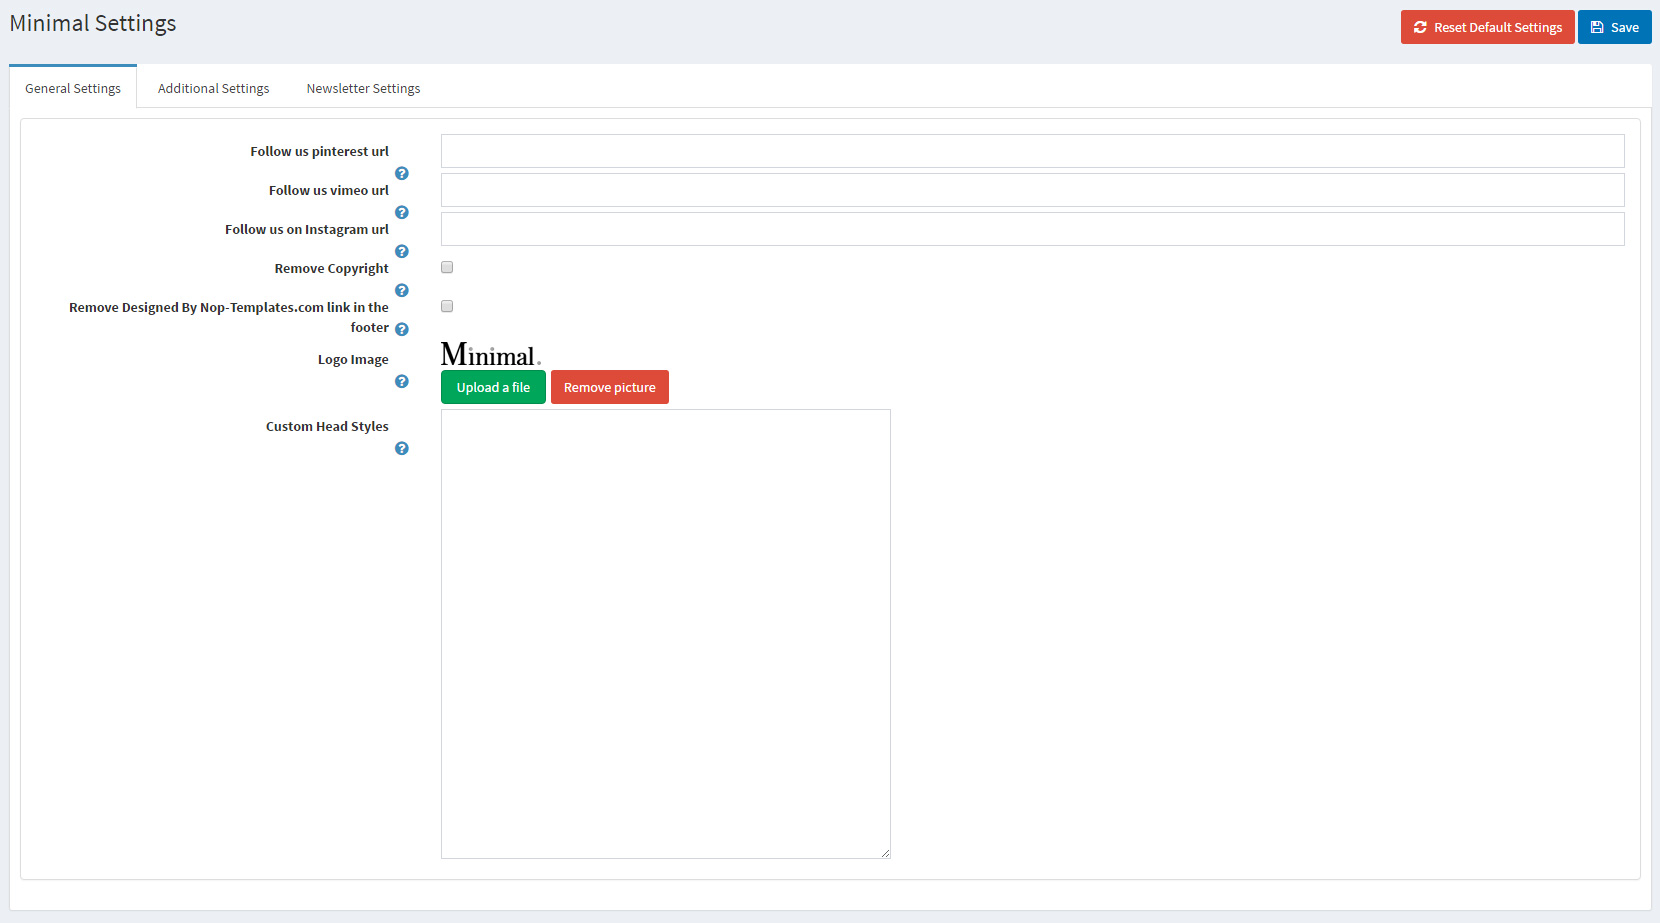
- Follow us Pinterest url - Insert your follow us URL address on Pinterest. If left empty the icon in the footer will not be displayed.
- Follow us Vimeo url - Insert your follow us URL address on Vimeo. If left empty the icon in the footer will not be displayed.
- Follow us Instagram url - Insert your follow us URL address on Instagram. If left empty the icon in the footer will not be displayed.
- Remove Copyright - Remove Copyright notice after a copyright removal key had been purchased by www.nopCommerce.com
- Remove Designed By Nop-Templates.com link in the footer - By applying this link in your footer you will receive 10% discount on any future purchase.
- - upload a logo to your site.
- Custom Head Styles - Insert your custom css styles that will be added in the head after all other css files. This way you can further customize the theme. Example: .footer { display: none; }
MINIMAL Theme - ADDITIONAL settings
The Nop Minimal Theme has different configuration options which you can manage from the administration. This is the Theme settings section. It can be accessed by Administration -> Plugins -> 7Spikes Themes -> Nop Minimal Theme -> Settings. When you open the theme settings you will see three tabs present with different settings: General, Additional and Newsletter Settings. Let's have a look at the Additional Settings.
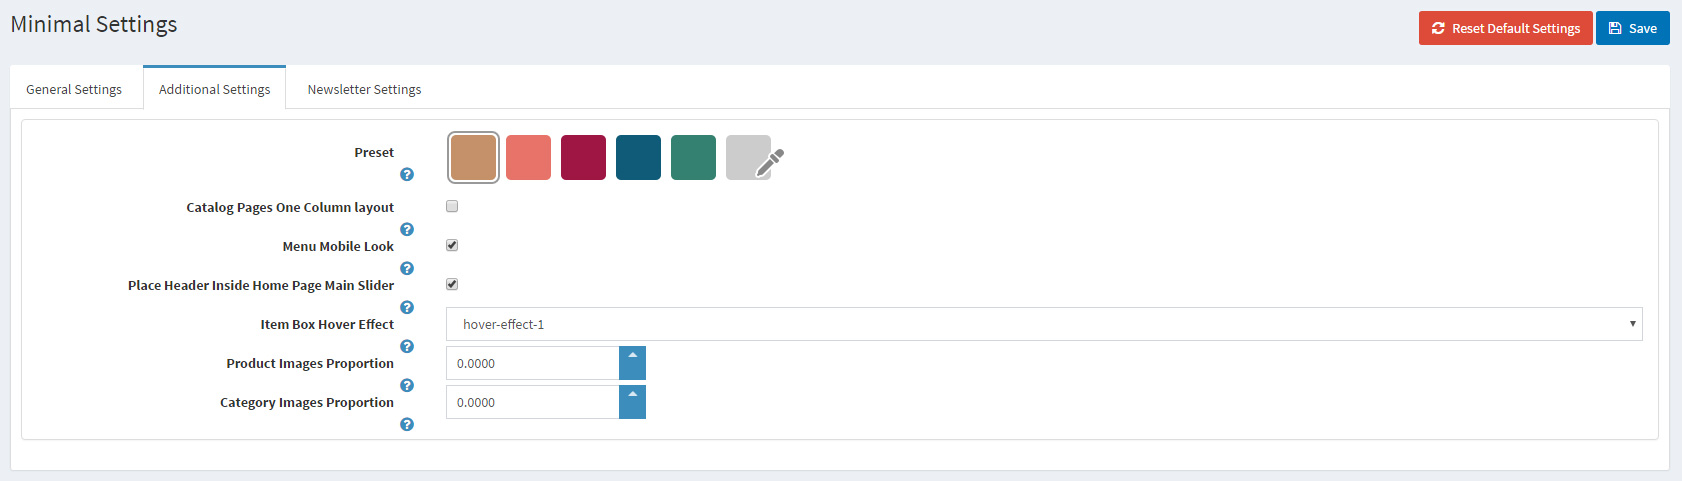
- Preset - Choose a color preset among the 5 predefined color options within the theme. You have also the option of choosing your own color by choosing the last option with custom color picker control.
- Catalog Pages One Column layout - Check if you want all catalog pages to have one column layout. If you leave it unchecked all the catalog pages will have two columns layout with a left side and center side.
- Menu Mobile Look - The theme main menu has two main designs. A mobile like and a standard design layout. Check this setting if you wish the menu to be mobile like.
- Place Header Inside Home Page Main Slider - This setting is valid only if the main menu is mobile like. Check this setting if you wish the menu bar to be placed inside the home page main slider.
- Item Box Hover Effect - There are two predefined hover effects on the item box. Choose one of them, which your most like.
- Product Images Proportion - The product images have a certain proportion, which can be changed if needed. Set the value in percentage of how the height of the product images relates to the width. i.e. 100 means that the image height is 100% related to the image width, which means it is a square image.
- Category Images Proportion - The category images have a certain proportion, which can be changed if needed. Set the value in percentage of how the height of the category images relates to the width. I.e. 100 means that the image height is 100% related to the image width, which means it is a square image.
MINIMAL THEME - NEWSLETTER SETTINGS
The Nop Minimal Theme has different configuration options which you can manage from the administration. This is the Theme settings section. It can be accessed by Administration -> Plugins -> 7Spikes Themes -> Nop Minimal Theme -> Settings. When you open the theme settings you will see three tabs present with different settings: General, Additional and Newsletter Settings. Let's have a look at the Newsletter Settings.
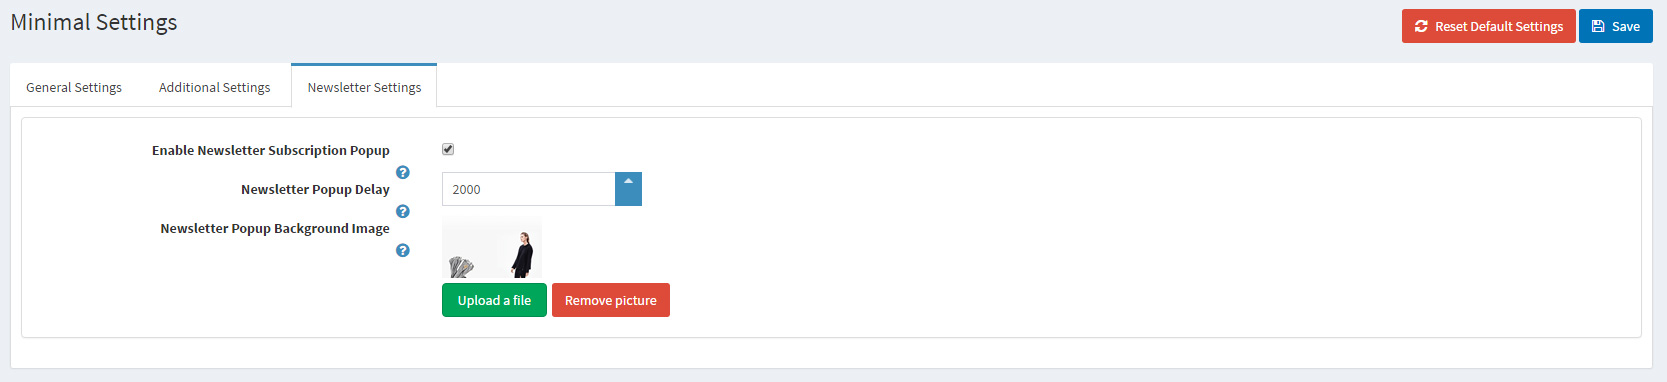
- Enable Newsletter Subscription Popup - The theme has a built-in functionality for showing a newsletter subscription popup that can be enabled by checking this option.
- Newsletter Popup Delay - Set the delay in milliseconds after which the popup will be displayed once the page is loaded.
- Newsletter Popup Background Image - Insert an image for a backgorund of the newsletter subscription popup.
CONFIGURE your homepage
You need to have in mind the following options when setting up your store home page. Please have a look at the different elements you can display on the home page.
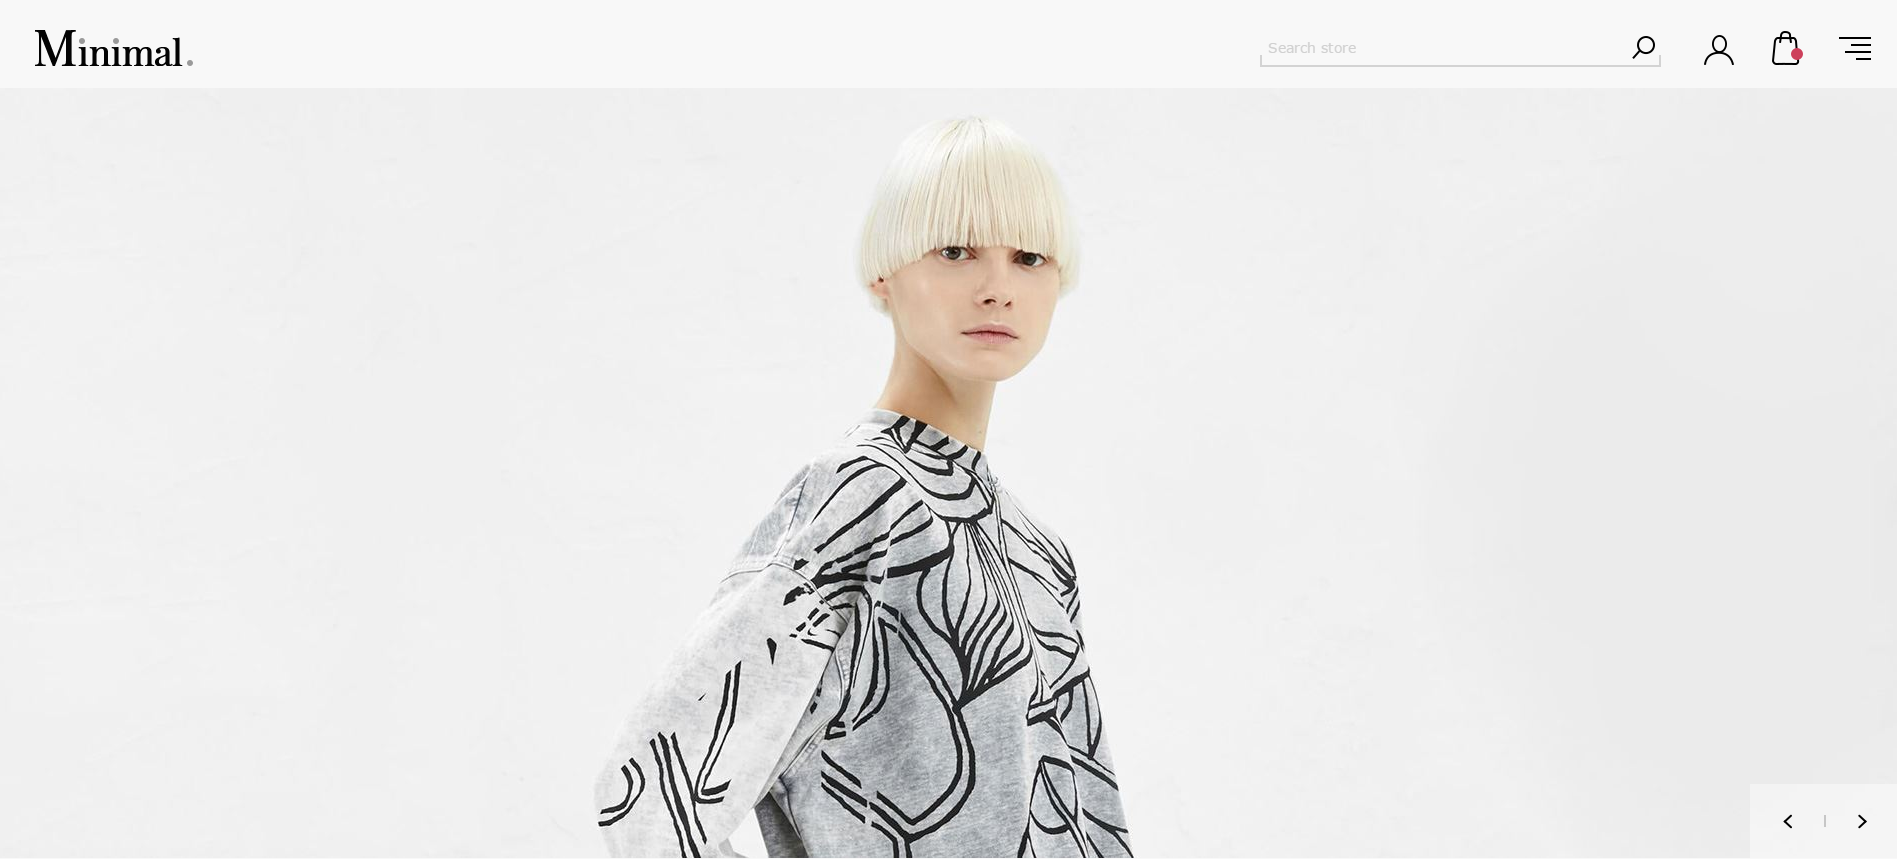
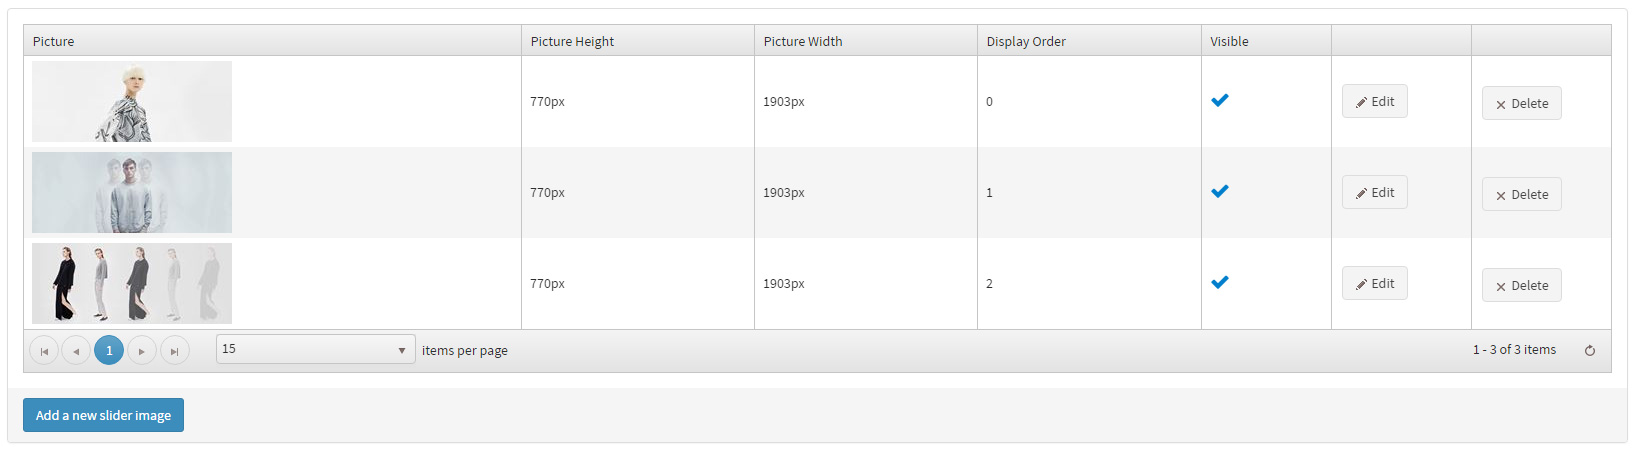
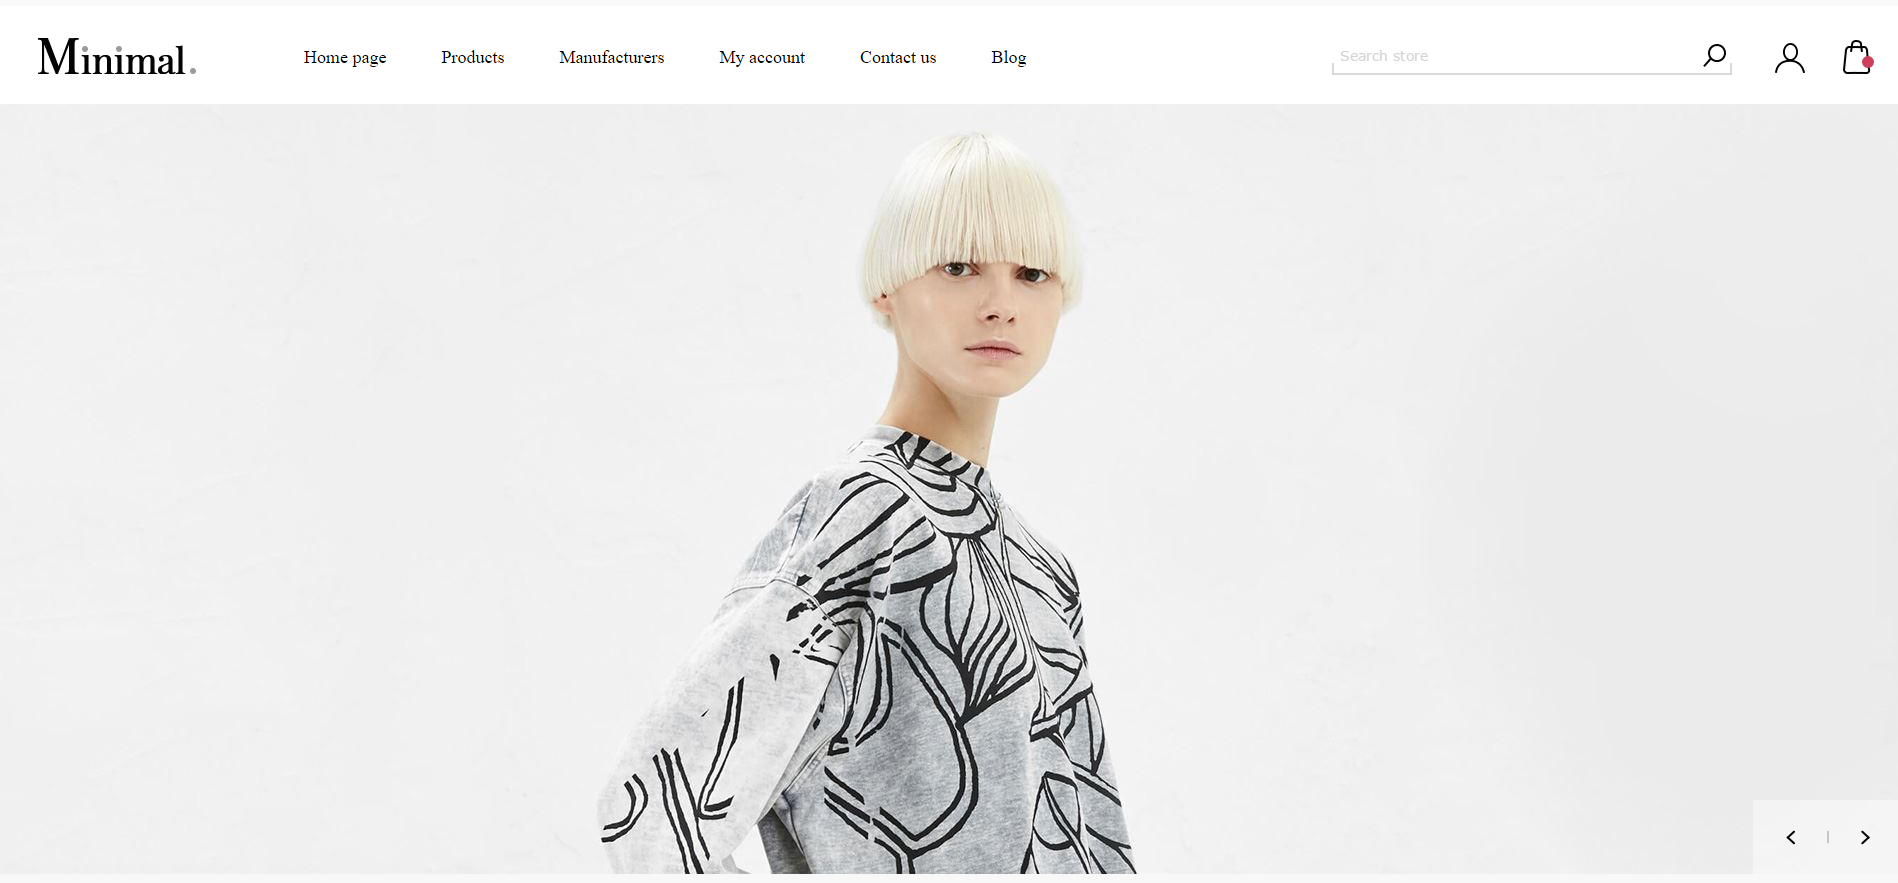
For the home page slider, you should create a slider using the Nop Anywhere Sliders plugin as shown below.
Create a new slider of type nivo.
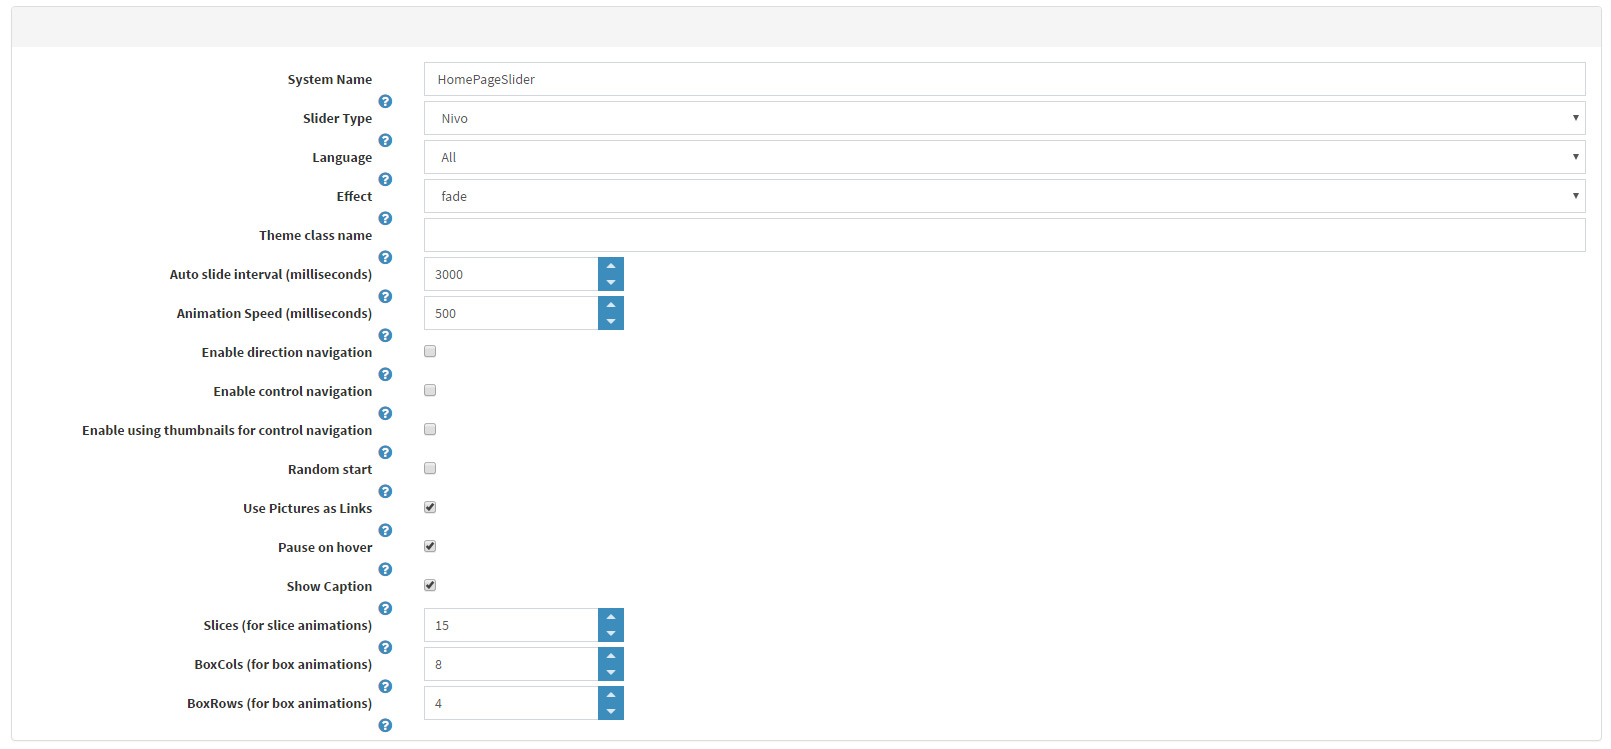
Add the required images to the slider.
Finally, map the slider to the "home_page_main_slider" widget zone in order to display it on the home page.

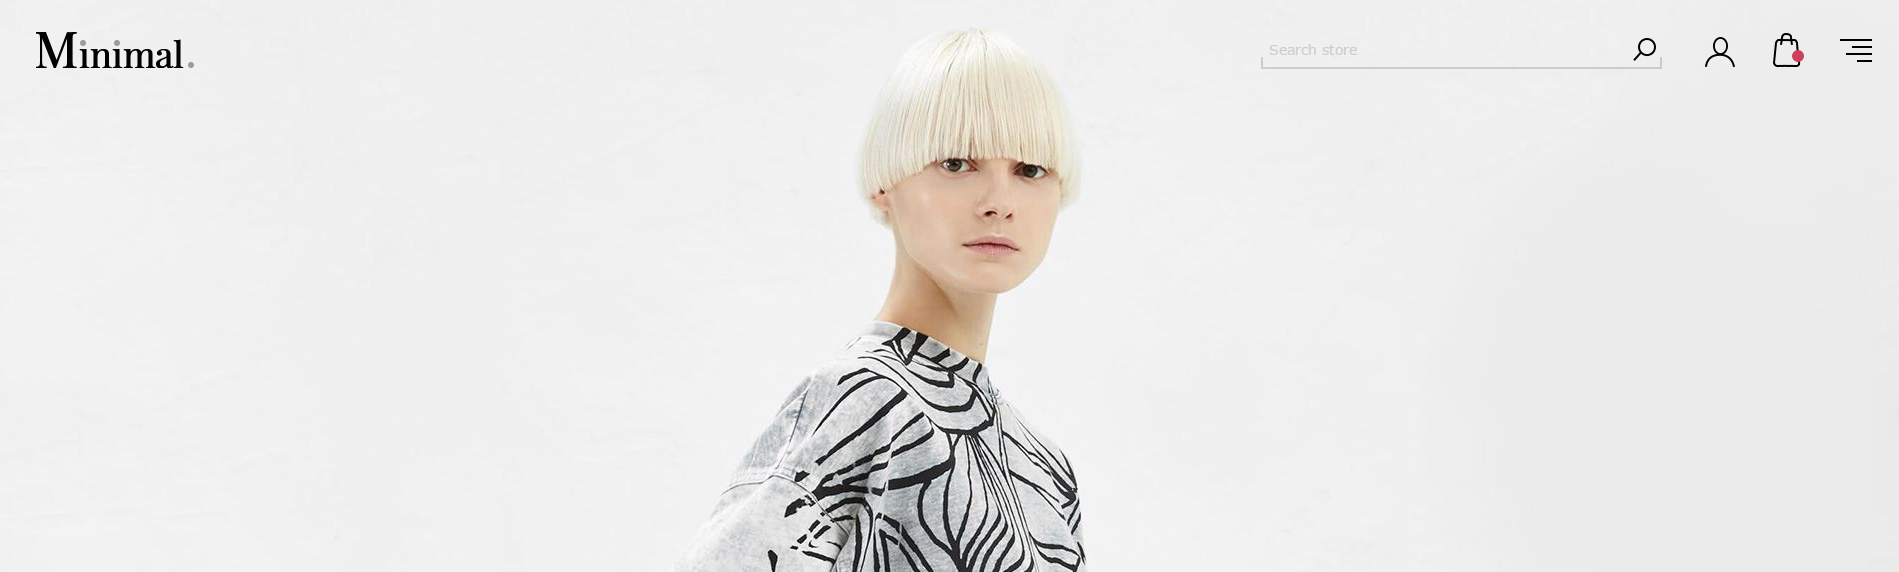
After you have configured slider, you need to decide which menu layout will be used and set it from the administration of the theme. If you like the mobile like menu check the option in the General settings of the theme.
When the menu icon is clicked, you will see the menu opens on full screen as show below.

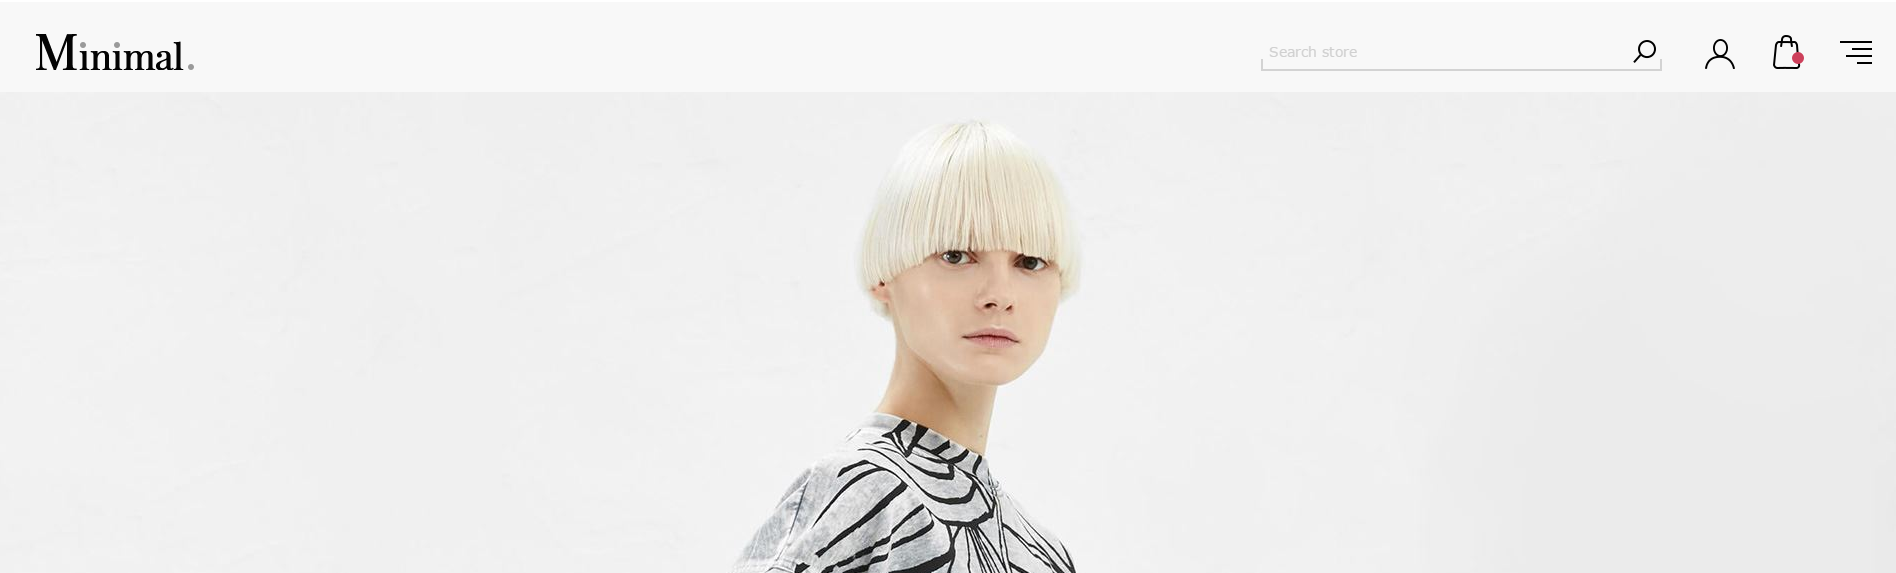
For the Mobile Like menu, you have the option to place the menu bar inside the slider as shown below. If you like this design just check the Place Header Inside Main Slider option from the General theme settings. If you choose this layout, make sure that the "Enable Click for Dropdowns" setting is checked and the "Category Menu Template" is set to "Infinite Categories Sublist" in the administration of the Nop Mega Menu plugin. For more information and options on this plugin, please have a look at its online documentation.
The other menu layout is more standard and can be chosen by not checking the Mobile Like menu from the General Settings of the theme. If you choose this layout, make sure that the "Enable Click for Dropdowns" setting is not checked and the "Category Menu Template" is set to "Categories In Grid(With Pictures) in the administration of the Nop Mega Menu plugin. For more information and options on this plugin, please have a look at its online documentation.

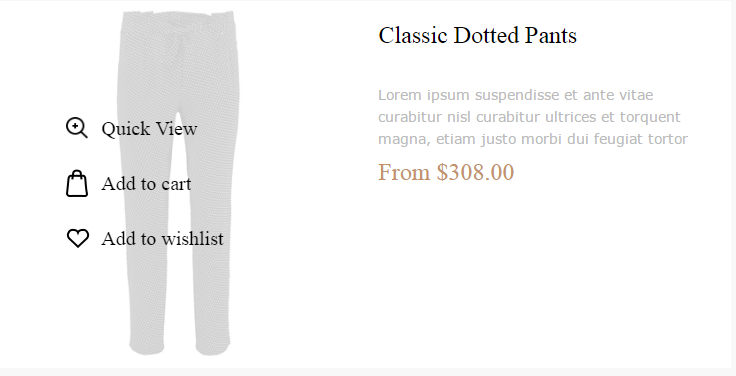
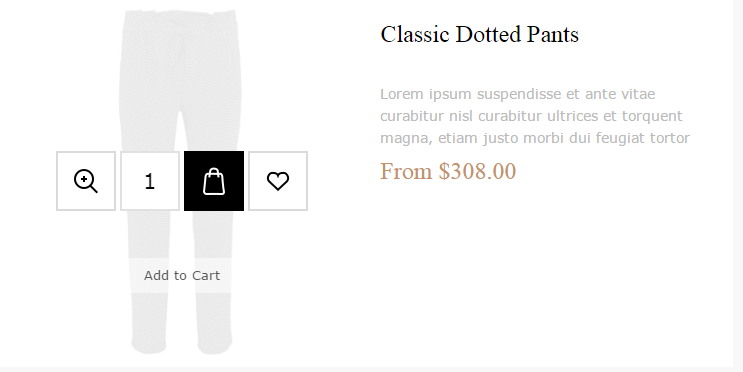
You have also two types of product hover effect that you can choose from. Just pick the one that you like most from the General theme settings.
Hover Effect 1
Hover Effect 2
On the home page of the theme demo you will see categories and products. They are all marked as "Show on home page" from the category and product administration respectively so that they are displayed on the home page. After them, you will the latest blog posts. This functionality comes from the Nop Rich Blog plugin.
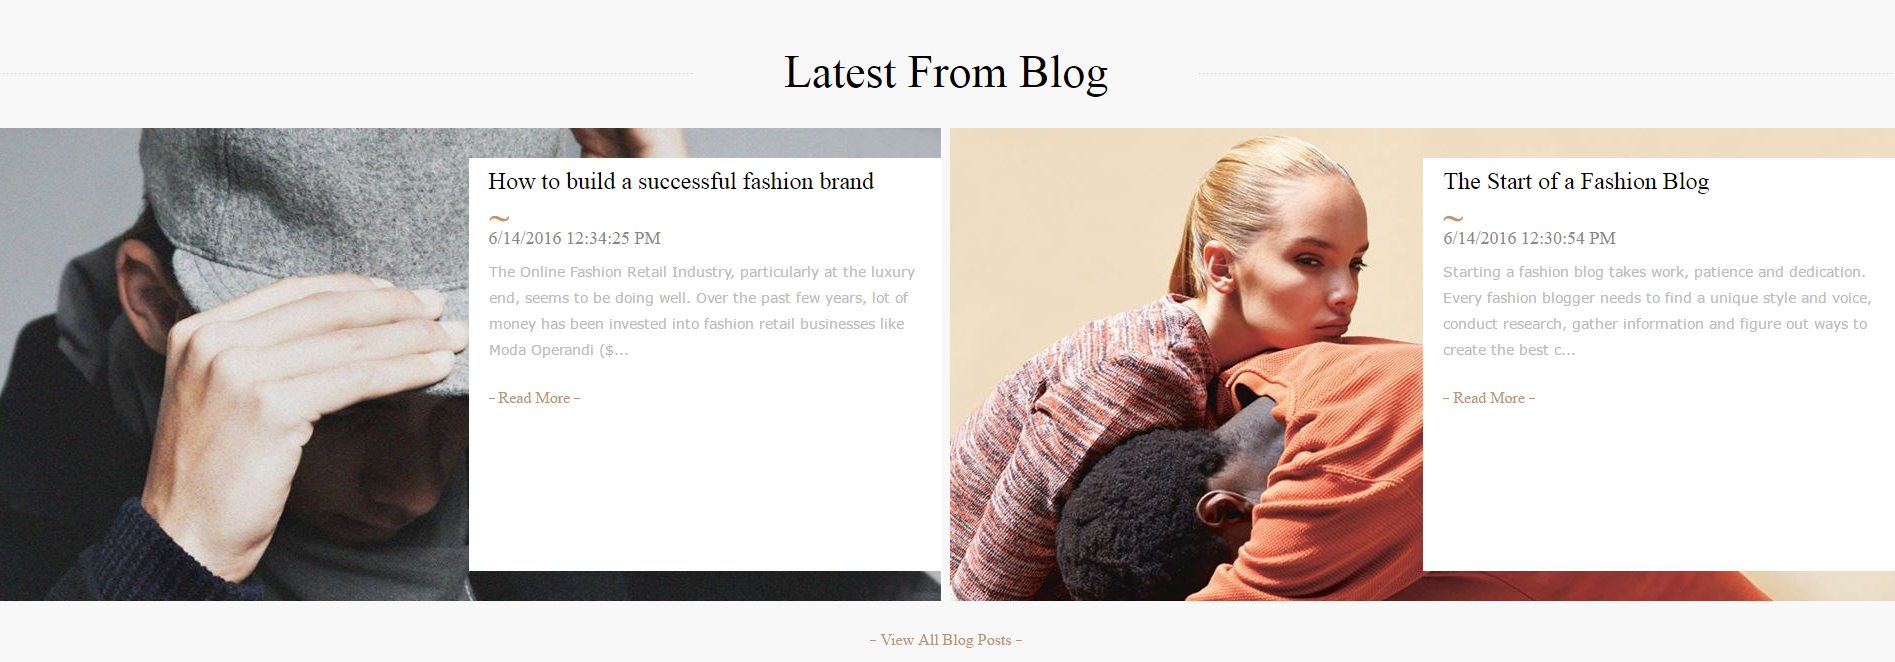
In order to configure the blog, just go to the Nop Rich Blog administration and under the "Home Page Settings" set 2 blog posts to be displayed in the "home_page_before_poll" widget zone or any similar and the size of the home page image to be 950. Then all you need to do is to go to the admin -> content management -> blog -> blog posts and create your blog posts. From the "Rich Blog" tab, you can add the blog post image that will be displayed on the home page and blog list and details pages. For more information on this, you can have a look at the Nop Rich Blog Online Documentation.
On the theme demo you will see two different carousels - one with products and one with manufacturers.
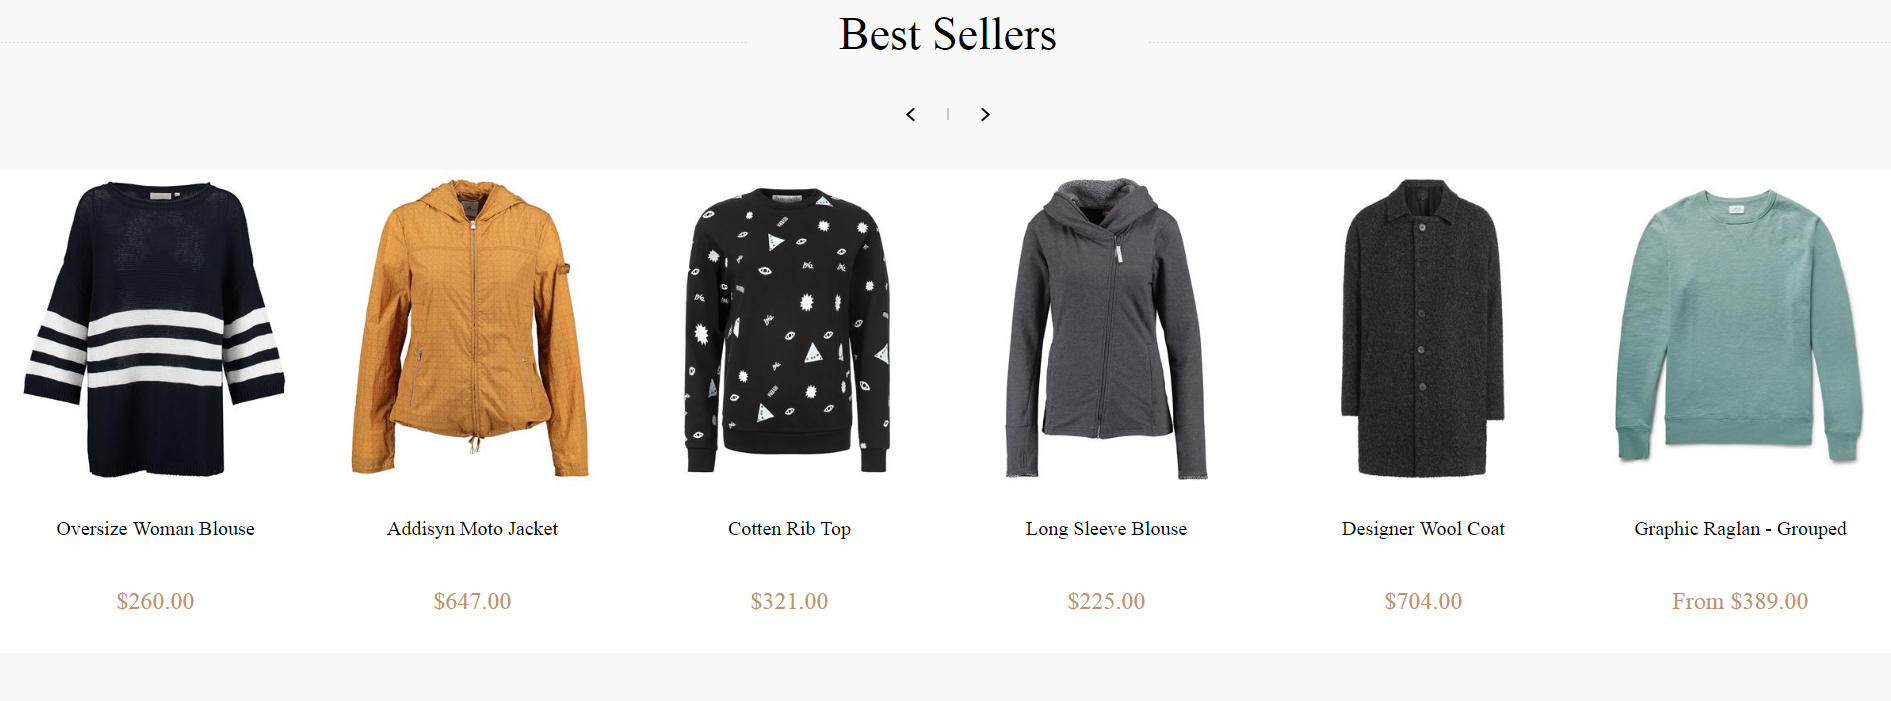
The Best Sellers carousel is a carousel created by our Nop JCarousel plugin. Just go to the administration of the plugin and create a new jcarousel. Set the "Number of visible items in the JCarousel" to be 6 so that you have 6 visible products on your home page. For a "Data source type" choose "Best Seller Products" and "Save and Continue Edit" the carousel. Then you should map the created carousel to the "home_page_bottom" widget zone from the "Widget Zones" tab, so that the carousel is displayed on the bottom of the page. Then from the "JCarousel Advanced Settings" you can make it autoscroll after 5 seconds, wrap items to be circular, easing effect to be linear and image size to be 400.
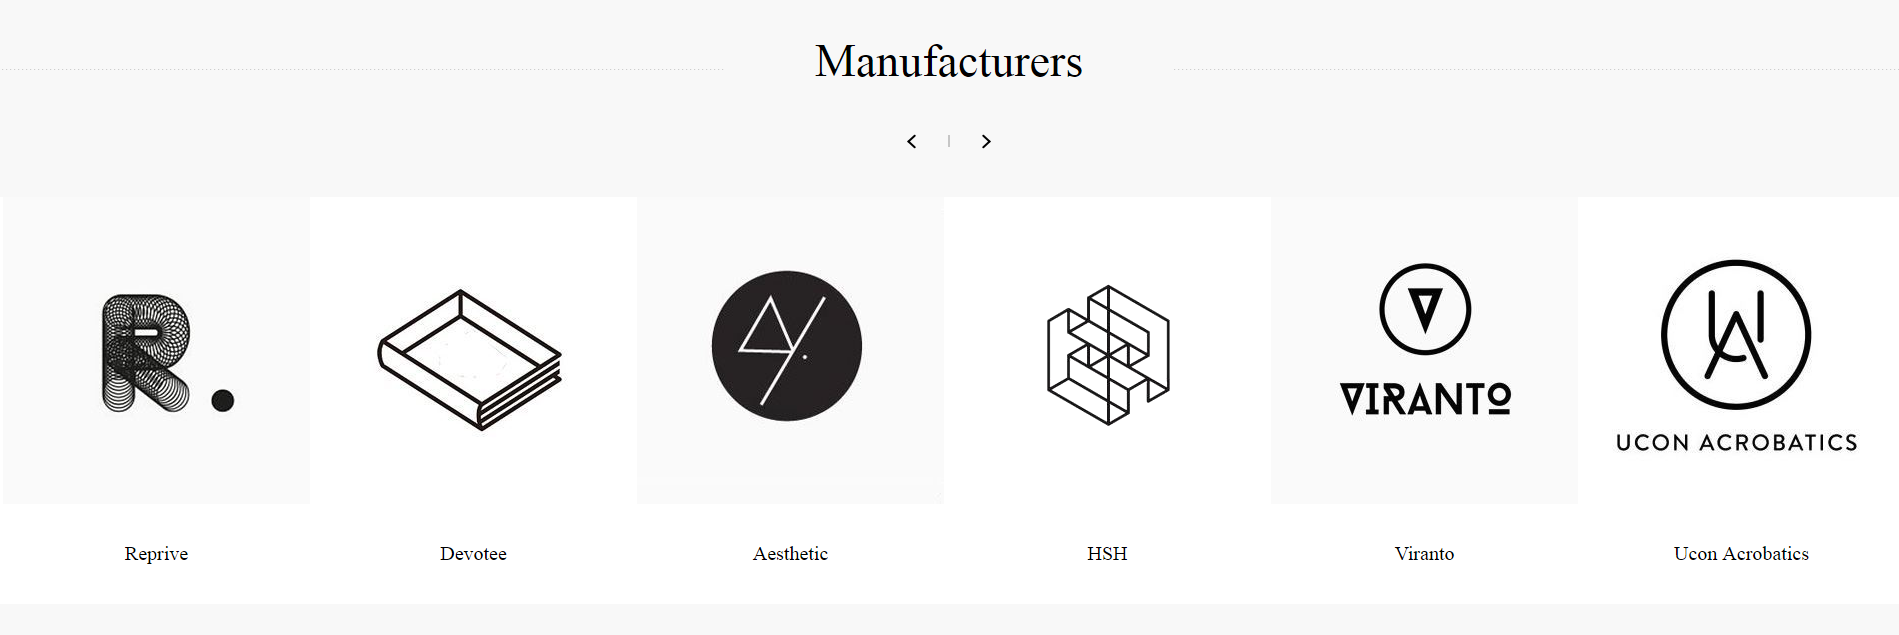
The Manufacturers carousel below the "Best Sellers" carousel is also created by our Nop JCarousel plugin. Just go to the plugin administration and create another jcarousel. Set the "Number of visible items in the JCarousel" to be 6 so that you have 6 visible manufacturers on your home page. For a "Data source type" choose "Manufacturers" and "Save and Continue Edit" the carousel. Then you should map the created carousel to the "home_page_bottom" widget zone from the "Widget Zones" tab, so that the carousel is displayed on the bottom of the page. Then from the "JCarousel Advanced Settings" you can make it autoscroll after 3 seconds, wrap items to be circular, easing effect to be linear and image size to be 307.
CONFIGURE YOUR CATEGORY PAGE
You have two options for configuring your category page and all other similar catalog pages. You need to choose from the two different layouts - one column or two columns layout. You should note that in the different layouts the place of the Nop Ajax Filters will be different. In any case, when configuring the filters from the plugin administration make sure that the "minimal_theme_ajax_filters" widget zone is selected. You can have a look at the below examples of the two layouts
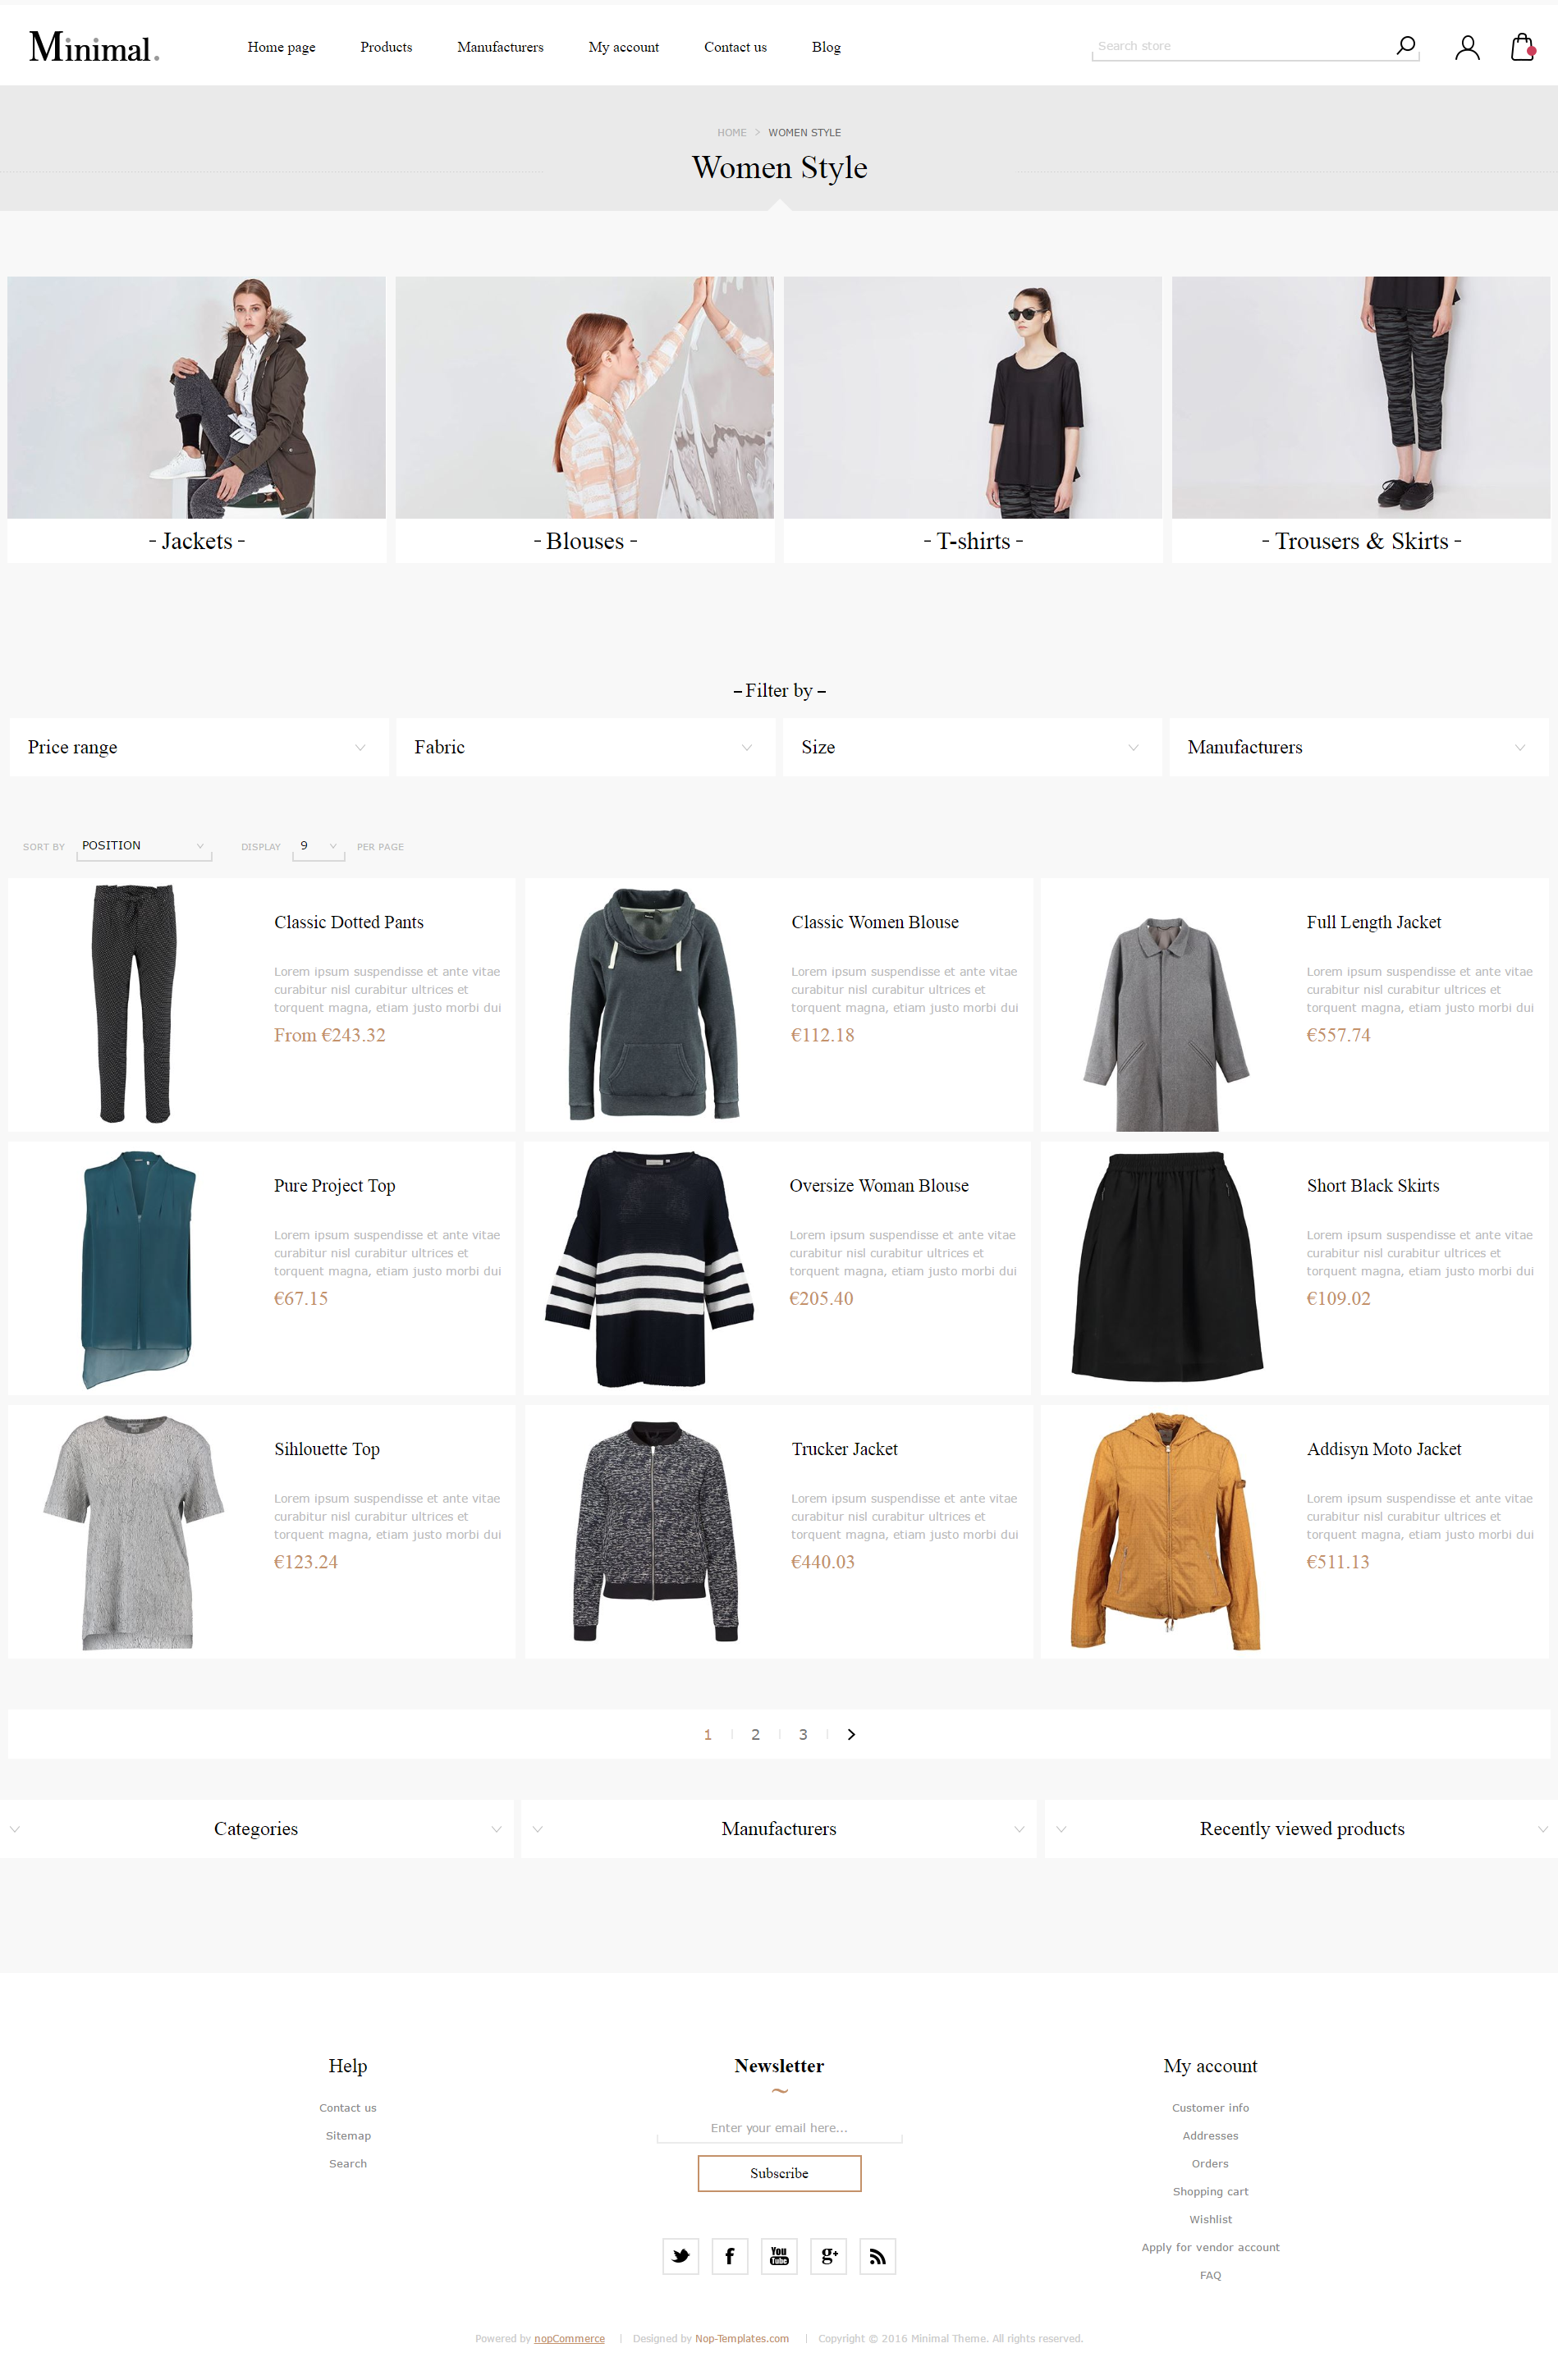
The category page has one column. Nop Ajax Filters are set to be displayed in dropdowns and collapsed by default. This can be configured in the administration of the Nop Ajax Filters. For more information have a look at its online documentation.
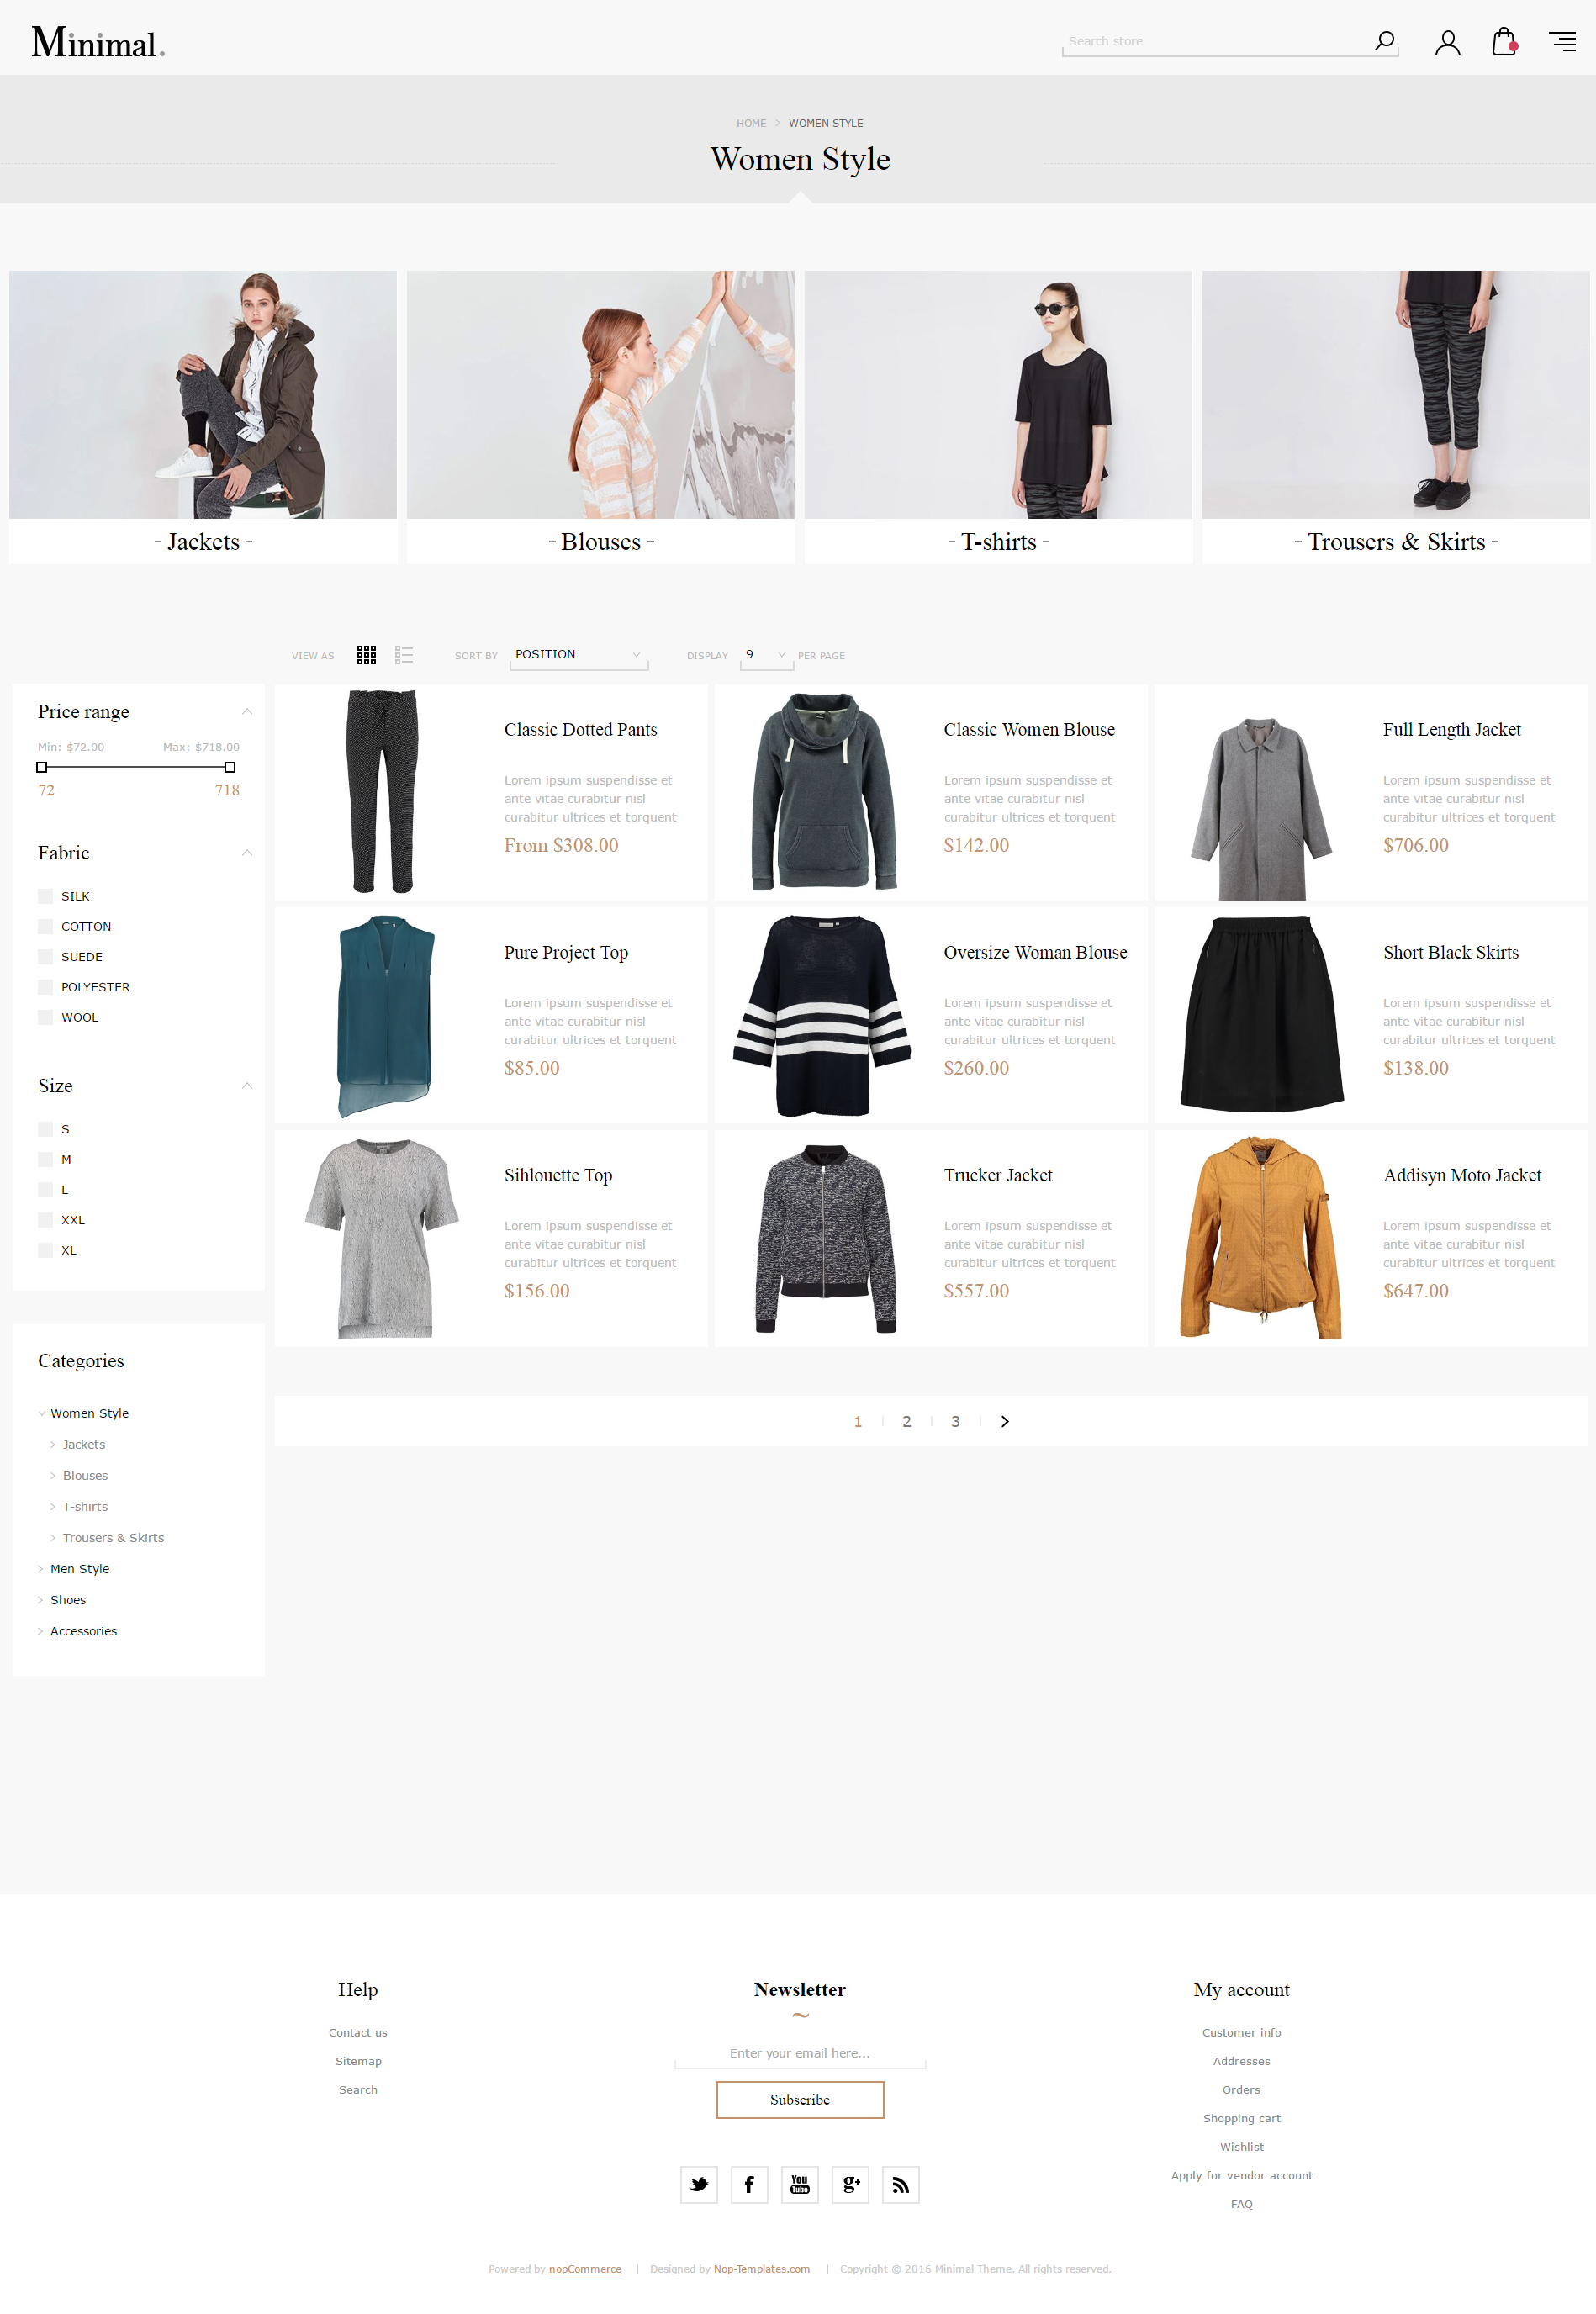
The category page has two columns. Nop Ajax Filters are set to be displayed in checkboxes and not collapsed by default. This can be configured in the administration of the Nop Ajax Filters. For more information have a look at its online documentation.
CONFIGURE YOUR Product PAGE
As it comes to the product page there are some plugins that you need to enable and configure. Make sure that the Nop Cloud Zoom, Nop Quick Tabs, Nop Previous/Next plugins are enabled and configured.
The Related Products and Products Also Purchased number should be set to 6.
FACEBOOK SHOP INTEGRATION
The theme has a Facebook Shop integration via our Nop Facebook Shop plugin, which allows you to sell products directly on your Facebook page. Your customers can browse your catalog and search for the right product right within Facebook. Every change to each product is updated in real-time. To see a live preview of the Facebook shop for the Nop Pavilion Theme, click here.
Tips and Tricks
- Have high quality square product images so that the zoom on the product page works better.
- Have a play with all the plugins and read their documentation to see how you can use them properly and make the best of them.
For more information on the terms used please refer to our Glossary.