With the Nop Facebook Shop plugin, you can get your store up on Facebook, where everybody can see it. This plugin comes with styling for all our themes.
To enable Nop Facebook Shop just install it. You can access it via this path: http(s)://www.yourStore.com/facebook/store/. The plugin supports nopCommerce 3.5 or higher versions.
GENERAL SETTINGS
- Home Page Products - Select the products, which will be shown on the home page.
- Number Of Item Boxes Per Row - Set how many products to be shown on each row in the product grid.
- Catalog Page Size - Set how many products to be shown on catalog pages.
- Main Banner Image - Select an image that will show up at the top of your Facebook store.
- Show Main Banner On All Pages - Check this setting to show the main banner on all pages. Otherwise, it will be shown only on the home page.
MAIN MENU SETTINGS
- Main Menu Categories - Select the categories, which will be shown in the menu.
- Number Of Top Level Menu Category Items - Set the number of categories to be shown as top-level items on the menu. The rest will be shown in "More" menu item.
- Include Manufacturers Item In The Main Menu - Check this setting to show a manufacturer's item in the main menu.
PRODUCT PAGE SETTINGS
- Show Short Description - Show short description on the product details page.
- Show Full Description - Show full description on the product details page.
- Number Of Related Products - Set how many related products to be shown on the product page.
CONFIGURATION
HTTPS requirement
Facebook Developer Application
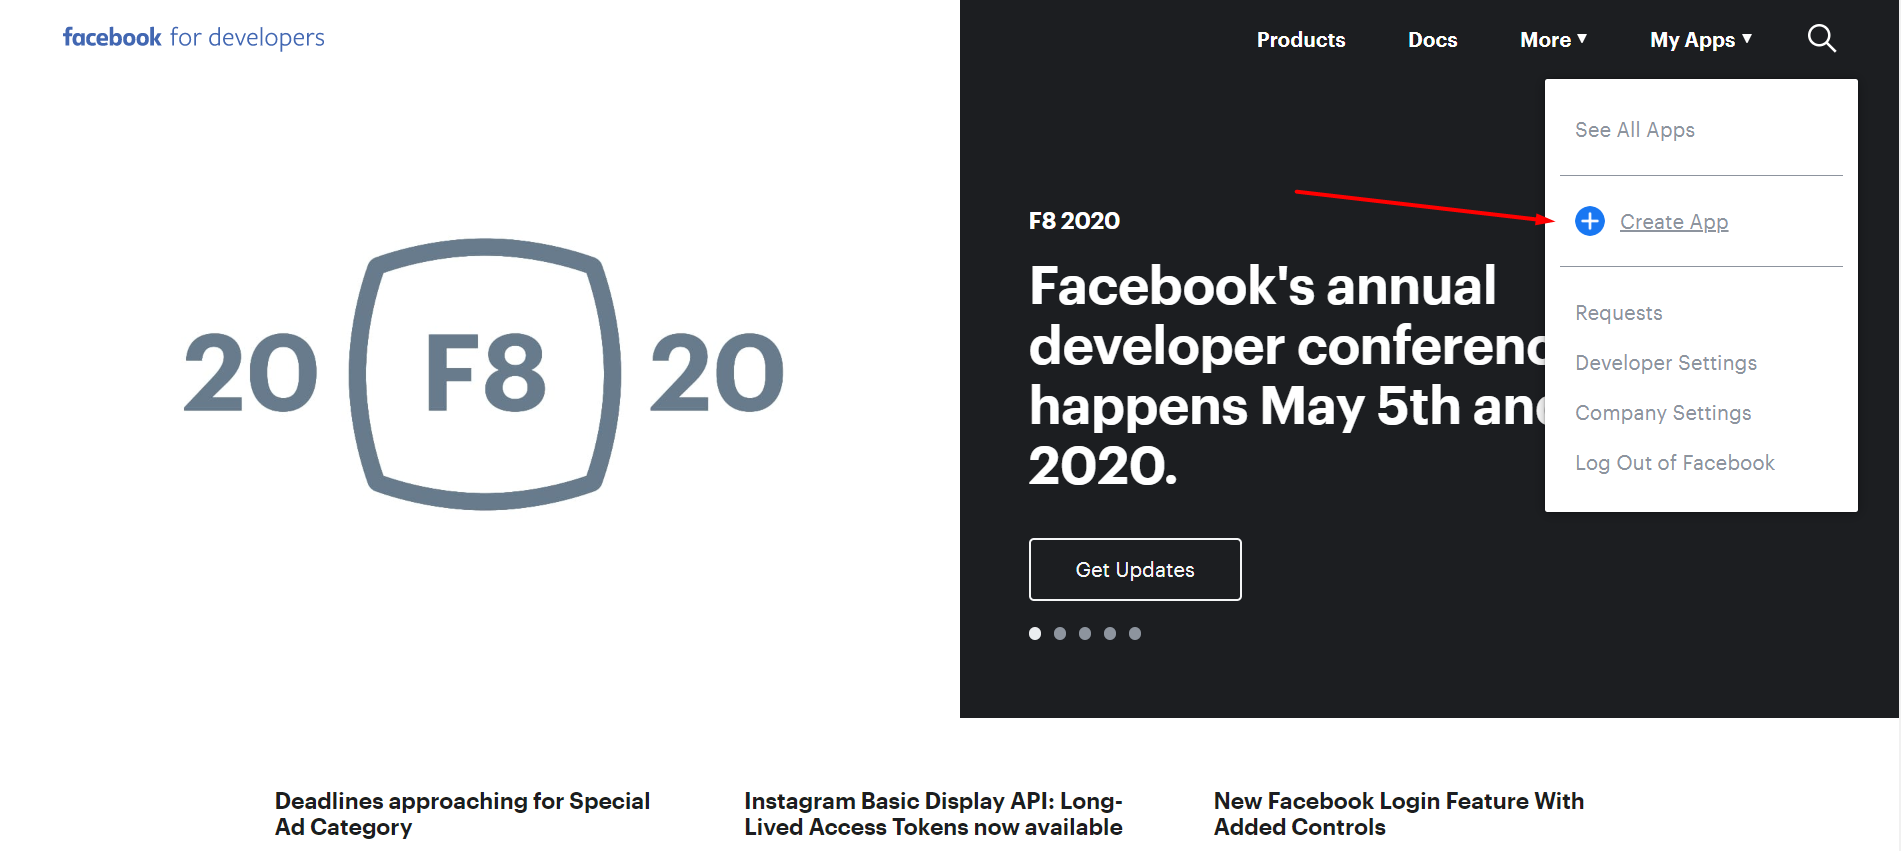
- The first step is creating an application on Facebook. You can do this by going to https://developers.facebook.com/. Click on My Apps on the top right -> Create App.
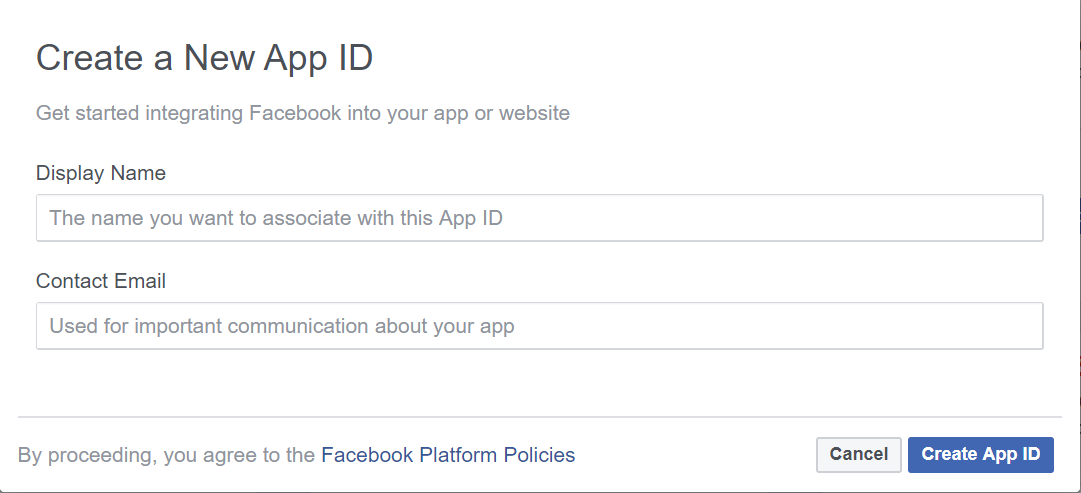
- Choose a Name for your app and provide a contact email, then click Create App ID
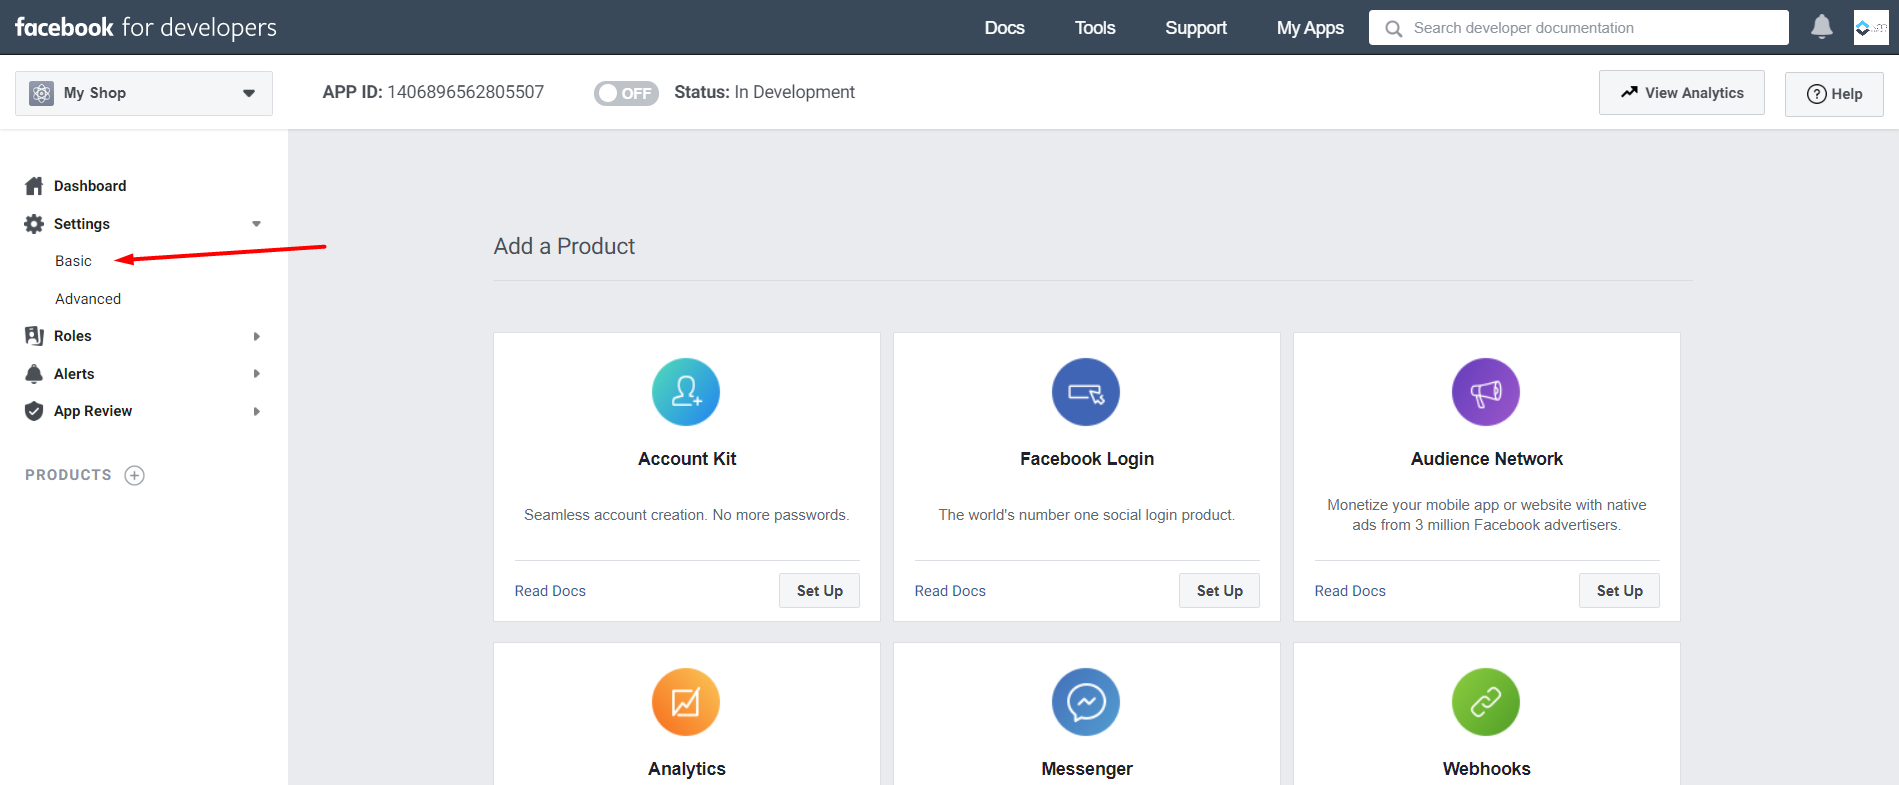
- Once you confirm, you will be redirected to your app page. Now go to Settings -> Basic from the left navigation
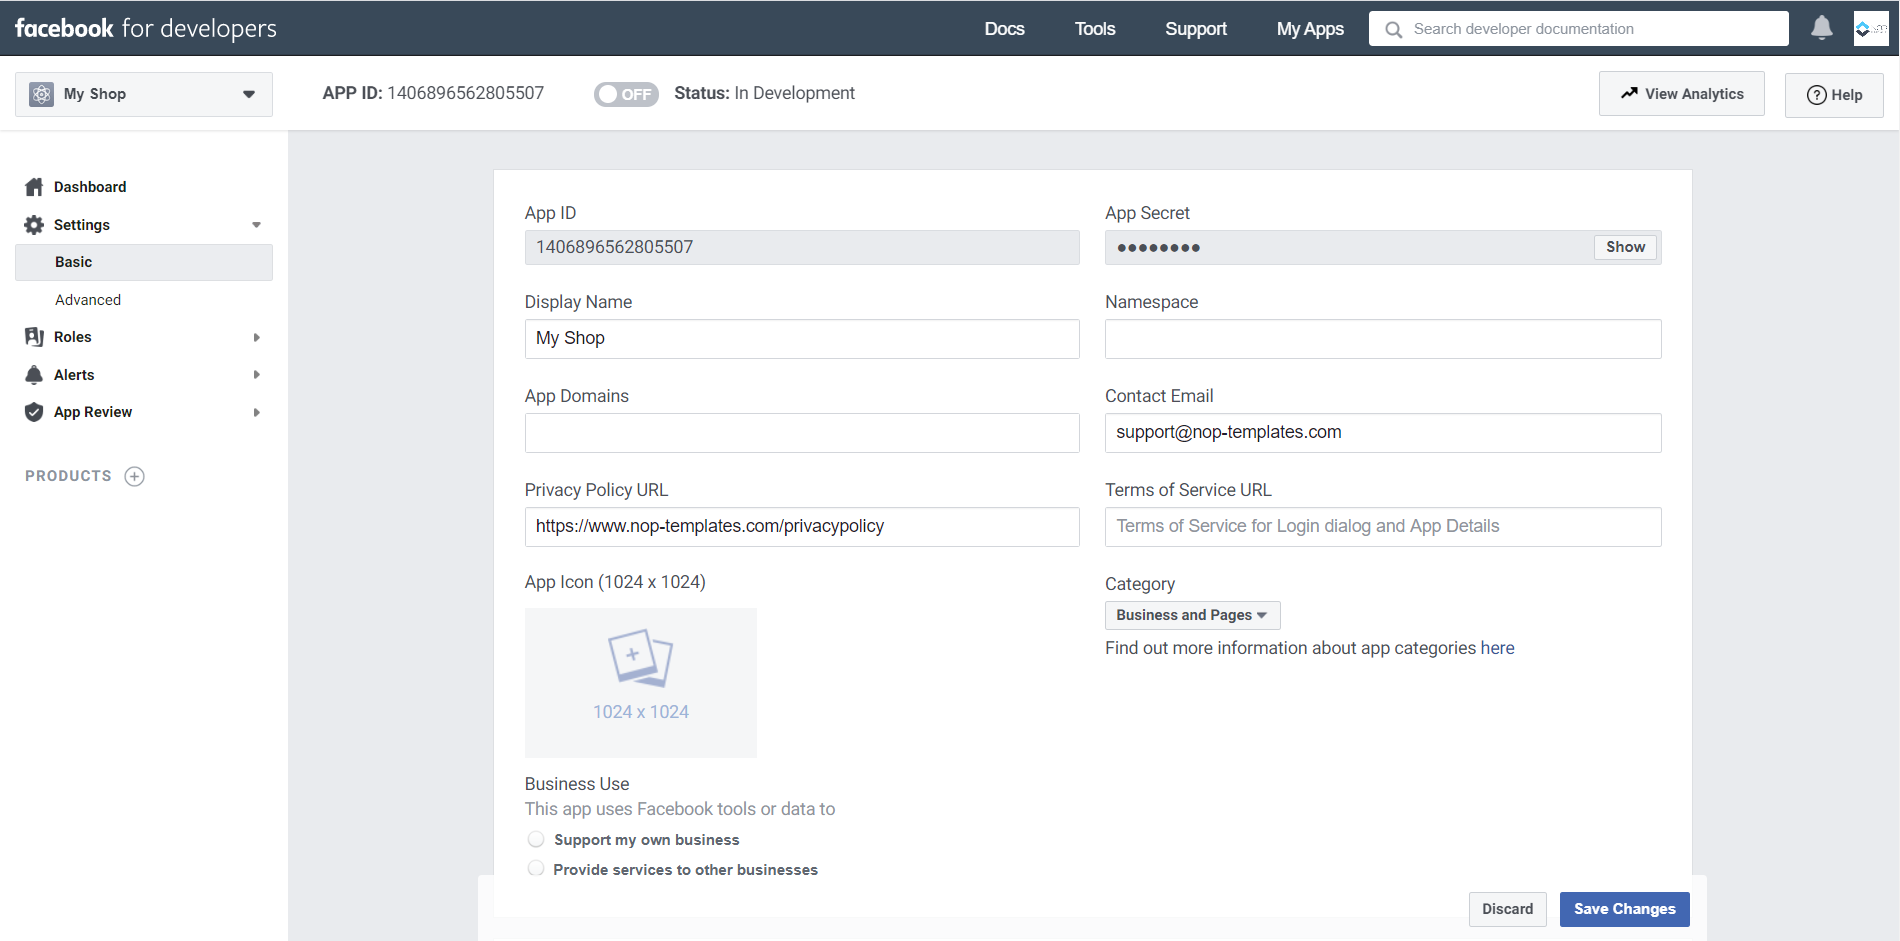
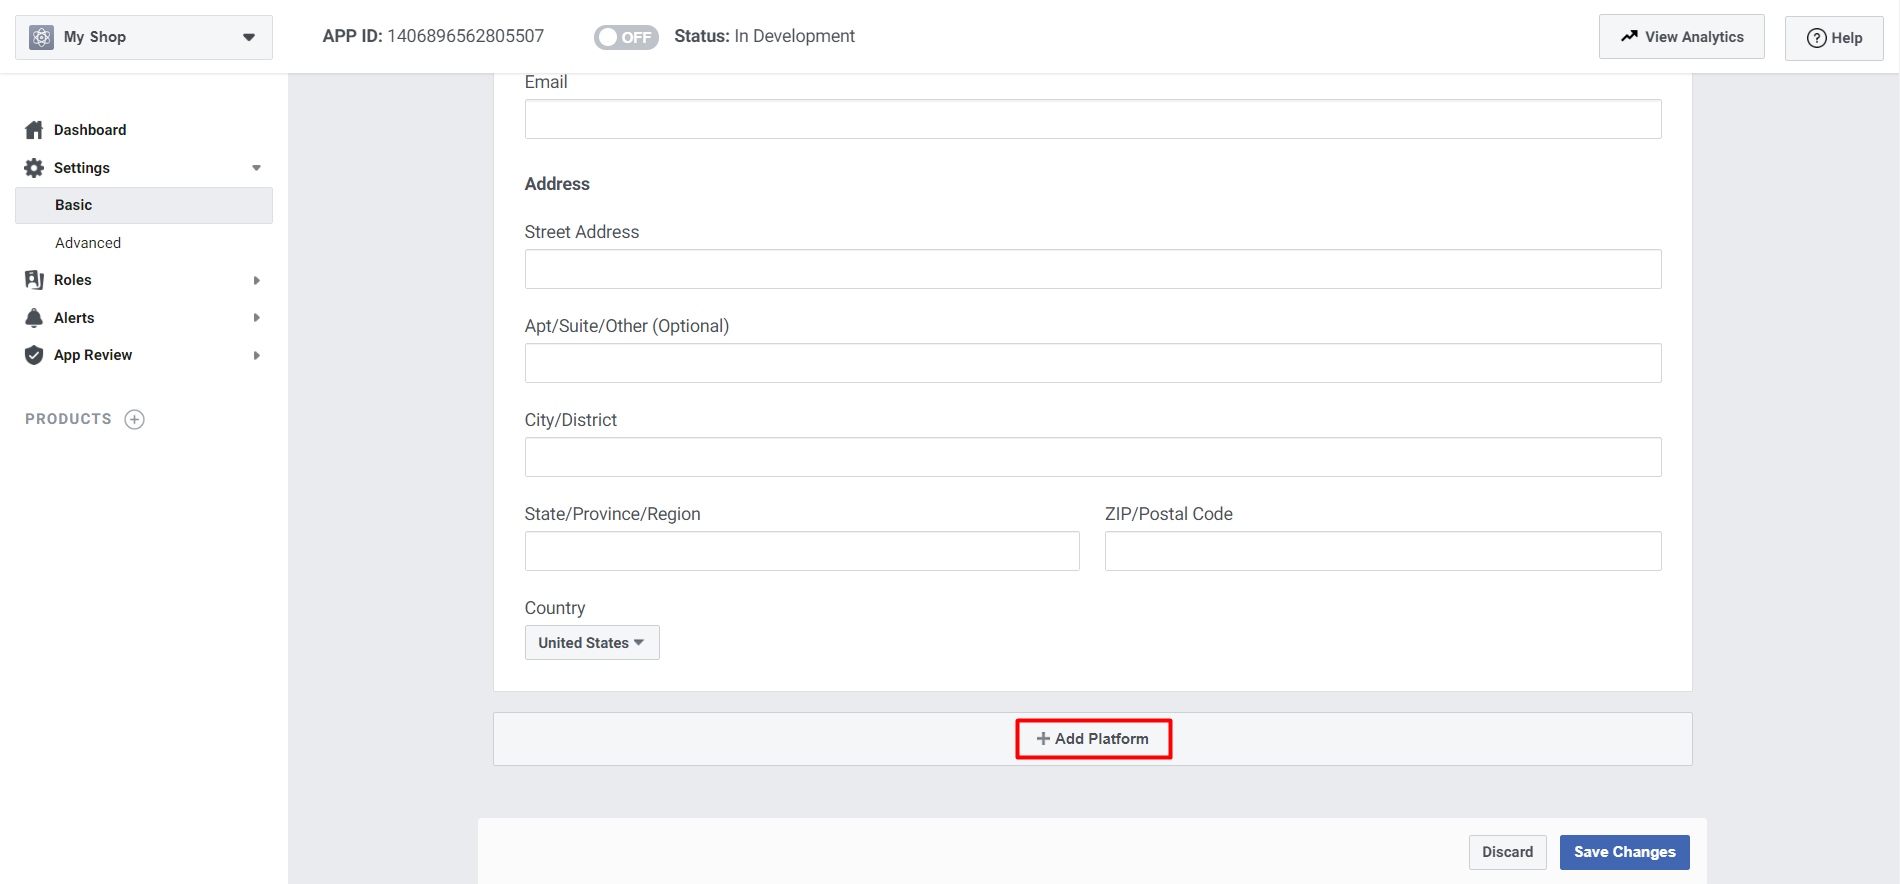
- On the next page, you have to specify your Privacy Policy URL and select a category for your Facebook shop. Your Display Name and Contact Email should already be populated.
- Scroll to the bottom of the page and click the Add Platform
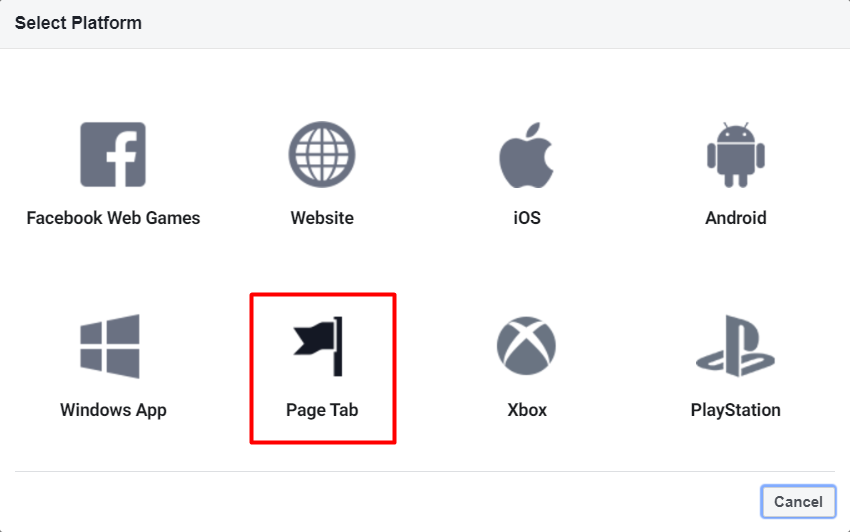
- Select Page Tab platform.
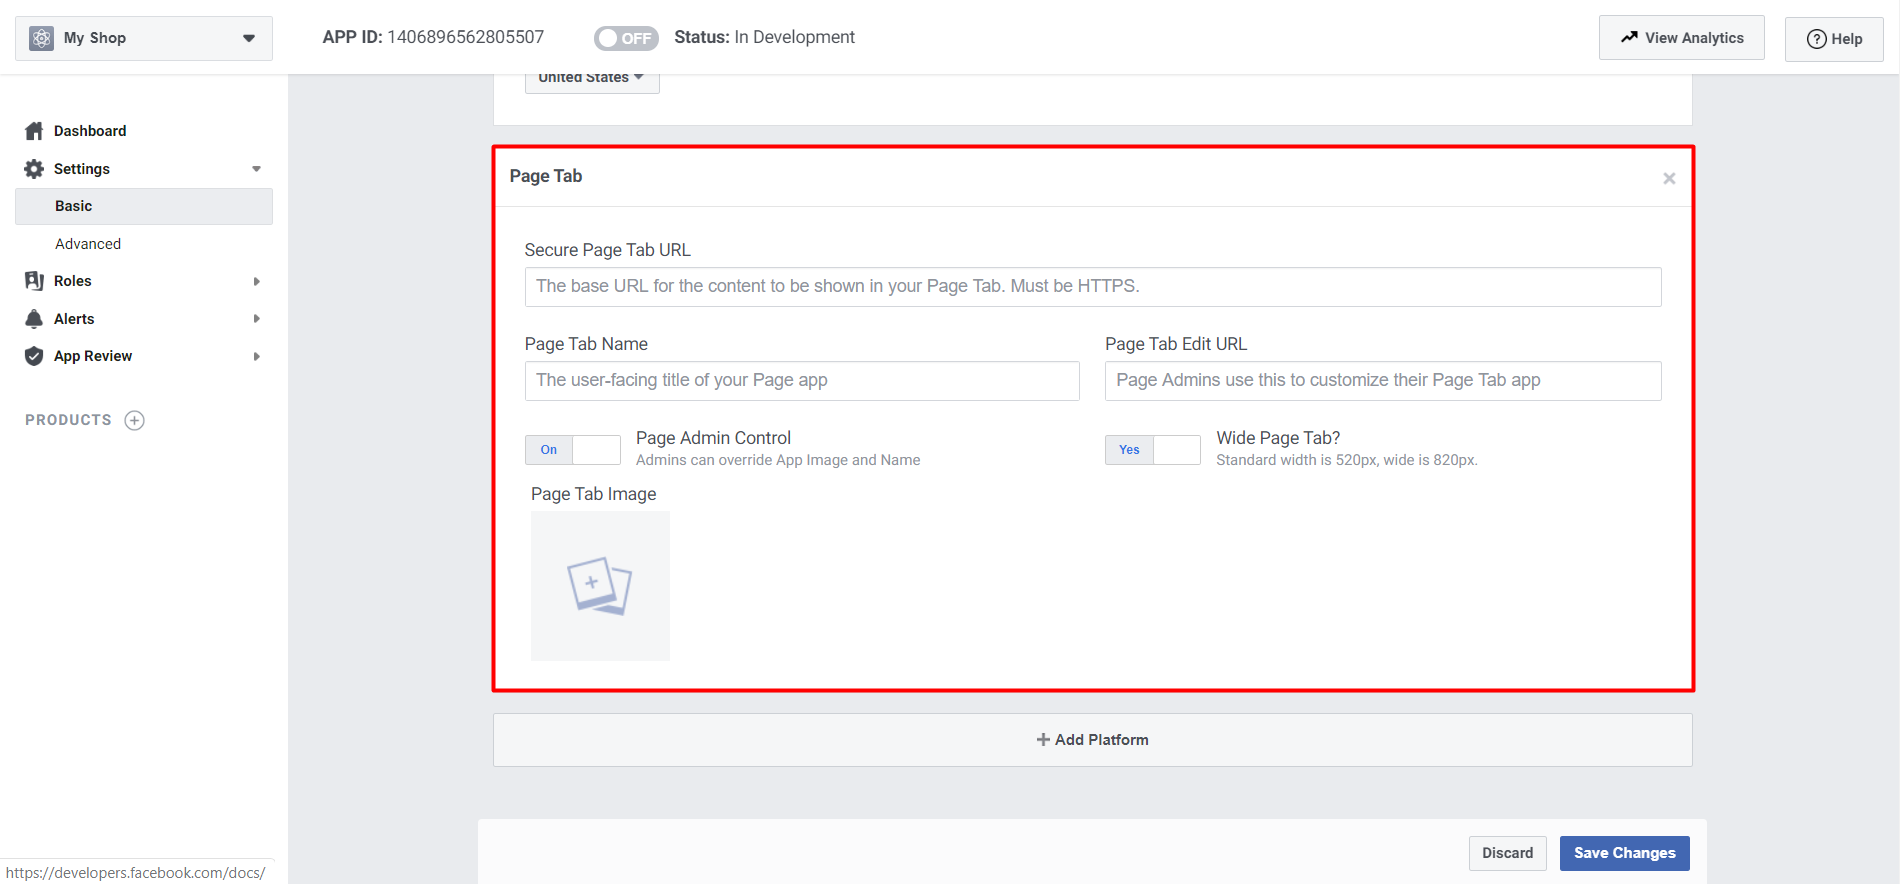
- In the newly created section enter the URL of your website in the format "https://www.yourstore.com/facebook/store/". NOTE that the URL should be with HTTPS and the suffix /facebook/store.
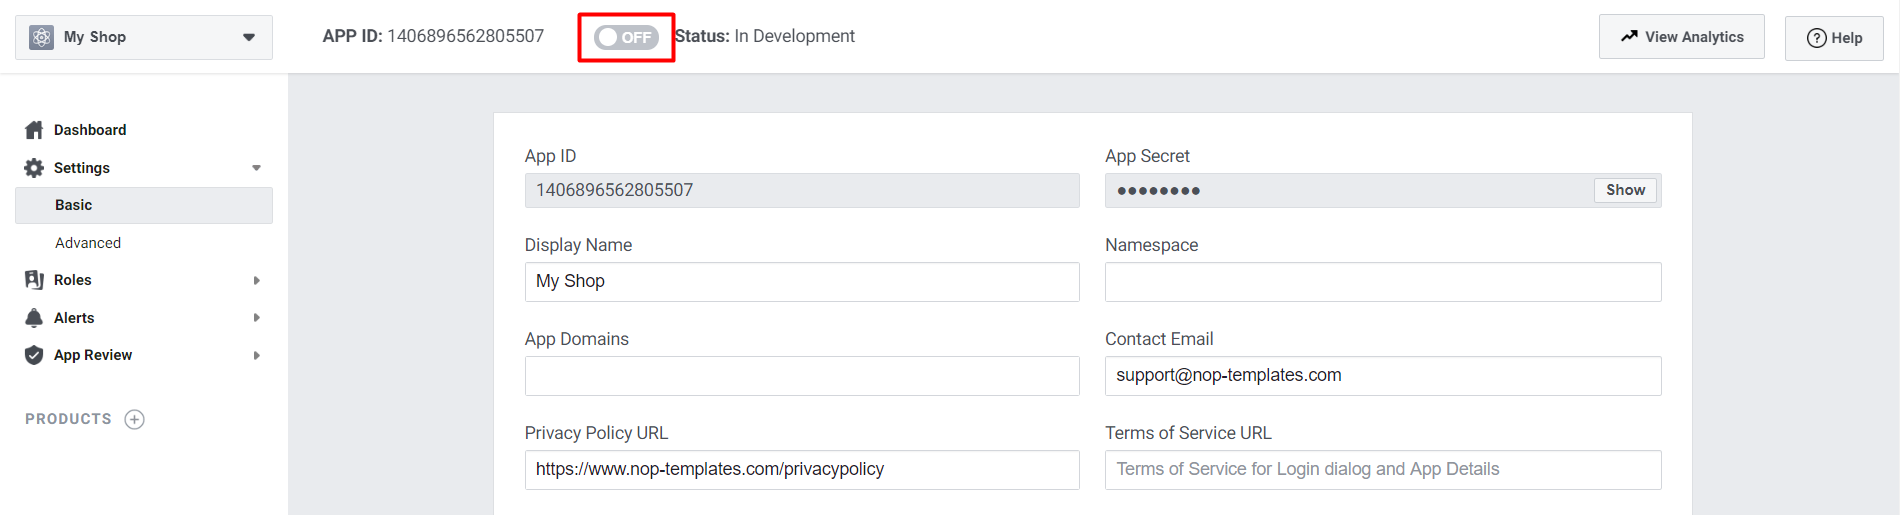
- Now at the top of the screen, click the gray button OFF (next to the Status: Development). After you confirm, your App should be accessible by the public.
Including your app on your Fan Page
Navigate to the following URL in your browser: https://www.facebook.com/dialog/pagetab?app_id=YOUR_APP_ID&redirect_uri=YOUR_URL

Replace "YOUR_APP_ID" with your App ID and "YOUR_URL" with your app's URL, both of which values are available in your app settings.
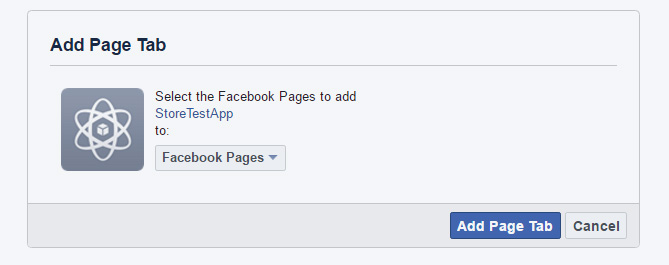
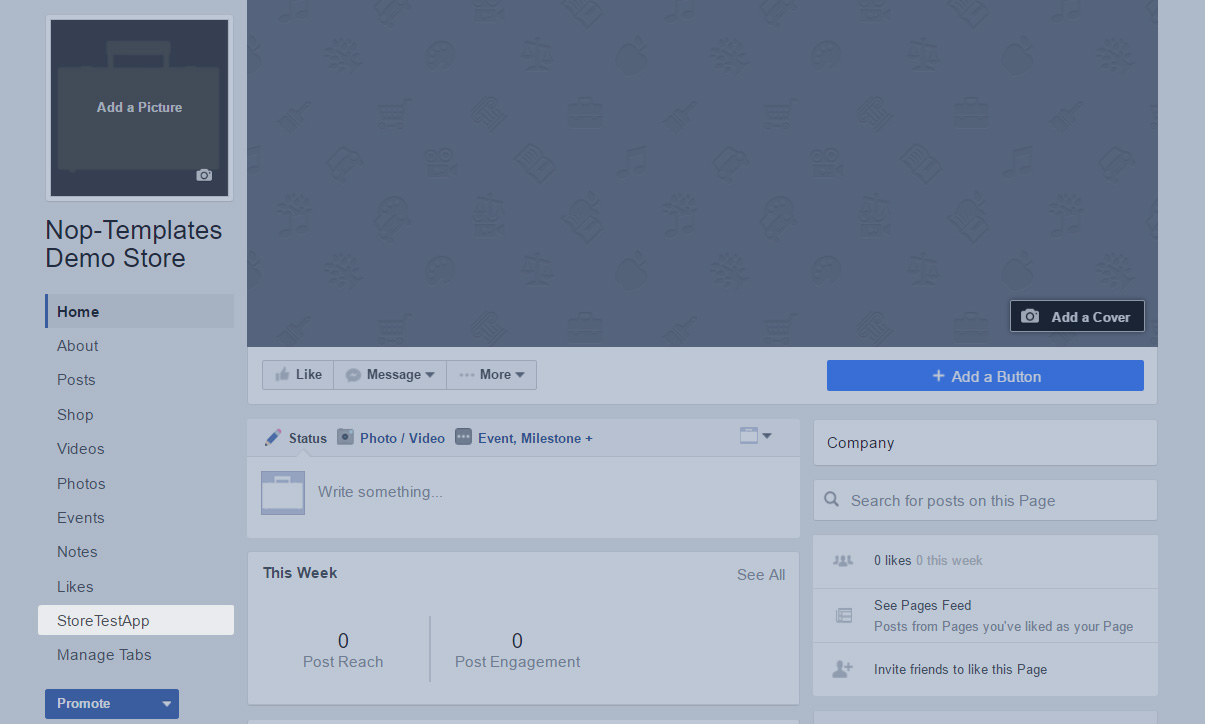
You'll see an "Add page tab" page. After selecting your Facebook page from the dropdown menu and clicking "Add Page Tab" your iFrame app should appear on your Fan Page.
For more information, you can check the Facebook documentation.
NOTE: You need to change your Web.config file in nopCommerce 4.30 in order to allow showing your store in an iframe from Facebook.
Change this line:
<add name="X-Frame-Options" value="SAMEORIGIN" />
To be like this:
<add name="X-Frame-Options" value="allow-from https://www.facebook.com/" />