Before you can use the Nop Poppy Theme you need to install it.
For more information about the installation of a nopCommerce Theme refer to our How To Install A Theme article.
Plugins
- Nop Ajax Cart
- Nop Ajax Filters
- Nop Anywhere Sliders
- Nop Cloud Zoom
- Nop FacebookShop
- Nop Instant Search
- Nop JCarousel
- Nop MegaMenu
- Nop Newsletter Popup
- Nop Prev-Next Product
- Nop Product Ribbons
- Nop Quick Tabs
- Nop Quick View
- Nop Rich Blog
- Nop Smart Product Collections
- Nop Social Feed
Poppy Theme - General Settings
The Nop Pavilion Theme has different configuration options which you can manage from the administration. This is the Theme settings section. It can be accessed by Administration -> Nop-Templates -> Themes -> Poppy -> Settings. When you open the theme settings you will see two tabs present with different settings: General and Additional Settings. Here is a list of General Settings of the theme:

- Follow us pinterest url - you can insert your Follow us on Pinterest url here. If left empty the icon in the footer will not be displayed.
- Follow us vimeo url - you can insert your Follow us on Vimeo url here. If left empty the icon in the footer will not be displayed.
- Follow us on instagram url - you can insert your Follow us on Instagram url here. If left empty the icon in the footer will not be displayed.
- Remove Copyright - you can remove the copyright notice after a copyright notice key has been purchased by www.nopcommerce.com
- Remove Designed By Nop-Templates.com link in the footer - you can remove the Designed By Nop-Templates.com from the footer. Note: If you would like to recieve 10% discount on any future purchase or renewal and feature spot on our site, please leave this unchecked and contact us.
- Logo image - you can choose the logo image from here
- Custom Head Styes - Insert your custom css styles that will be added in the head after all other css files. This way you can further customize the theme. Example: .footer { display: none; }
Poppy Theme - Additional Settings
The Nop Pavilion Theme has different configuration options which you can manage from the administration. This is the Theme settings section. It can be accessed by Administration -> Nop-Templates -> Themes -> Poppy -> Settings. When you open the theme settings you will see two tabs present with different settings: General and Additional Settings. Lets have a look at the Additional Settings of the theme:
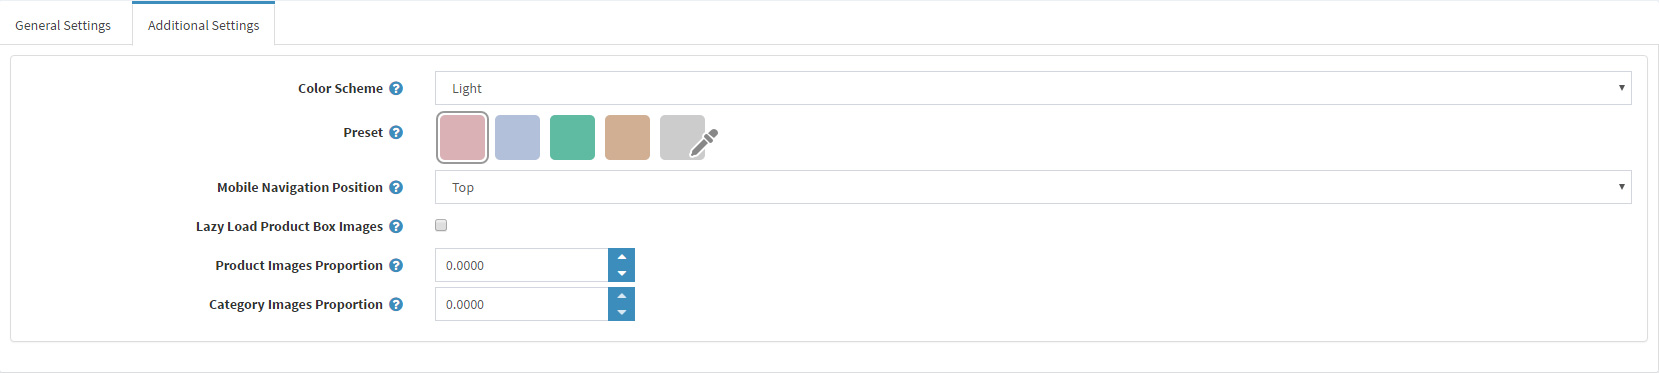
- Color Scheme - choose the color scheme of the theme. You can choose from light and dark. You can see the difference on our two demos for light and dark color scheme.
- Preset - Choose a color preset among the 6 predefined color options within the theme. As the theme has two main colors each color presets represents a combination of two colors. You have also the option of choosing your own color combination by choosing the last option with custom color pickers controls.
- Mobile Navigation Position - Choose whether your navigation to appear on the top of the screen or on the bottom of the screen on Mobile Devices.
- Lazy Load Product Box Images - If this setting is checked the product box images will load asynchronously on scroll
- Product Images Proportion - You can Choose the proportions of your Product Images from here. Set the value in percentage of how the height of the product images relates to the width. i.e. 100% means that the image height is 100% from the image width, which means it is a square image.
- Category Images Proportion - You can Choose the proportions of your Category Images from here. Set the value in percentage of how the height of the category images relates to the width. i.e. 100% means that the image height is 100% from the image width, which means it is a square image.
Configure Your Homepage
You need to have in mind the following options when setting up your store home page. Please have a look at the different elements you can display on the home page.
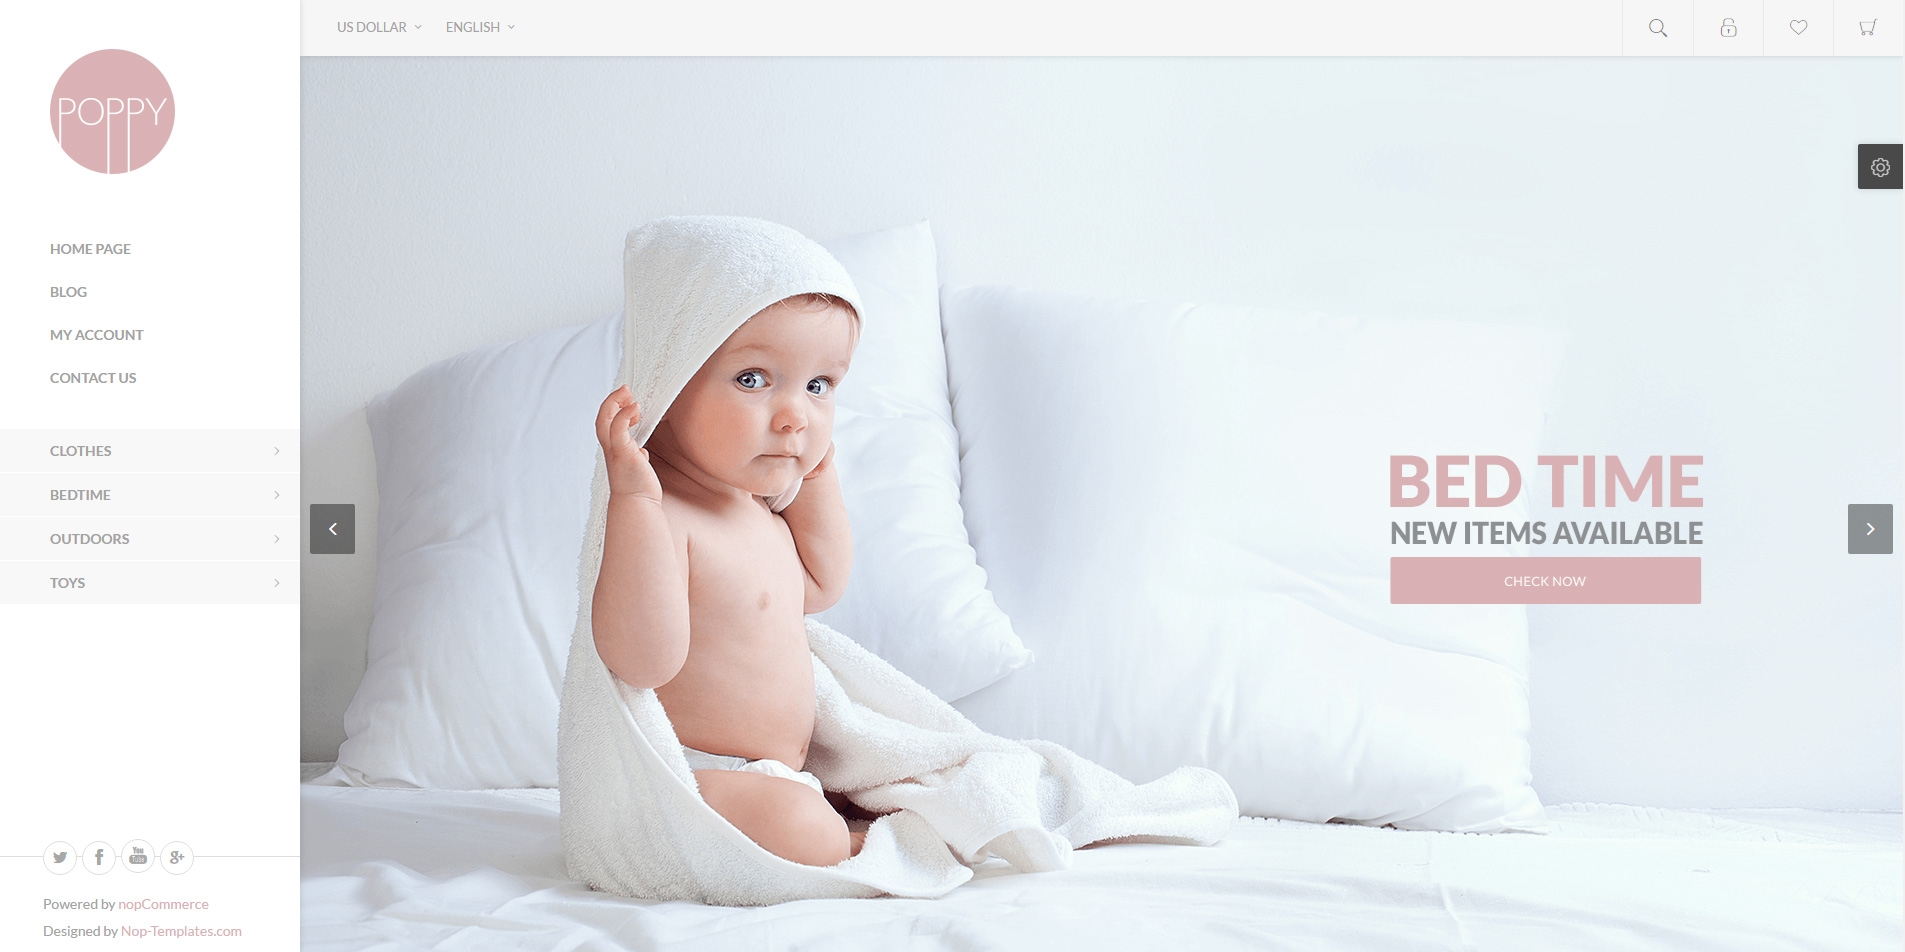
You can create a Slider using our Nop Anywhere Slider plugin as shown below.
Create a new slider of type Nivo.
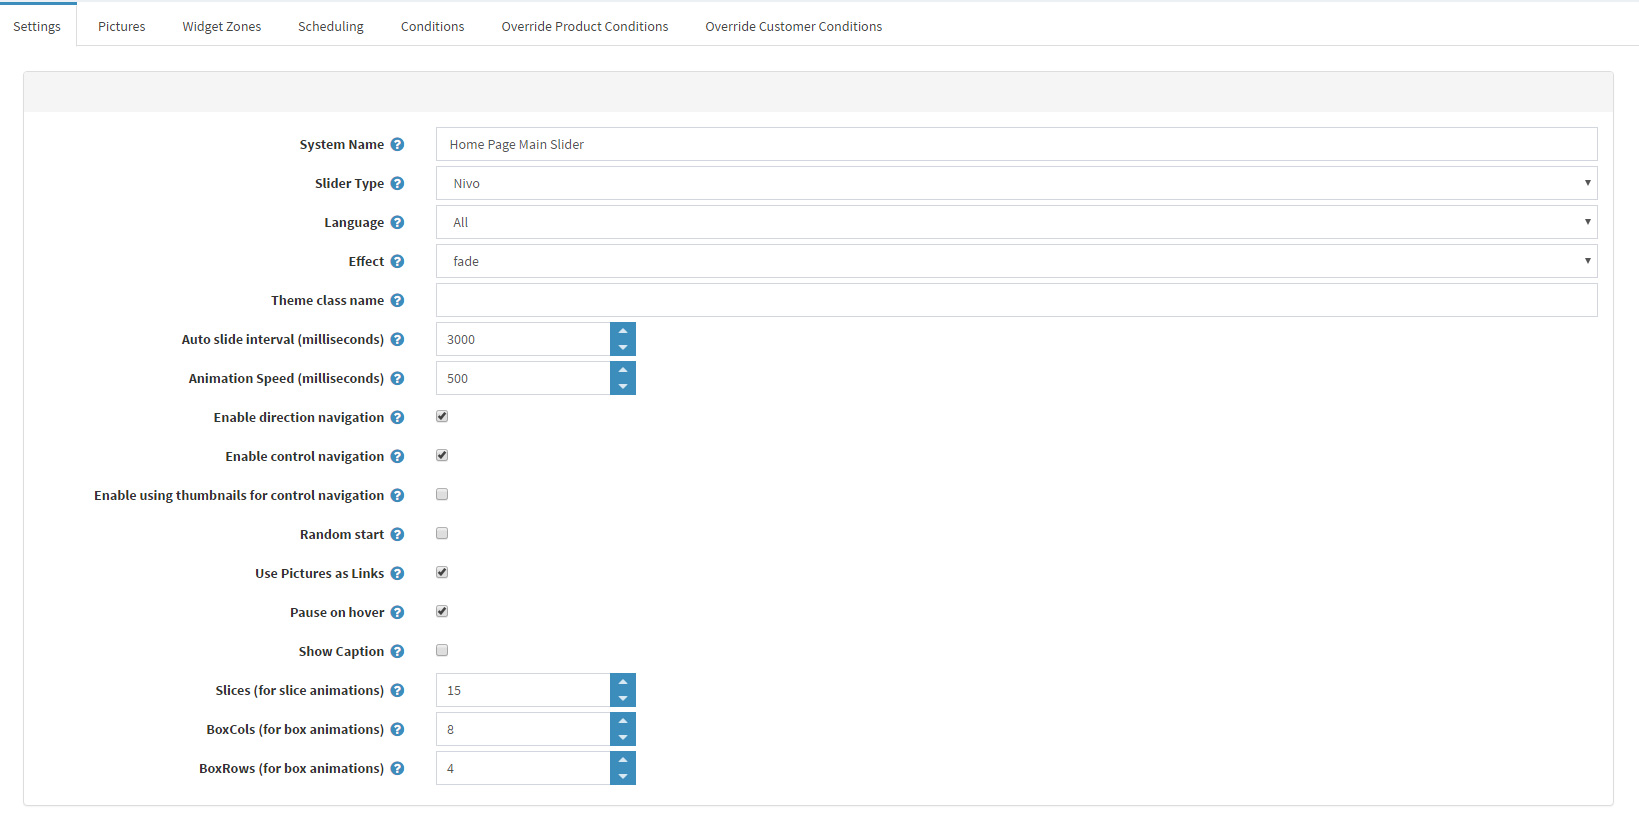
Add the required images to the slider.

Finally, map the slider to the "home_page_main_slider" widget zone in order to display it on the home page.

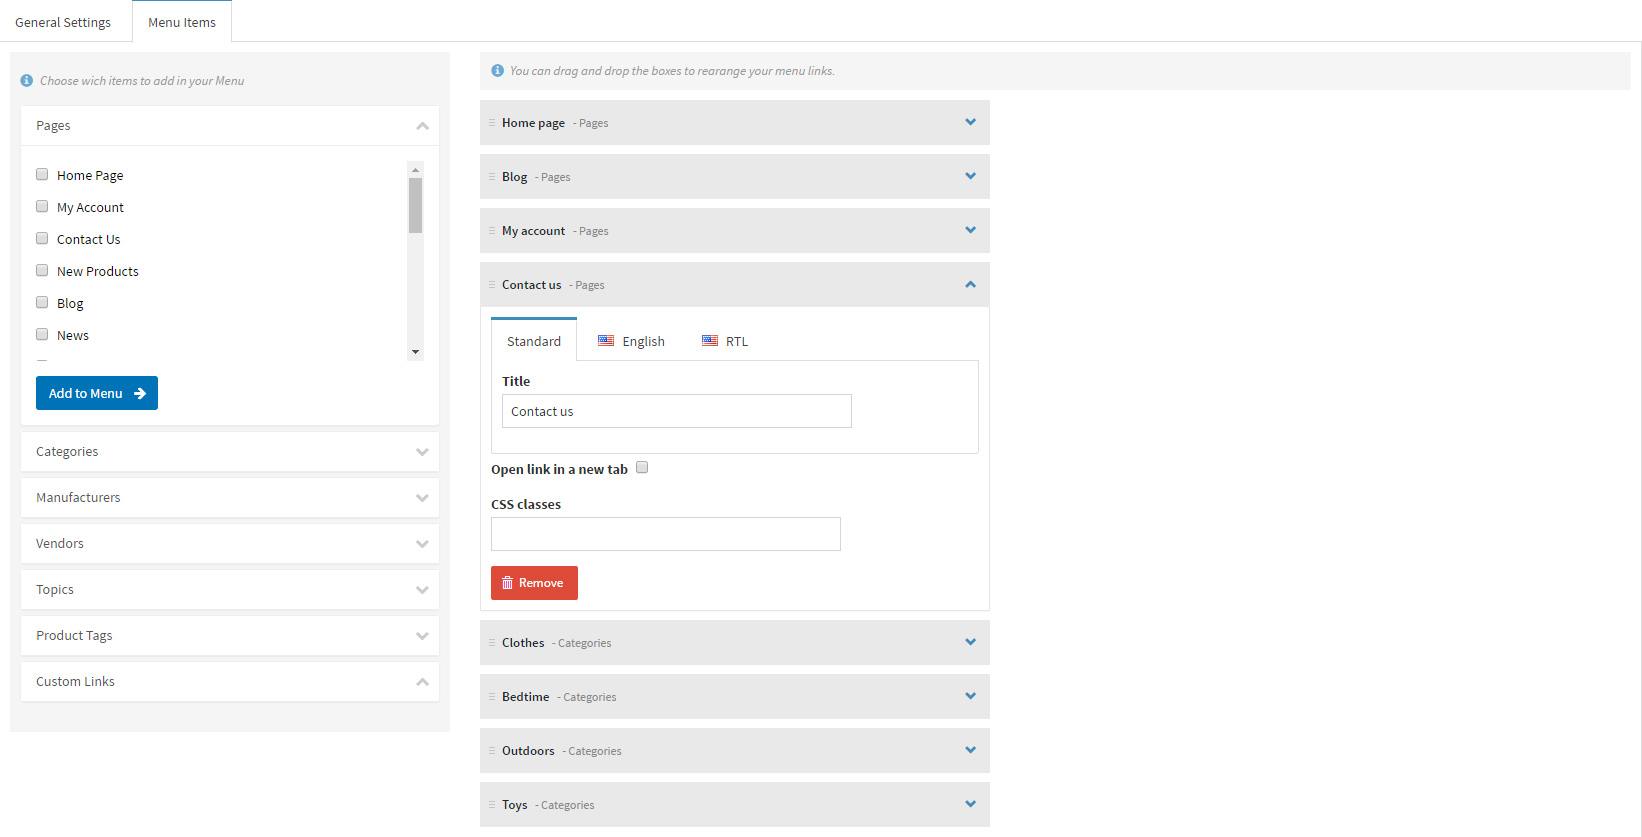
The Nop Mega Menu plugin, that is shipped with the Poppy Theme, provides you with the ability to create your own templates for the menu navigation of your store. In order to create your own Mega Menu you will need to go to Administration -> Nop-Templates -> Plugins -> Mega Menu -> Manage Menus and add a new Mega Menu.

The next step in configuring your home page is to set your Featured Categories. You can show all categories of your choice on the home page of Nop Poppy Theme.
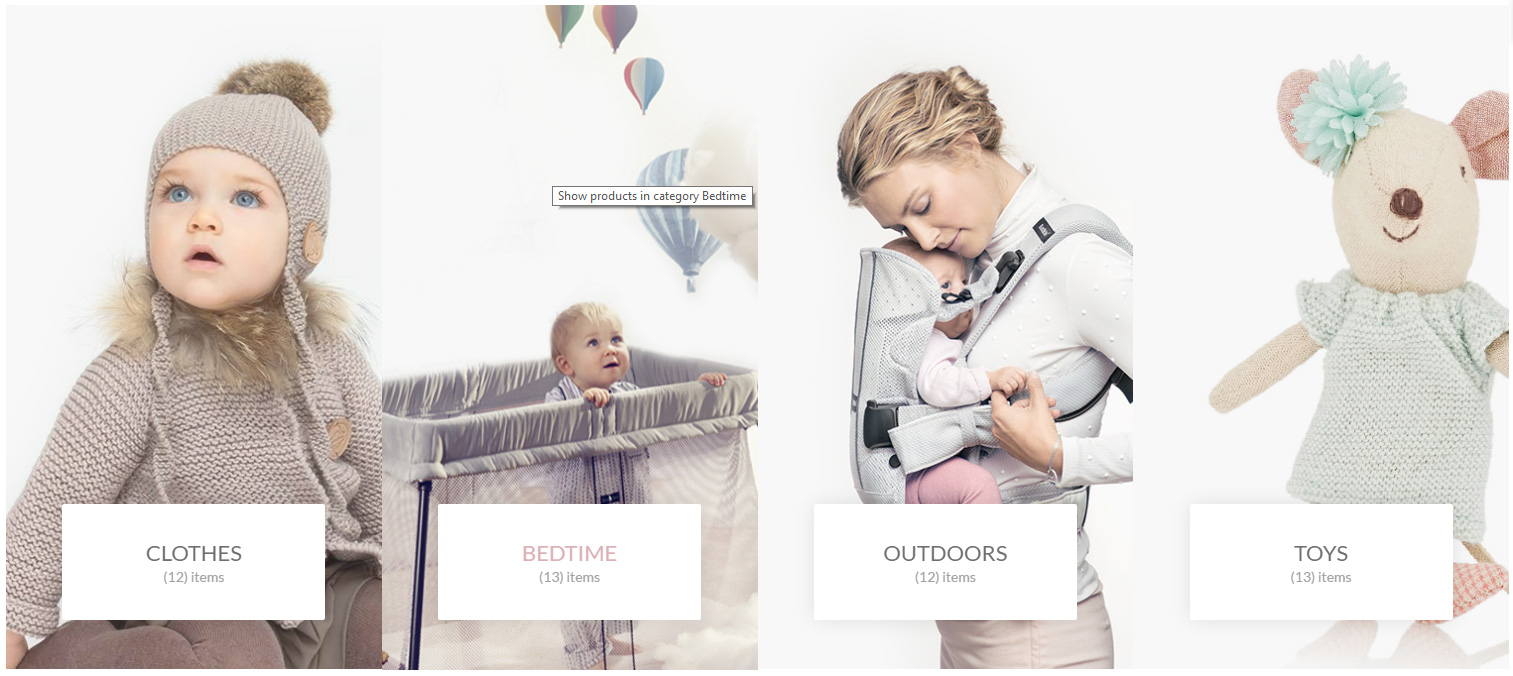
In order to achieve this, you will need to edit your Categories and check the Include on home page setting.
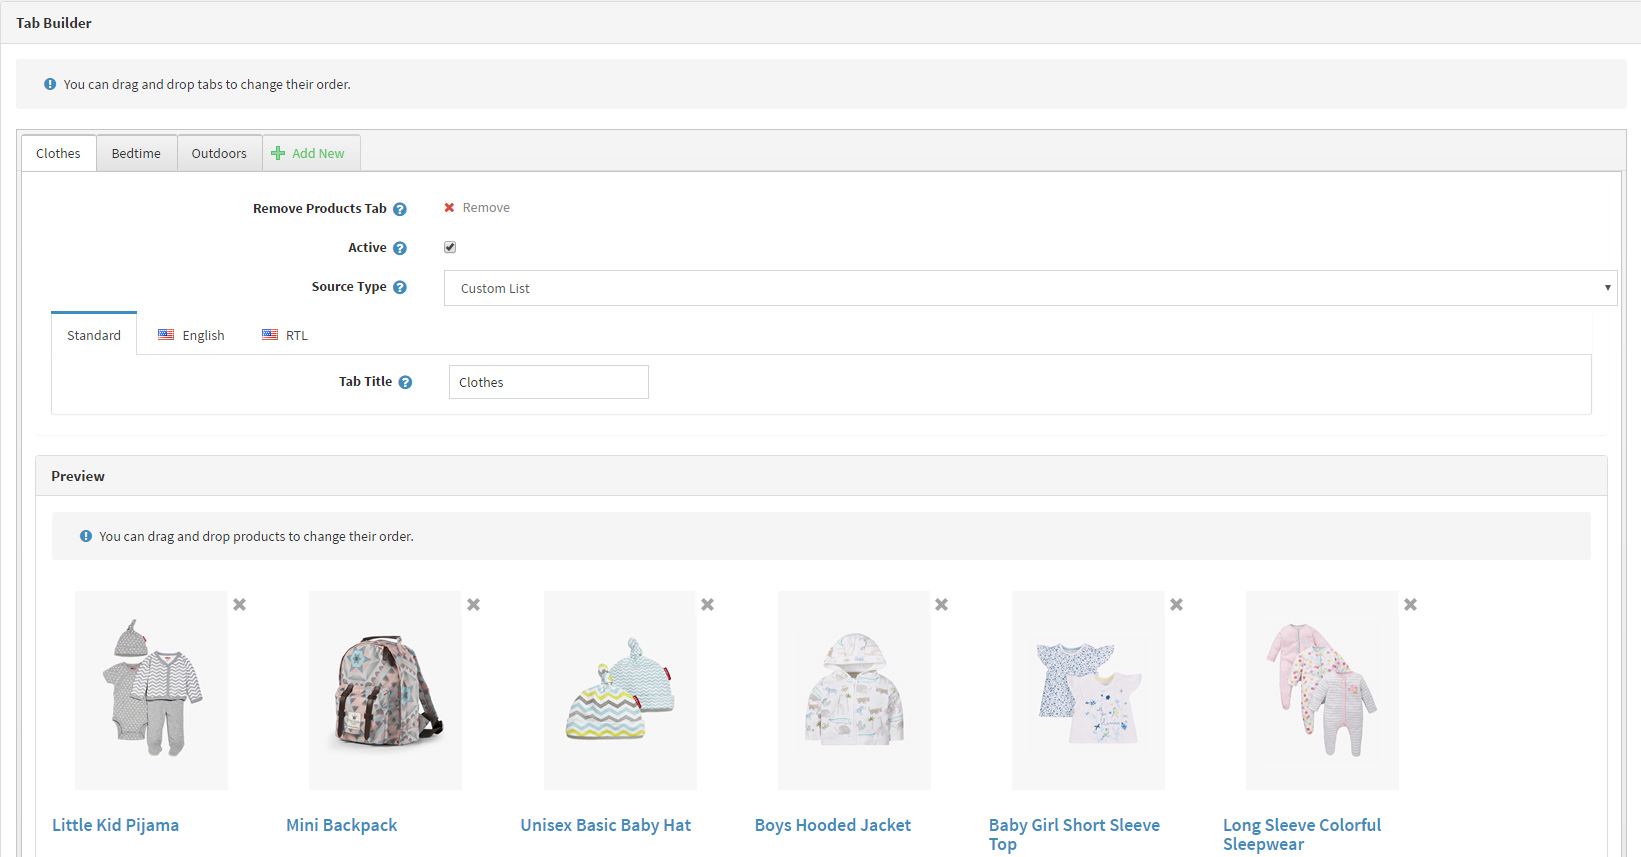
Moving on to the Featured Items section of your Home Page. This is a nice way to show your best products on your Home Page. Using the Nop Smart Product Collection Plugin you can not only show your desired products on the home page but group them accordingly by category.
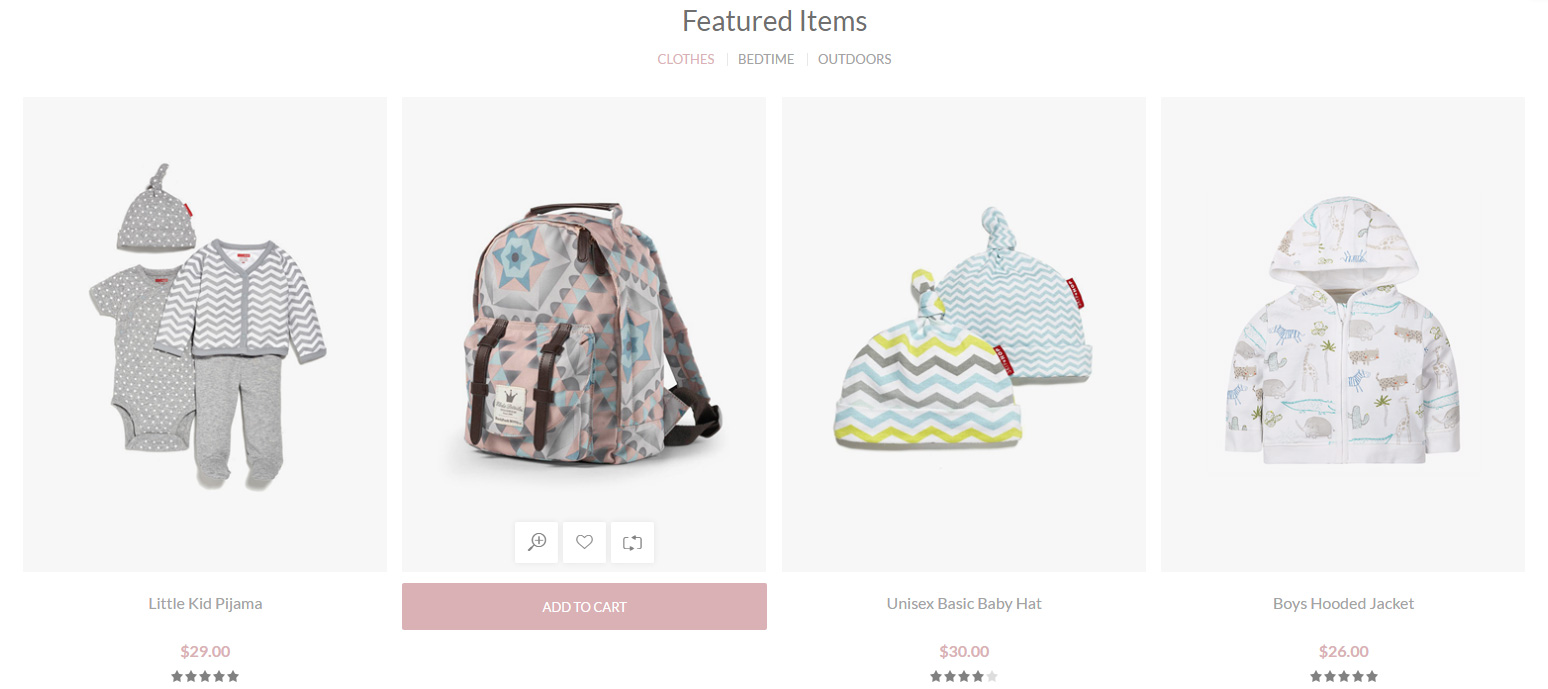
This effect is achieved by creating Custom Product Collection from the Administration of Nop Smart Product Collections.

You can arrange and group your products by category.
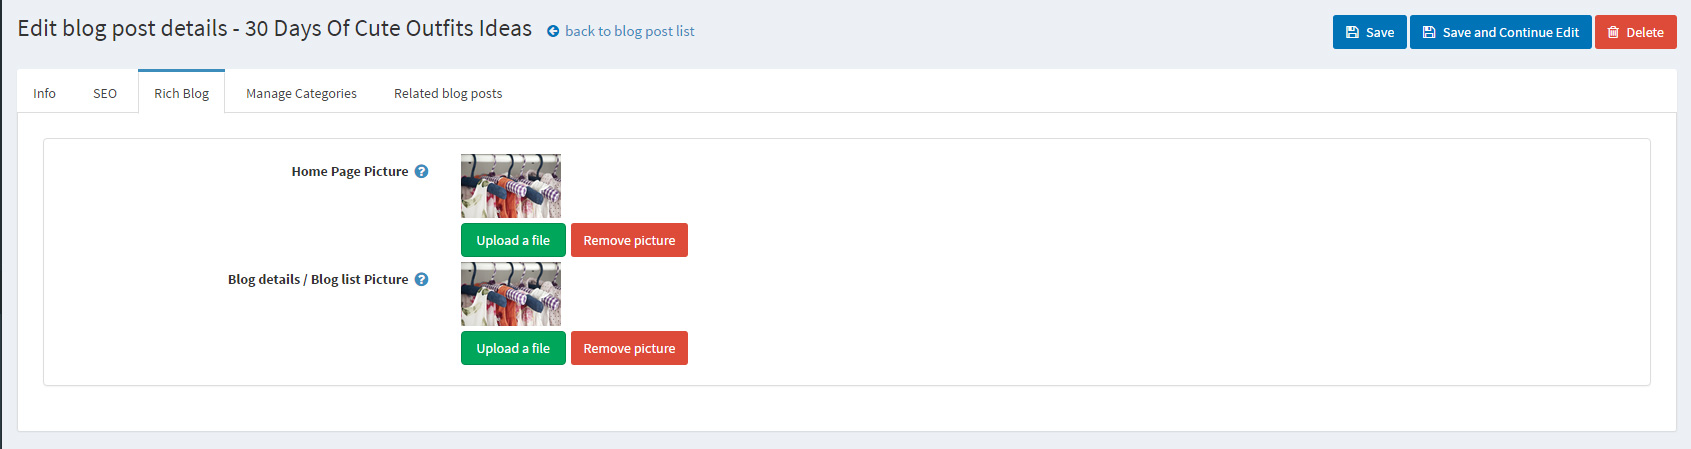
The next thing on your list when configuring the Home Page should be configuring your Blog.

You can upload images for your blog in Administration -> Content Managment -> Blog -> Blog Posts -> Edit Blog Post -> Rich Blog Tab .
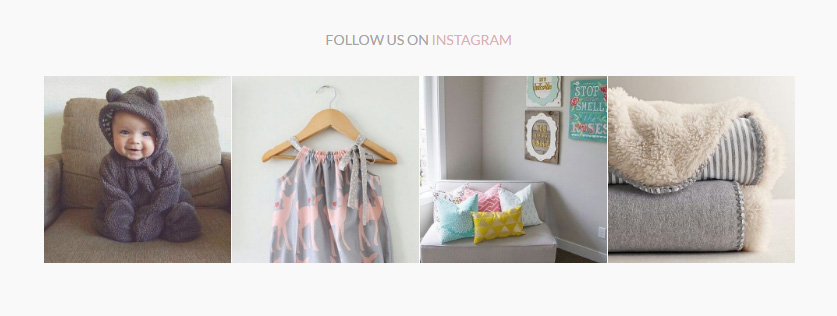
You can finish configuring the home page by enabling the Nop Social Feed Plugin. Thanks to our plugin you can get social feed directly from your social media accounts. Facebook, Twitter, Instagram, Google Plus and Pinterest are the available social media you can choose from. They are all well integrated on the Poppy Home Page as well as on the Social Page you can enable from the Social Feed Plugins Administration.
Let`s have a look at the configuration of the Instagram Social Feed:
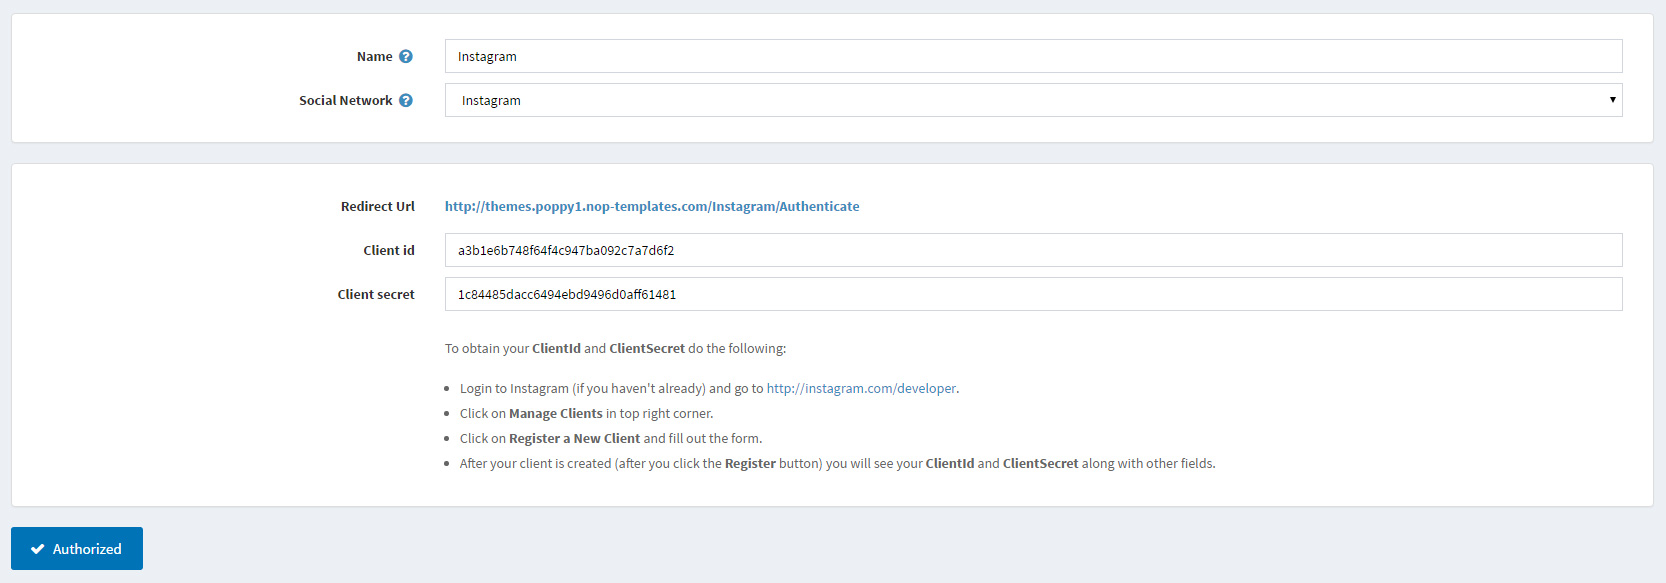
You will need to go to Administration -> Nop-Templates -> Plugins -> Social Feed -> Configure Social Networks and add a new social network, and configure it. You can learn more about configuring your Social Networks in the Nop Social Feed Documentation.
The next thing you will need to do is showing your social feed on your home page. This can be done from Administration -> Nop-Templates -> Plugins -> Social Feed -> Manage Social Feeds. Here, you would also need to add a new Social Feed. Give your Social Feed a name and choose your Social Network (in this case Instagram) and save. You can find more information about the settings here in the Nop Social Feed Documentation.
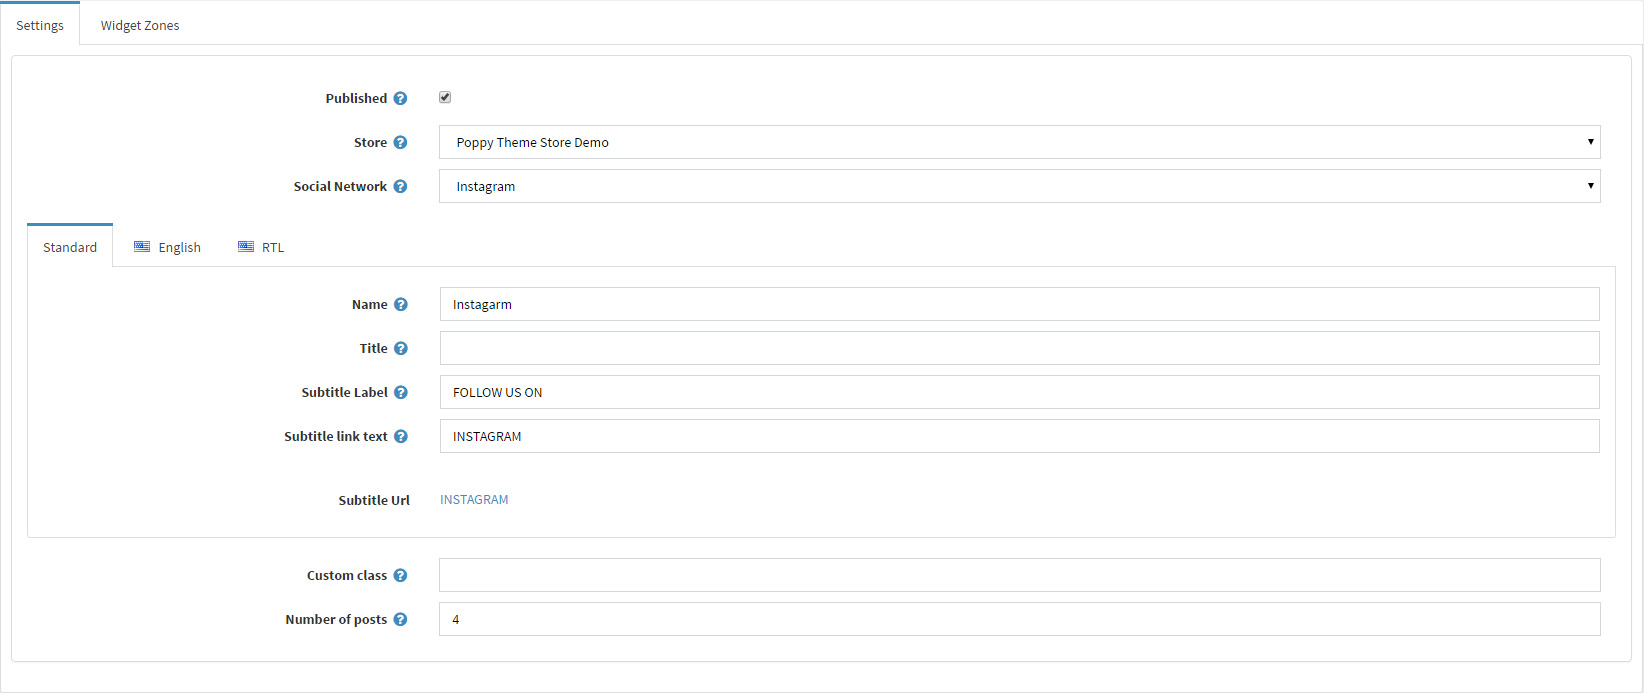
After that, you will need to choose your widget zone and your Social Feed set up is ready. In this case, the widget zone is "instagram_default".

Configure your Category Page
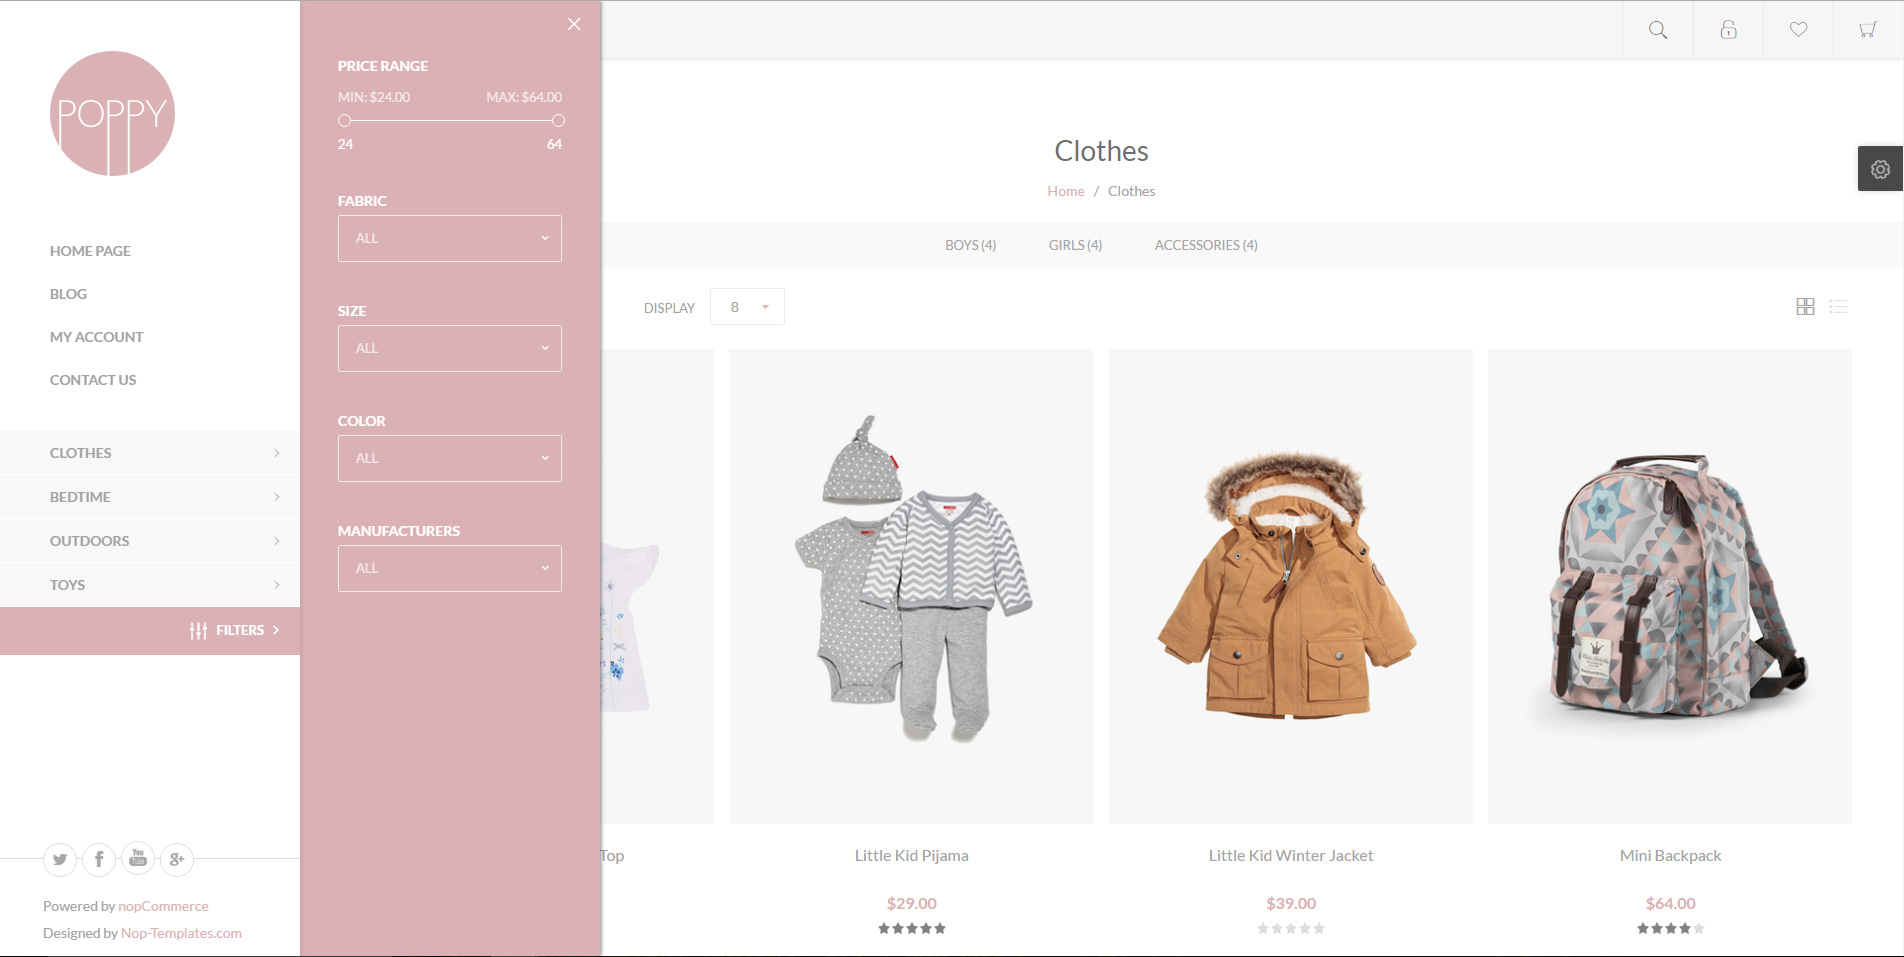
There is nothing special in configuring your category page. Just make sure that the category Page Size Options are set to numbers that are divisible by 4 like 4, 8, 12, 16, ... because products are 4 per row. Also enable the Nop Ajax Filters plugin.
After enabling Nop Ajax Filters you will be able to find the filters under the Mega Menu like in the image below.
Configure your Product Page
As it comes to the product page there are some plugins that you need to enable and configure. Make sure that the Nop Cloud Zoom, Nop Quick Tabs, Nop Previous/Next plugins are enabled and configured.
The Related Products and Products Also Purchased number should be set to 4.
Facebook Shop Integration
The theme has a Facebook Shop integration via our Nop Facebook Shop plugin, which allows you to sell products directly on your Facebook page. Your customers can browse your catalog and search for the right product right within Facebook. Every change to each product is updated in real-time. To see a live preview of the Facebook shop for the Nop Poppy Theme, click here.
Tips and Tricks
- Have high quality product images so that the zoom on the product page works better.
- Have a play with all the plugins and read their documentation to see how you can use them properly and make the best of them.
For more information on the terms used please refer to our Glossary.