Before you can use the Nop Voyage Theme you need to install it.
For more information about the installation of a nopCommerce Theme refer to our How To Install A Theme article.
Admin DEMO - see the theme administration.
Plugins
The theme comes with 14 of our plugins:
- Nop Ajax Cart
- Nop Ajax Filters
- Nop Anywhere Sliders
- Nop Cloud Zoom
- Nop Facebook Shop
- Nop Instant Search
- Nop JCarousel
- Nop Mega Menu
- Nop Product Ribbons
- Nop Quick Tabs
- Nop Quick View
- Nop Rich Blog
- Nop Sale Of The Day
- Nop Smart Product Collections
Voyage - Theme Settings
The Nop Voyage Theme has different configuration options which you can manage from the administration. This is the Theme settings section. It can be accessed by Administration -> Nop-Templates -> Themes -> Voyage -> Settings.
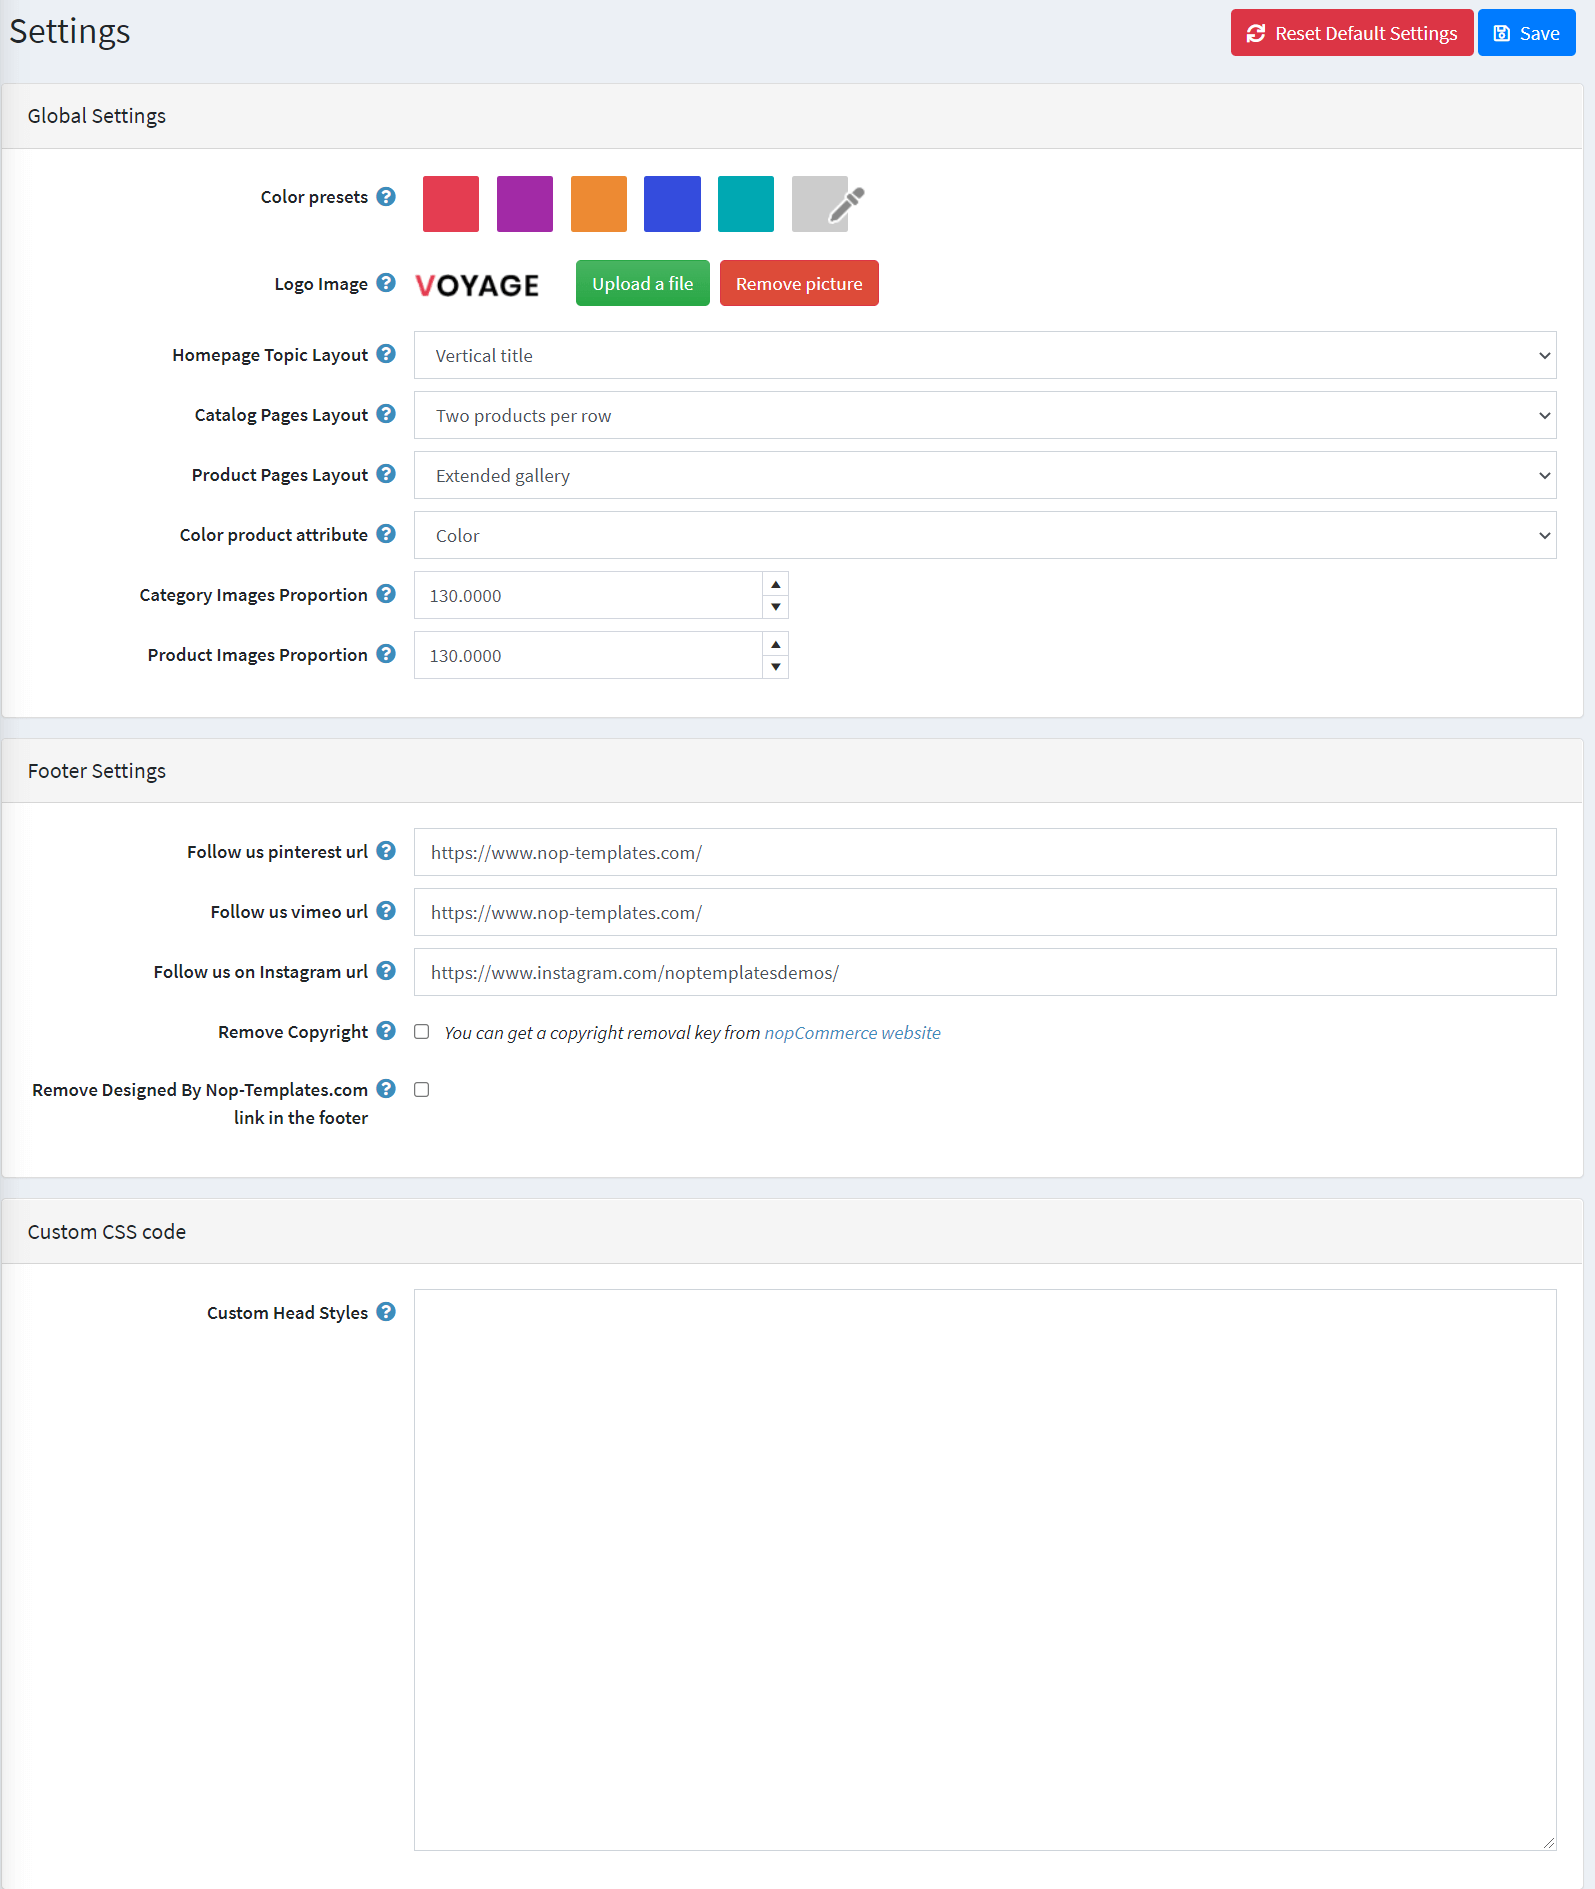
Global Settings
- Color presets - Choose a color preset among the 5 predefined color options within the theme. You have also the option of choosing your own color combination by choosing the last option with custom color pickers controls.
- - upload a logo to your site.
- Homepage Topic Layout - Choose between horizontal and vertical title for the HomePage topic text (а topic with system name HomepageText). Vertical works best for short titles. For longer titles, Horizontal works better.
- Catalog Pages Layout - Choose from two predefined layouts for your Category Page
- Product Pages Layout - Choose from two predefined layouts for your Product Page
- Color product attribute - The Product Attribute that will be displayed inside the product boxes (this attribute should be of type "Color Square")
- Category Images Proportion - Set the value in percentage of how the height of the category images relates to the width. I.e. 100 means that the image height is 100% from the image width, which means it is a square image
- Product Images Proportion - Set the value in percentage of how the height of the product images relates to the width. I.e. 100 means that the image height is 100% from the image width, which means it is a square image
Note: the theme is designed to work with:
- Category and Product images that are of 10/13 proportion ("portrait" images), which means that the height of the images should be 130% of their width
- Manufacturer and Vendor images that are of 4/3 proportion ("landscape" images), which means that the height of the images should be 75% of their width
- these proportions can be changed from the administration, but for best results use images with the default aspect ratio as explained above
Footer settings
- Follow us Pinterest url - Insert your follow us URL address on Pinterest. If left empty the icon in the footer will not be displayed.
- Follow us Vimeo url - Insert your follow us URL address on Vimeo. If left empty the icon in the footer will not be displayed.
- Follow us Instagram url - Insert your follow us URL address on Instagram. If left empty the icon in the footer will not be displayed.
- Remove Copyright - Remove Copyright notice after a copyright removal key had been purchased by www.nopCommerce.com
- Remove Designed By Nop-Templates.com link in the footer - By applying this link in your footer you will receive 10% discount on any future purchase.
Custom CSS Code
In this section, you can find the Custom Head Styles filed, which you can use to add your own CSS code that overrides the existing CSS of the theme. It is recommended to add custom CSS code in this section, instead of modifying the theme/plugins CSS code, as it is persisted after an update/upgrade.
Theme settings in the Voyage demo
The main changes we made from the default Voyage theme settings for our demo are:
- We changed the Homepage Topic Layout to Vertical title, which changes the layout of the topic title that is being displayed on the homepage (a Topic, with a system name HomepageText)
- We use Two products per row for the Catalog Pages Layout
- We use Extended gallery for the Product Pages Layout
- The Color Product Attribute should be set to the product attribute of type Color Squares that you use for your store.
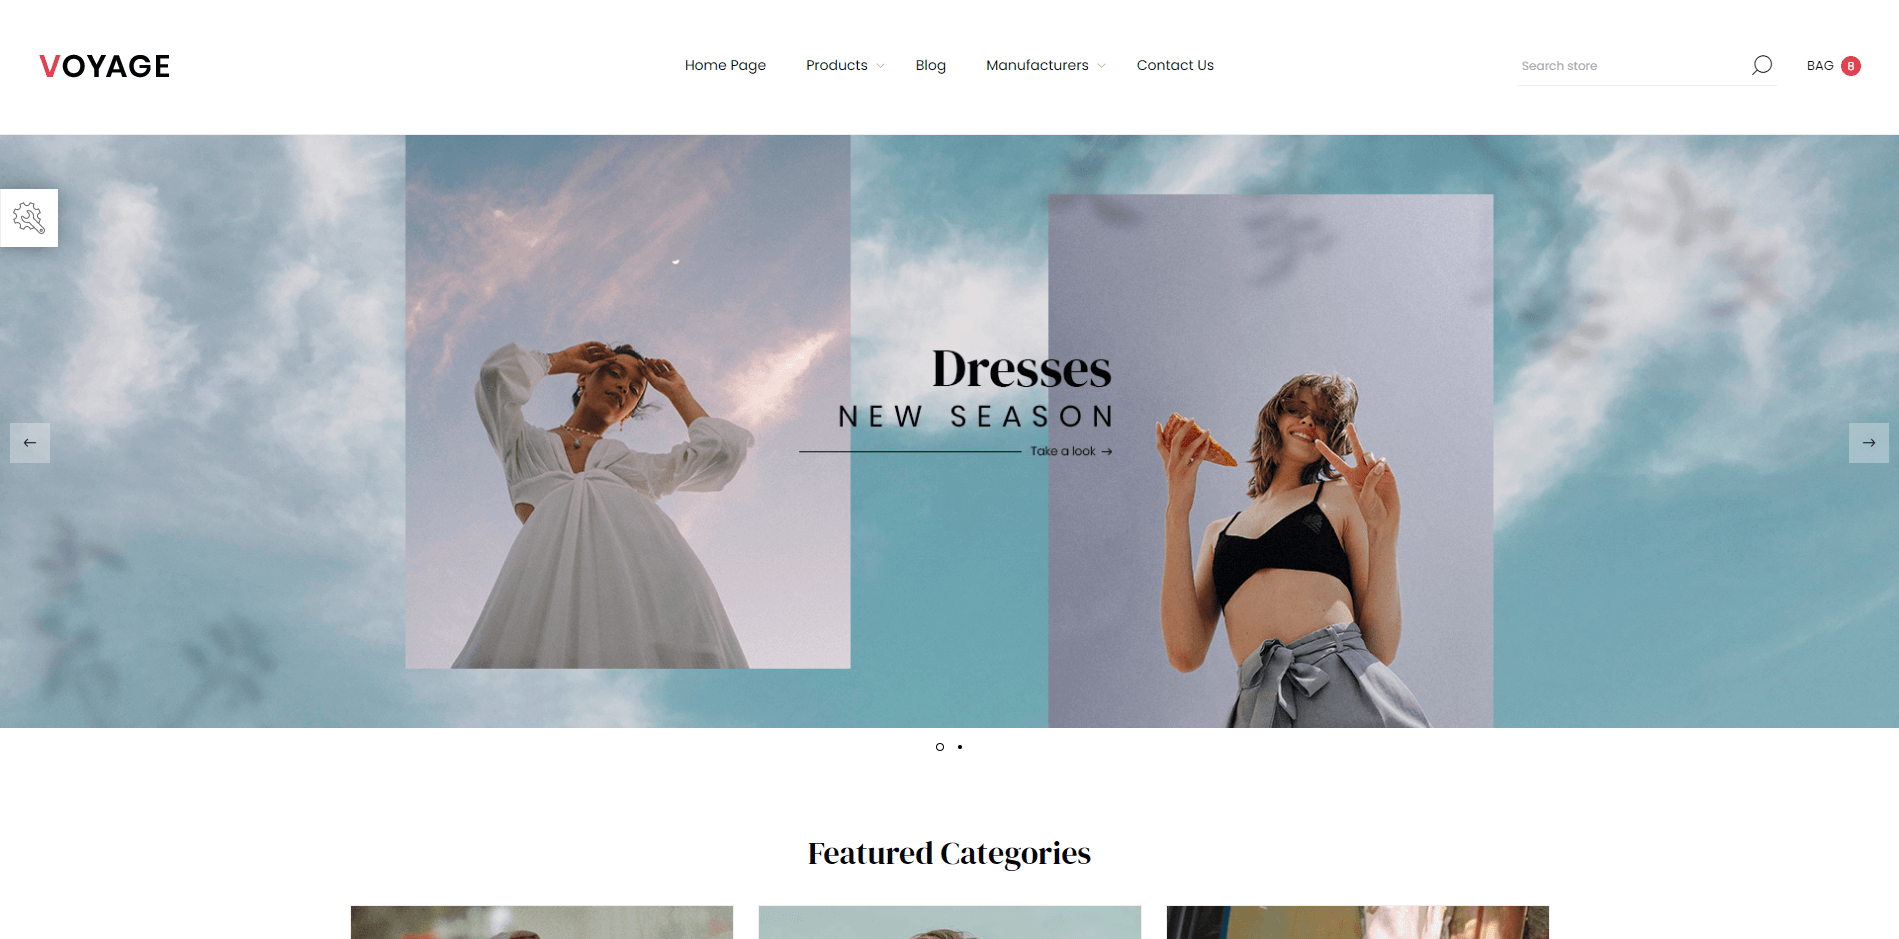
CONFIGURE your homepage
You need to have in mind the following options when setting up your store home page. Please have a look at the different elements you can display on the home page.
Setting up Mega Menu
Using the Nop Mega Menu plugin create a new menu and give it a name:
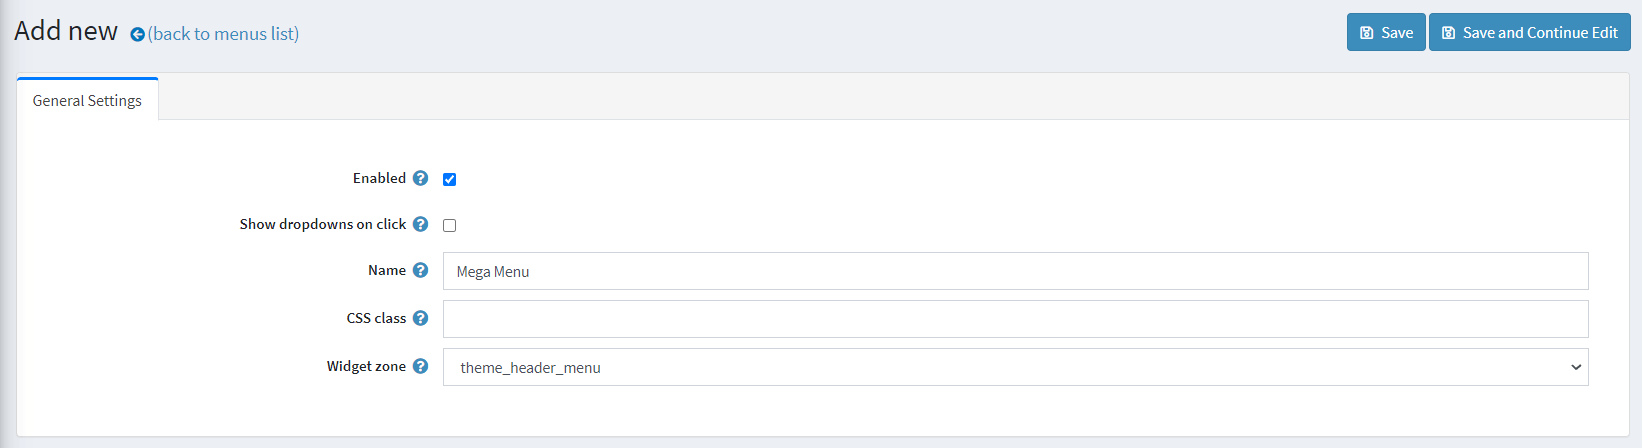
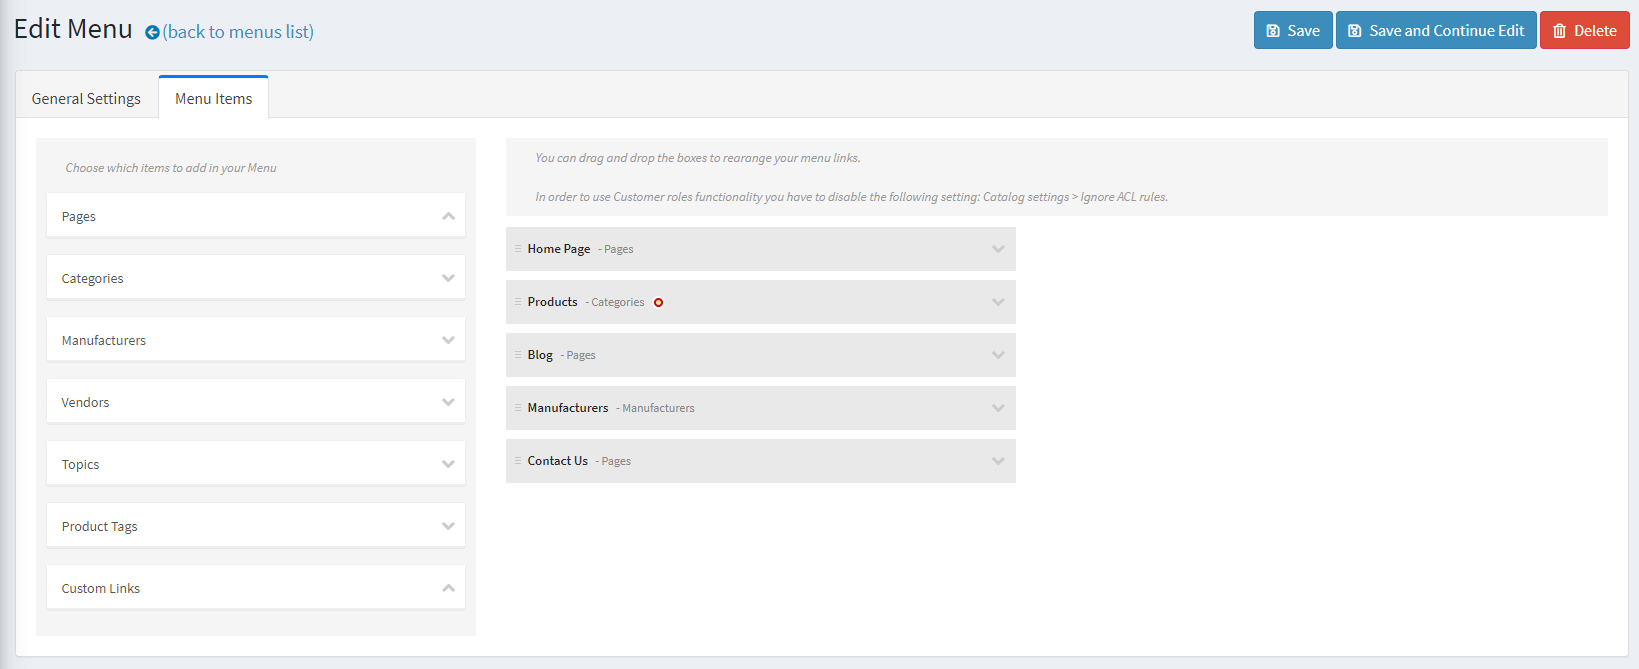
Once you create the menu, you will be able to manage the menu items through the Menu Items tab:
Setting up Anywhere Sliders
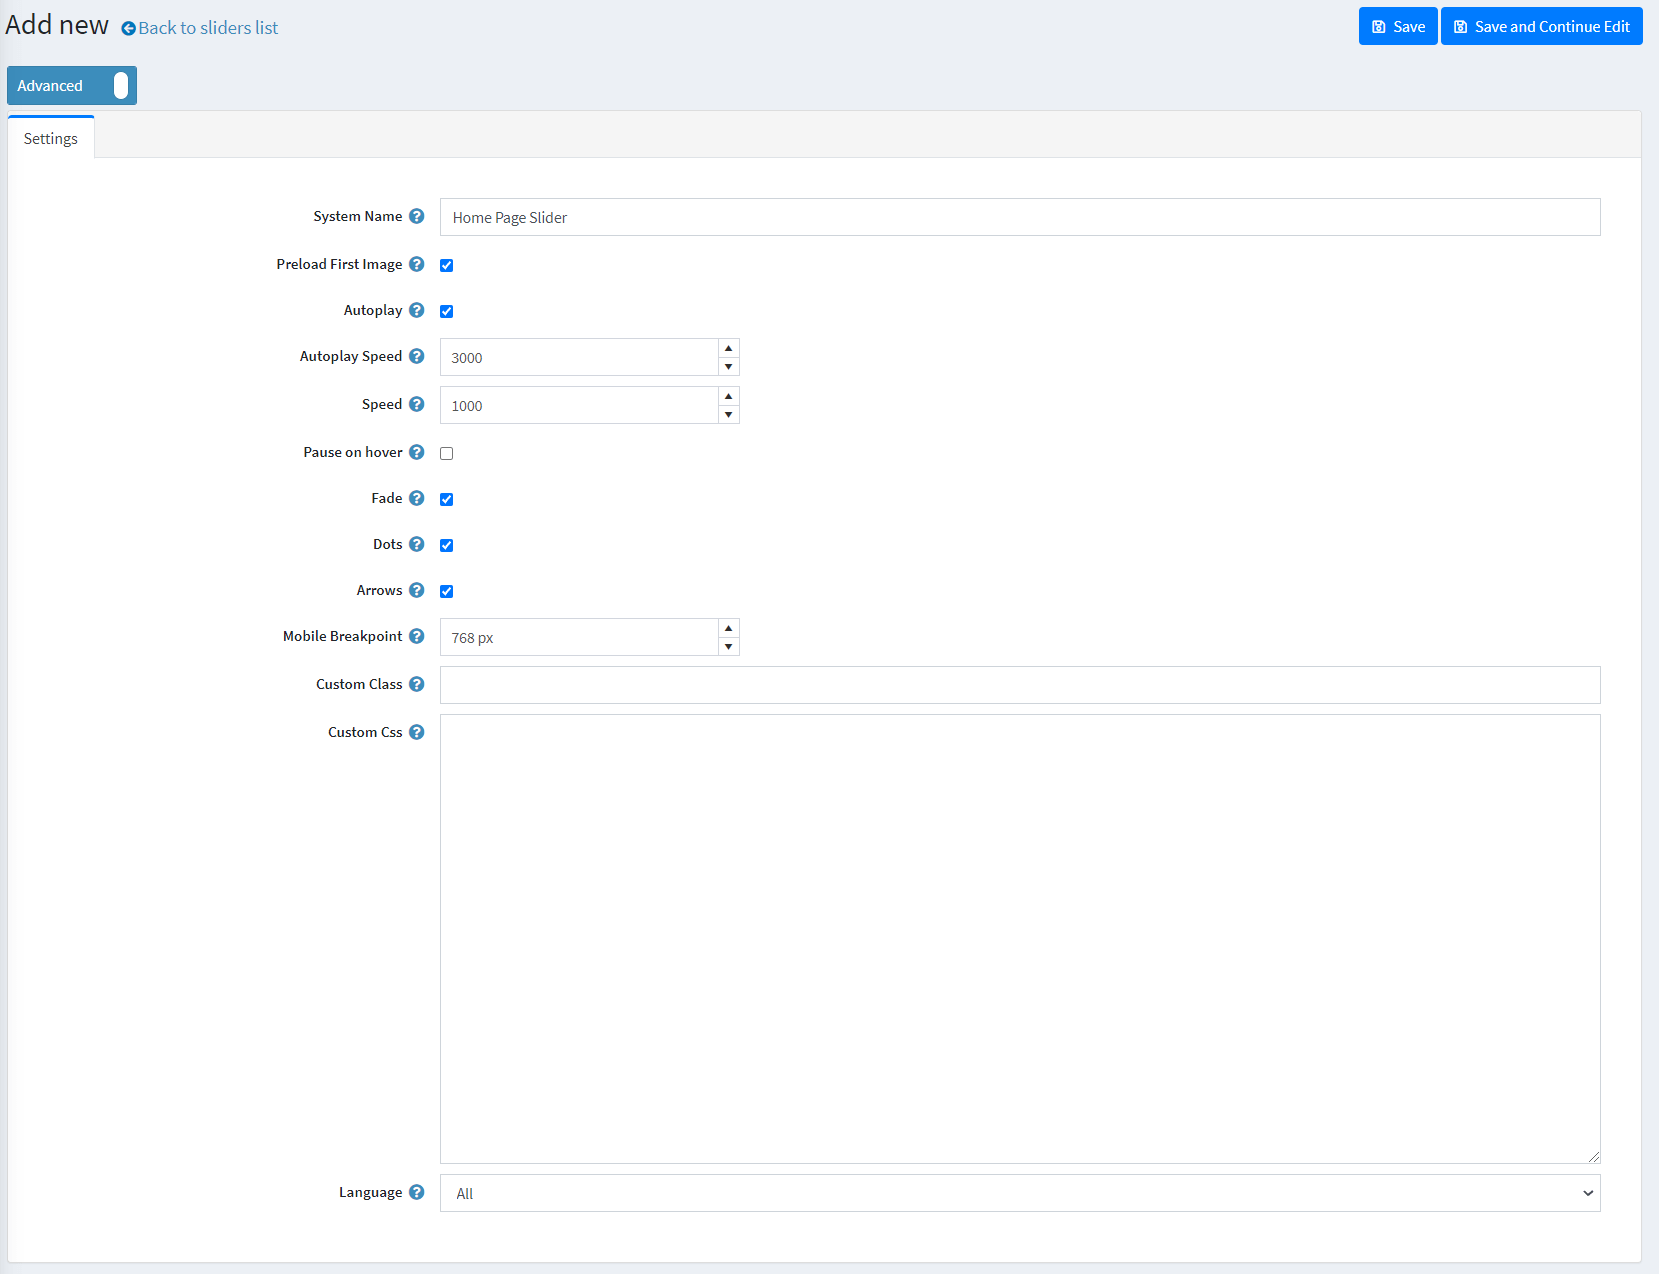
Then you should create a slider using the Nop Anywhere Sliders plugin as shown below.
Create a new slider, set a System Name, enable the Arrows and Dots checkboxes (and Preload First Image if you wish for the first slider to be loaded with the page load) and save the changes:
Add the desired images (or HTML content) by clicking Add a new slide:
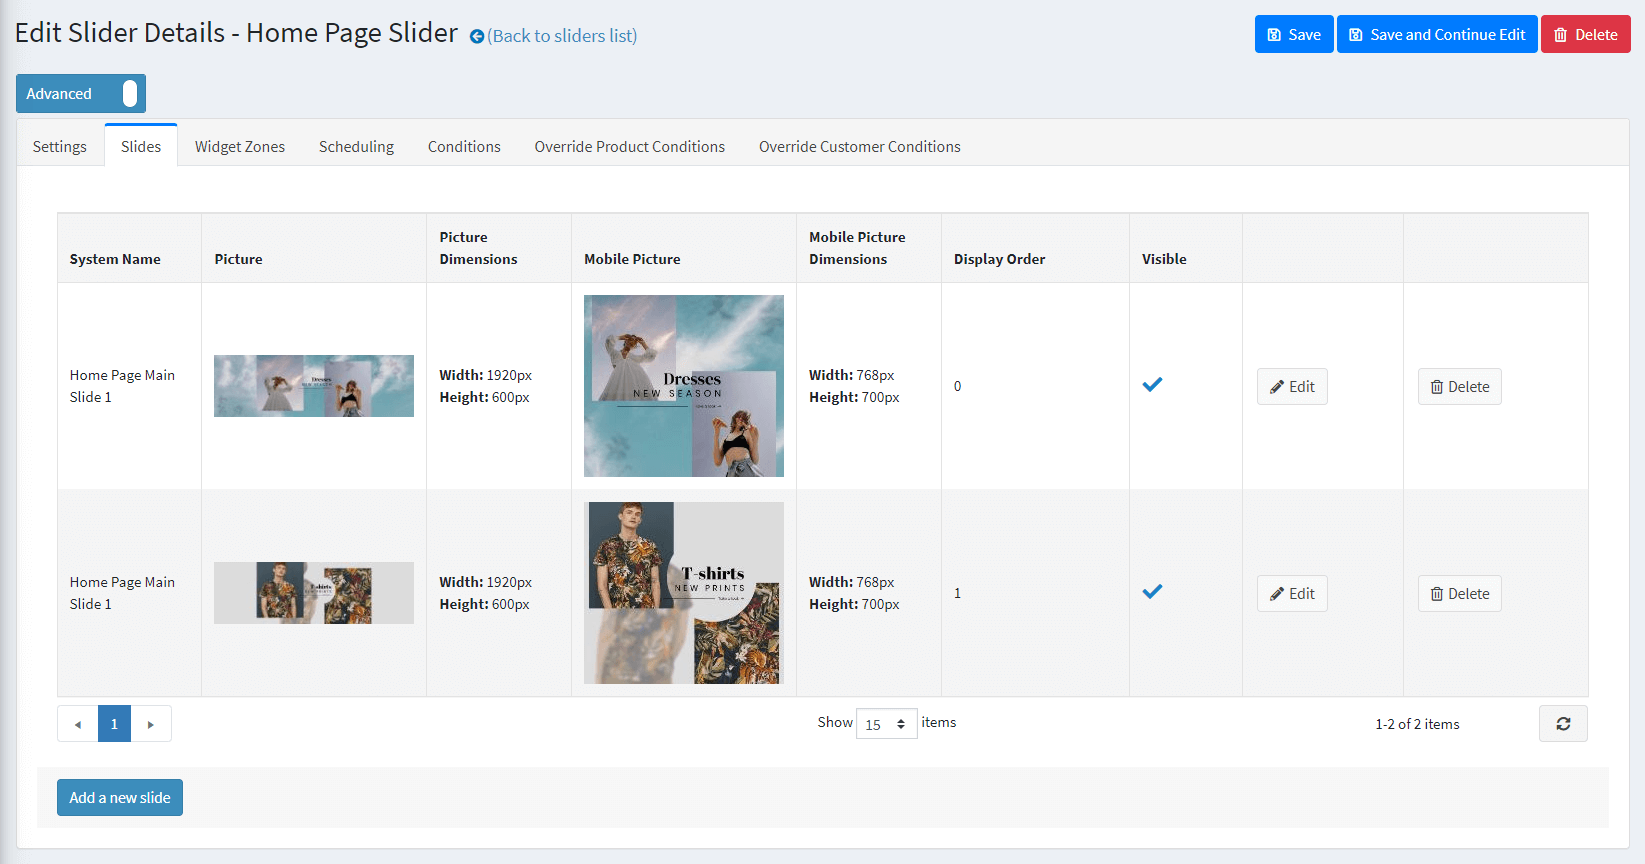
Under the Widget Zones tab, select the home_page_main_slider widget zone:

Setting up Featured Categories and Featured Products
The Featured Categories and Featured Products section are coming from the default nopCommerce functionality. In order to add them, you need to enable the Show on home page checkbox from the Category/Product edit page in the nopCommerce administration.
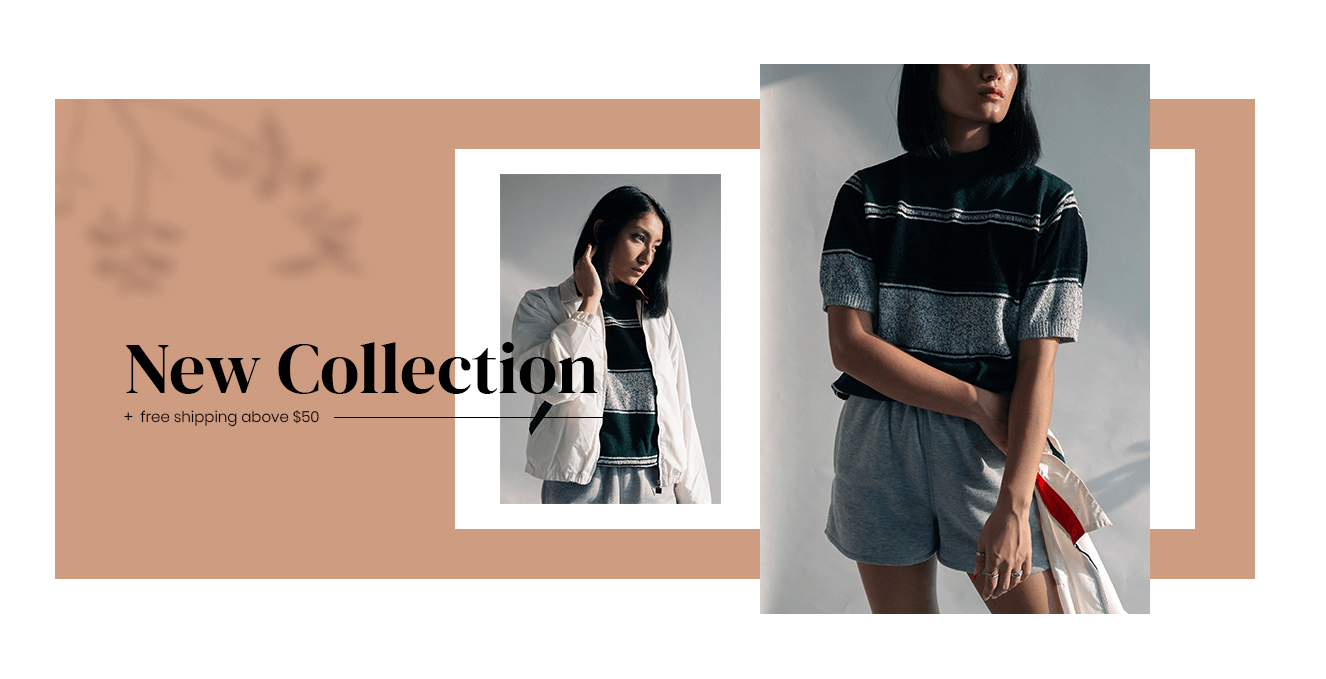
Setting up home page banners
The banners on the homepage are created using the Anywhere Sliders plugin. Create a slider with a single slide and assign it to the desired widget zone.
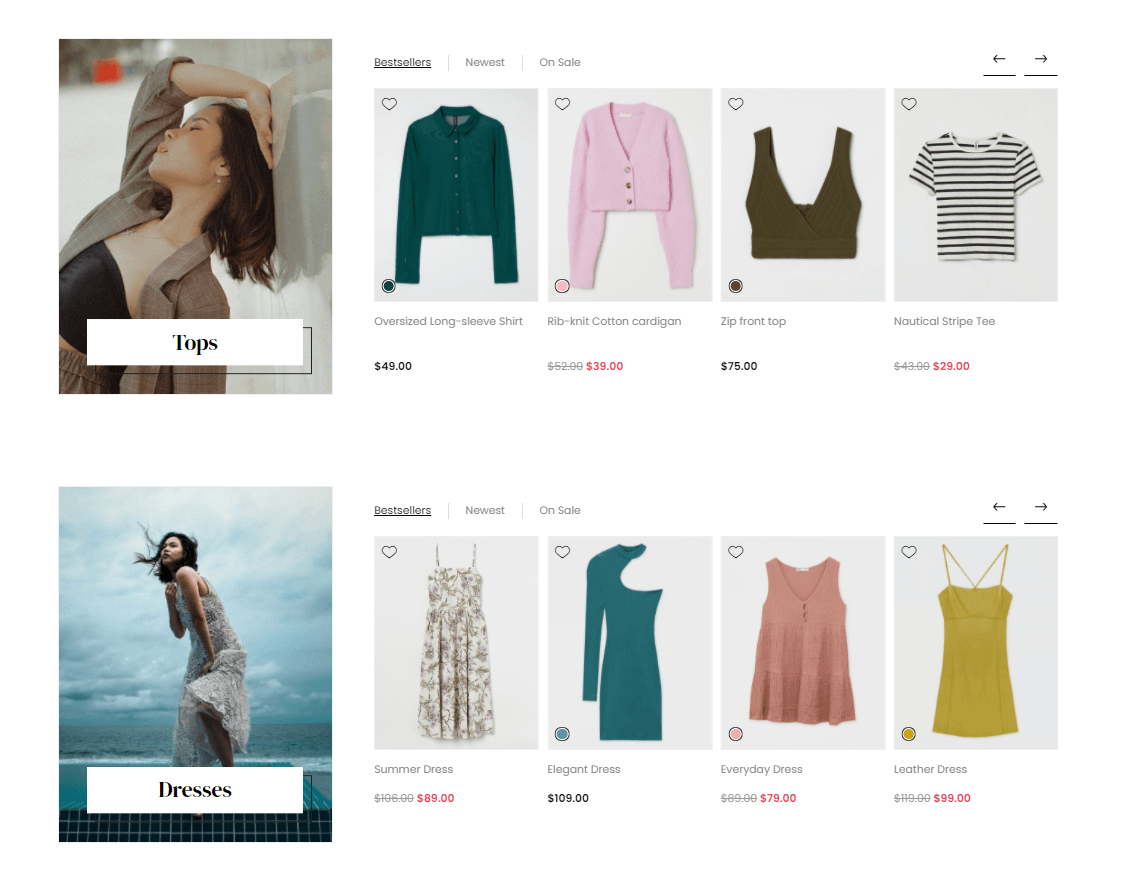
Setting up Smart Product Collections
The main parts of the theme home page are displaying the so-called smart product collections. They can be configured from the Nop Smart Product Collections plugin. The section below is created using a Custom Product Collection:
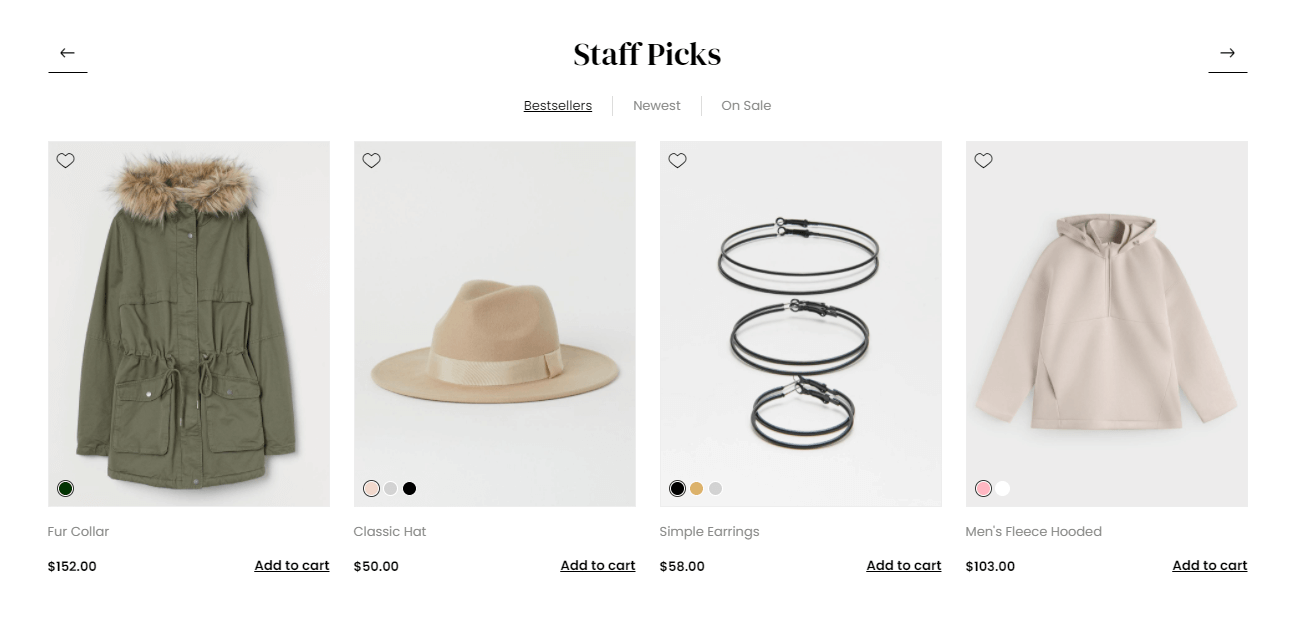
In order to create such custom collection, go to the nopCommerce administration -> Nop-Templates -> Plugins -> Smart Product Collections -> Custom Product Collections and click on Add new
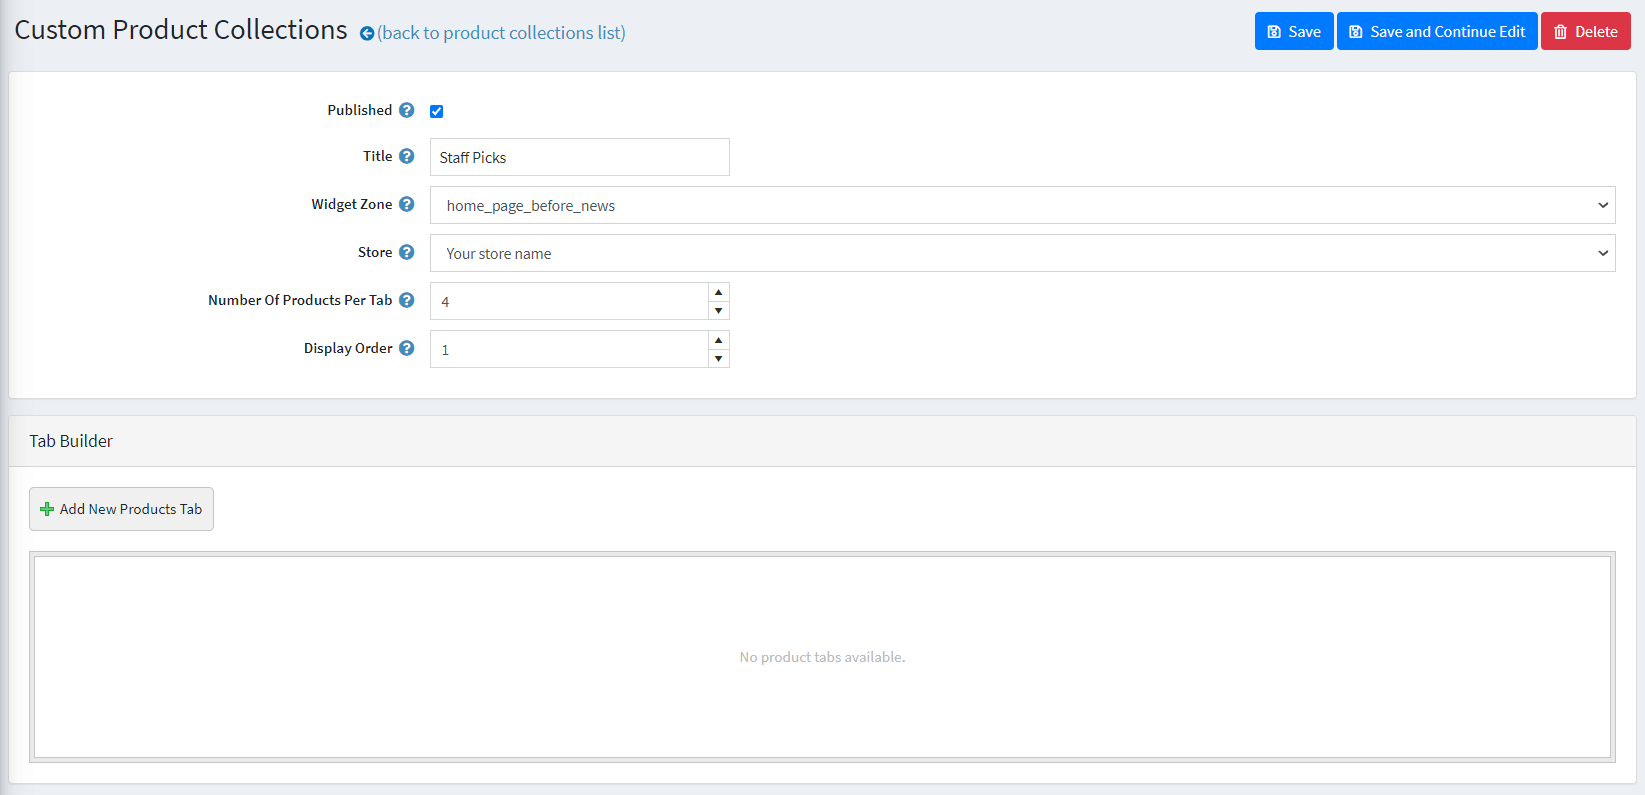
Add the title for the collection and choose the desired widget zone. Then add product tabs below (for more details on the Custom Product Collections, please refer to our documentation).
You can check out the configuration of the Custom Product Collection on our demo store in the Admin Demo.
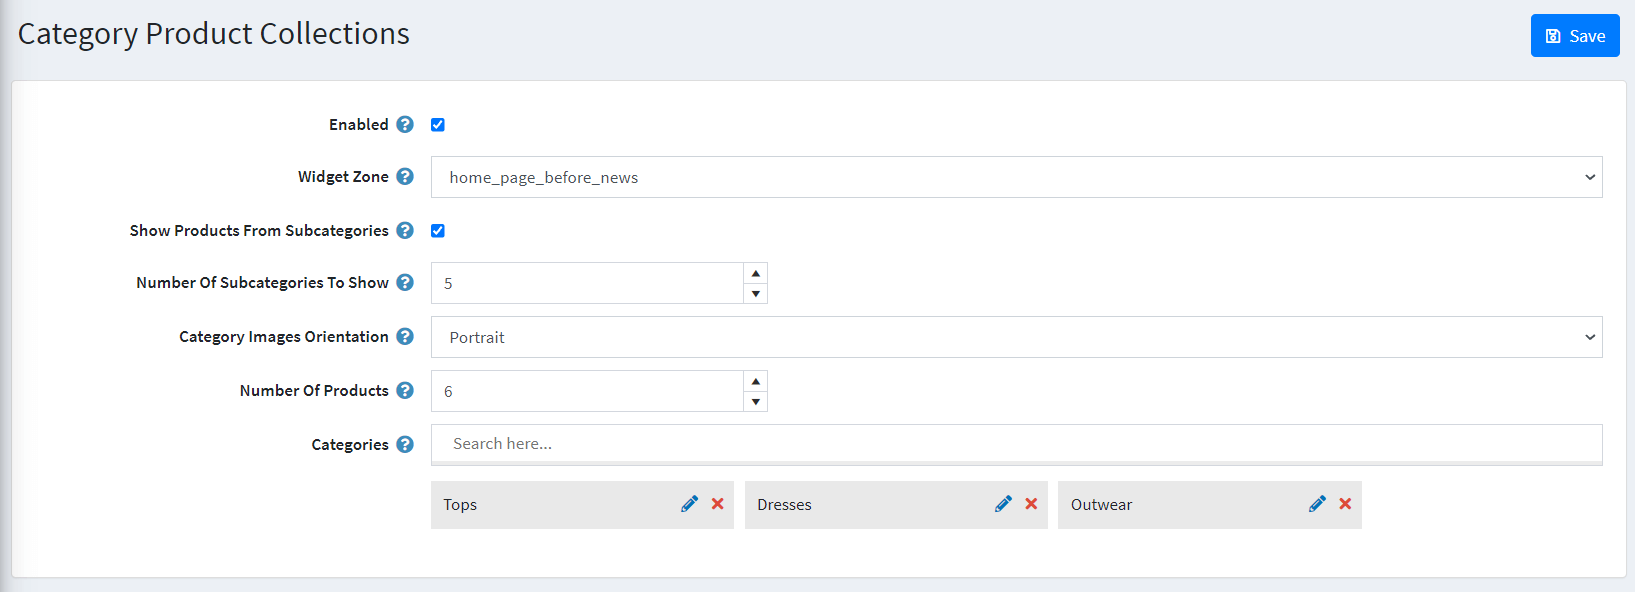
And here is how you can create the other collections section with the Smart Product Collections plugin:
Go to the nopCommerce administration -> Nop-Templates -> Plugins -> Smart Product Collections -> Category Product Collections:
Setting up Rich Blog
Between the Category and Custom Product Collections, we have positioned our Rich Blog:
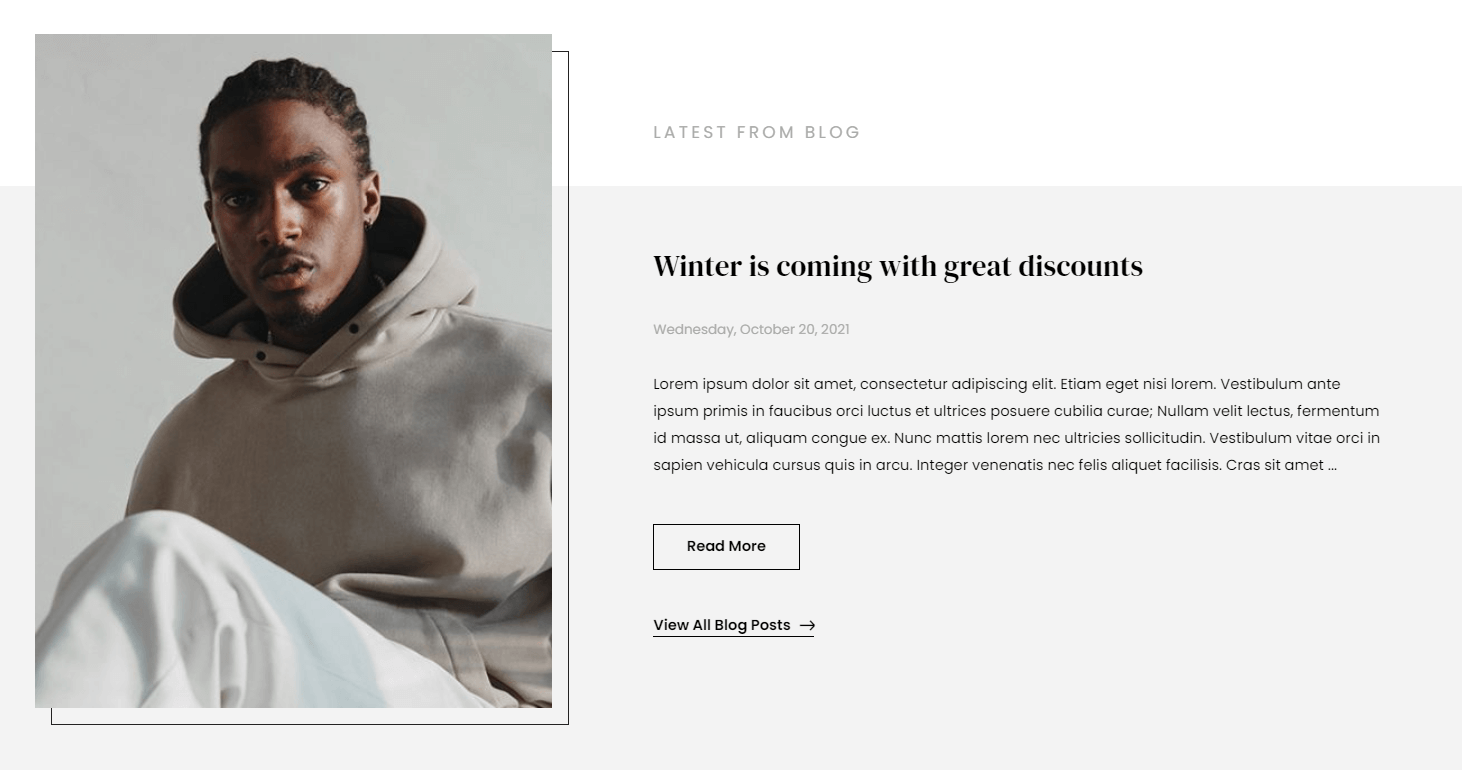
All you need to do is to enable the Rich blog plugin in the Nop-Templates -> Plugins -> Rich Blog. Then, you need to change Number of Blog Posts to show (home page) under the Home Page Settings tab to 1
Setting up Sale of the day
After the Smart Product Collections, we have the Sale of the day plugin:
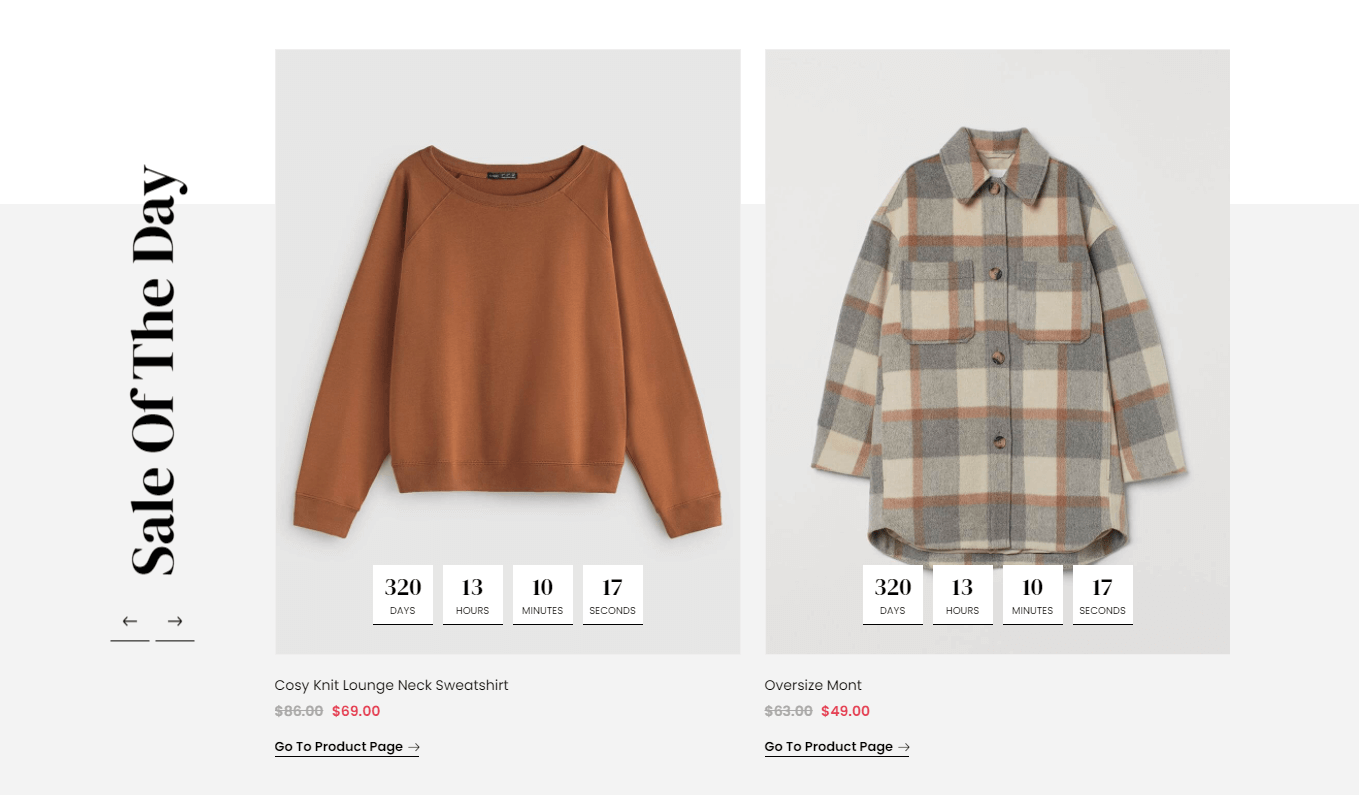
In order to configure the Sale of the day plugin, go to Nop-Templates -> Plugins -> Sale Of The Day -> Manage Offers and create a new offer by giving it a Title. Once you create the offer, new tabs will appear:
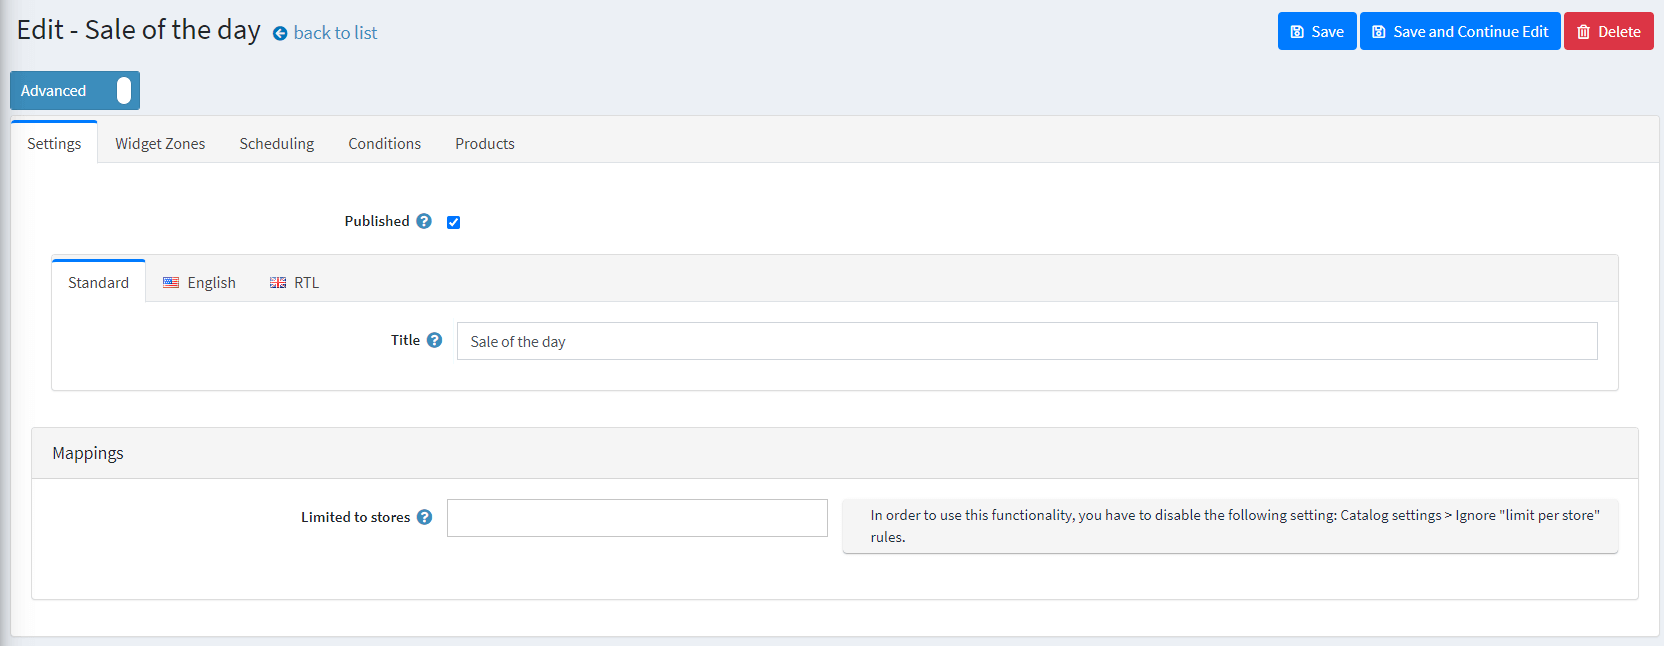
First, you need to map it to a widget zone under the Widget Zones tab. Then, you can set a schedule for the offer under the Scheduling tab. Finally, you need set which products will be added to the Sale of the day. You can either do that by using our conditions framework under the Conditions tab or manually add the products you wish under the Products tab.
Note: You need to have at least 2 products added.
Setting up JCarousel plugin
After the Sale of the day section, we have another anywhere slider banner, which you already know how to set up - one slide assigned to a widget zone.
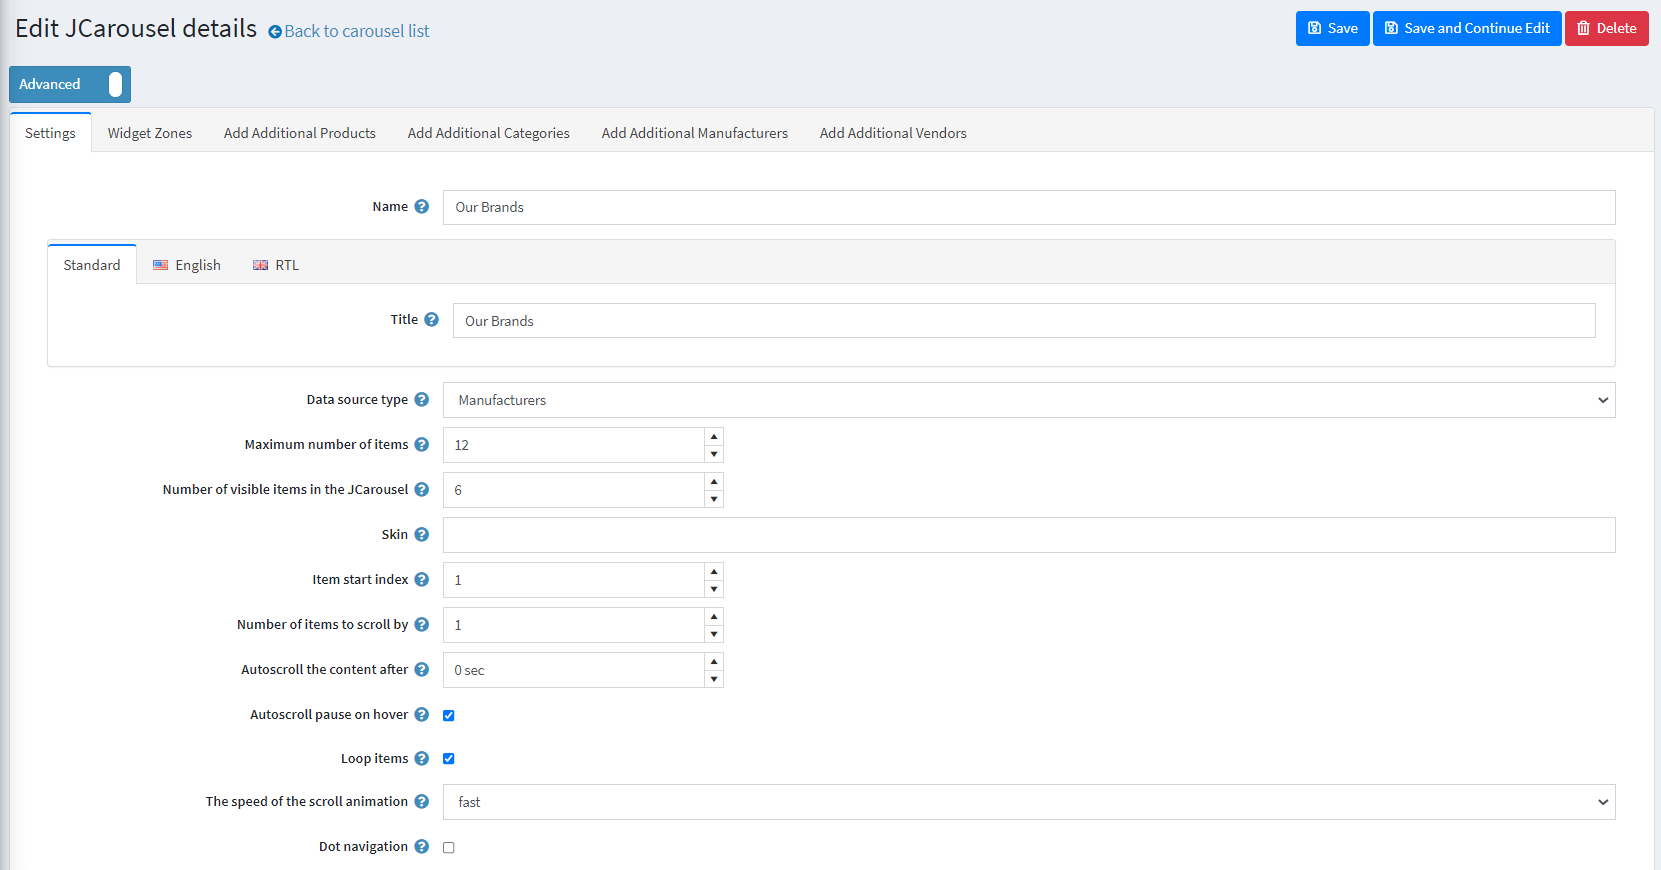
Then finally, at the bottom of the homepage, we have a carousel with the manufacturers, which is created through our JCarousel plugin:

You can create a JCarousel by going to Nop-Templates -> Plugins -> JCarousel -> Manage JCarousels.
Give it a Name, which is visible only in the administration, a Title that is displayed on the website and select its Data source type, which tells what items will there be in the carousel. In our case, the data source type is Manufacturers.
Then, you have a few other settings that you can use to modify the behavior of the carousel. Once you create the JCarousel, you will have to map it to a widget zone, under the Widget Zones tab:
And that's it, you now have your homepage configured like our Voyage demo homepage.
Tips and Tricks
- Have high-quality product images so that the zoom on the product page works better. Note: The cloud zoom plugin works only with Product Pages Layout set to Standard gallery and not with Extended gallery
- Quantity Input in Ajax Cart plugin is not available in the Voyage theme
- Add to Cart button is not available for Category Product Collections - to buy a product from such collection you will be redirected to the Product Details page
- Quick Tabs - there are two different layouts for Quick Tabs, one is used on Standard Image Gallery pages, and the other is used on Extended Image Gallery pages and pages of grouped products. Due to layout specifics, the Enable Ajax setting in the Quick Tabs administration should be disabled in Voyage theme.
- Have a play with all the plugins and read their documentation to see how you can use them properly and make the best of them.
For more information on the terms used please refer to our Glossary.