
NopCommerce is one of the leading ASP.NET e-commerce platforms. It is open-source, sports a myriad of built-in features, has an active online community and is strongly supported by its partners.
One of the major things that set nopCommerce apart from all other ASP.NET based e-commerce platforms is its rich and well-structured marketplace that consists of more than 1,500 extensions and more than 170 themes.
Having such a wide choice of plugins and themes enables you to effortlessly extend your website’s functionalities and customize its look in a way that perfectly matches your brand identity.
But before you can enjoy the benefits of the available nopCommerce themes and plugins, you need to install them.
In this blog post, we will give you a step-by-step guide to installing a nopCommerce theme. We will discuss two installation scenarios - installing a theme on nopCommerce 4.00 and above, and installing a theme on nopCommerce 3.90 and below.
The process of installing a theme on nopCommerce version 4.00 and above is simpler because themes can be uploaded directly from the administration panel.
Installing a theme on nopCommerce 4.00 and above
1 Go to the nopCommerce marketplace.
You can also browse the nopCommerce marketplace directly from the admin panel of nopCommerce. To do this, go to ‘Administration’ → ‘Configuration’ → ‘Plugins’ → ‘All plugins and themes’.
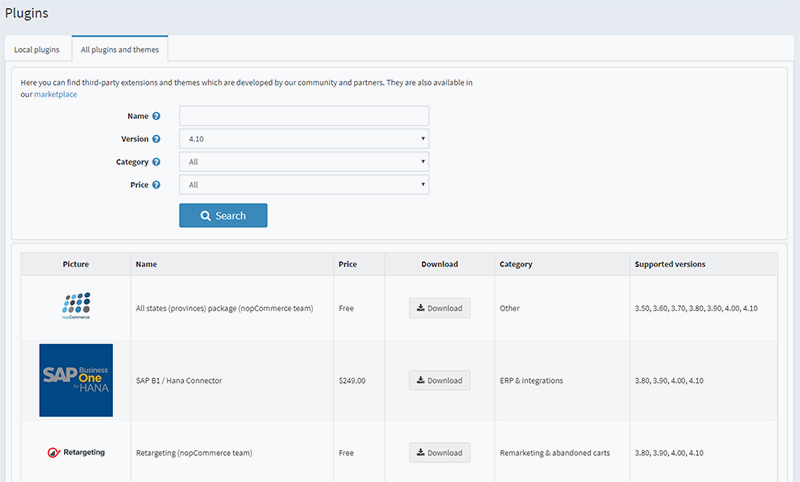
2 Click on the ‘Templates & Themes’ category.
3 Find the theme you want to purchase. Click on it. Click on the ‘Get Extension’ button on the right. You will be redirected to the website of the vendor who developed the theme.
Below, we will describe the process of installing a Nop-Templates theme on nopCommerce.
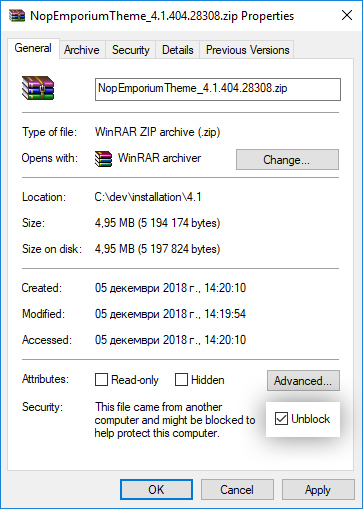
1 Unblock the zip. file. To do this, you need to:
- Right click on the zip. file
- Click on ‘Properties’
- Mark the ‘Unblock’ checkbox
- Apply the changes and click on the ‘OK’ button
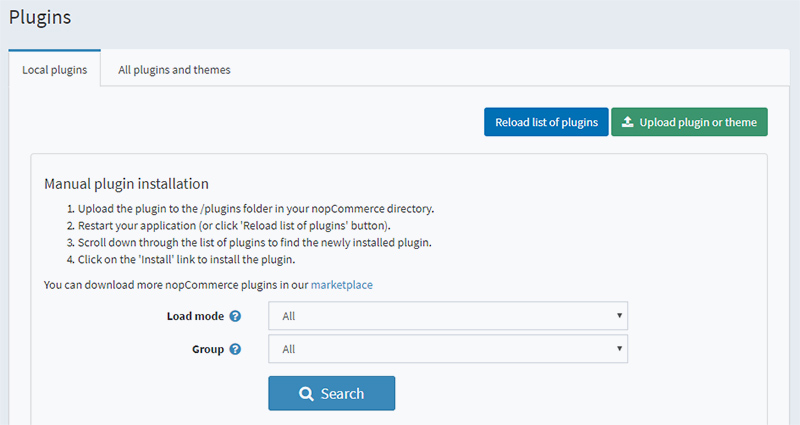
2 Go to the administration panel of your nopCommerce store.
3 Click on ‘Configuration’ → ‘Plugins’.

4 Click on the ‘Upload plugin or theme’ button.
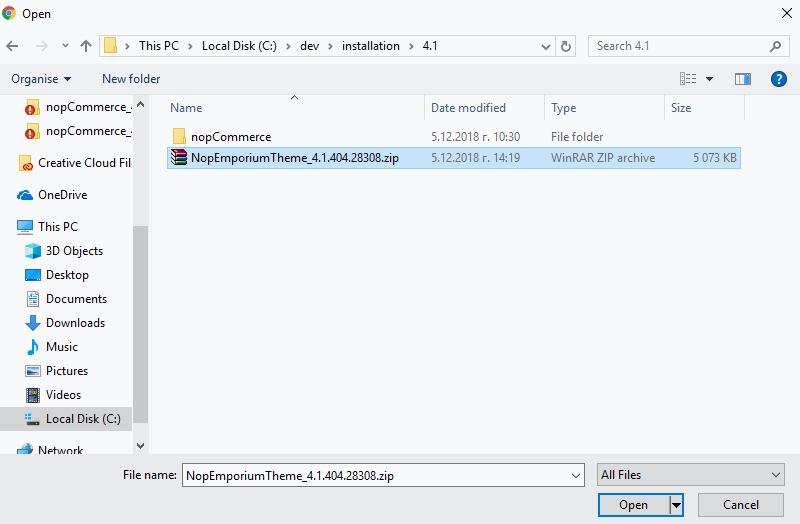
5 Click on the ‘Choose a file’ button.
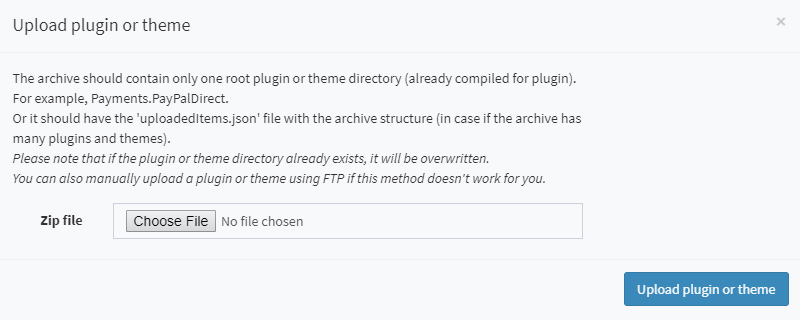
6 Choose the theme package you’ve downloaded.
7 Click on the ‘Upload plugin or theme’ button (check the screenshot in step 5 for a reference).
8 Once your package is uploaded, go to ‘Your plugins’ page.
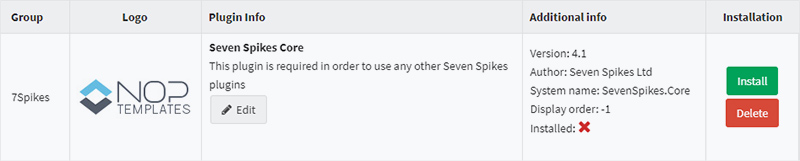
9 Install the Seven Spikes Core plugin. Make sure that this plugin is installed first.
10 Next, install the rest of the Nop-Templates plugins that the theme package contains.
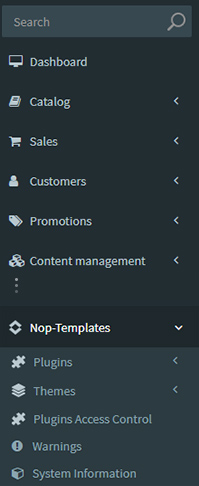
Once you’ve installed all plugins, a Nop-Templates menu item will appear in your administration side panel. You can configure your theme and plugins from there.
If you’re using nopCommerce 4.0 and above, and are hosting your website on Microsoft Azure, the ‘Upload plugin or theme’ functionality won’t work. In this case you will have to install all plugins from the theme package manually as described in the ‘Installing a theme on nopCommerce 3.90 and below’ section.
Installing a theme on nopCommerce 3.90 and below
1 Download your theme package (the steps are described in ‘Installing a theme on nopCommerce 4.00 and above’).
2 Unblock the theme package zip. file (check step 1 of ‘Installing a theme on nopCommerce 4.00 and above’).
3 Extract the theme package zip. file on your computer.
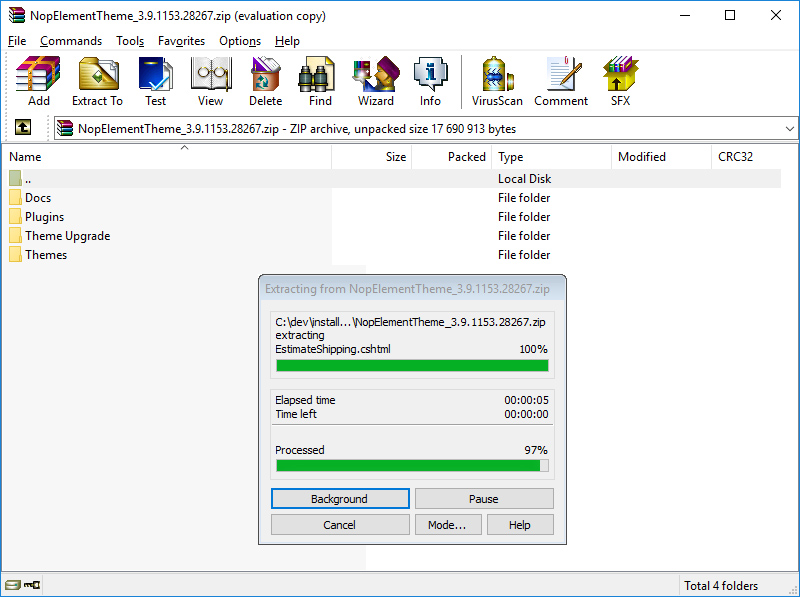
4 The files will be extracted in 4 folders: ~/Docs, ~/Plugins, ~/Theme Upgrade, and ~/Themes.

You will need two of these folders - ~/Plugins, and ~/Themes, - to install your new nopCommerce theme.
5 Open the extracted files directory. Open the ~/Plugins folder. Copy its content and paste it to the ~/Plugins folder in your nopCommerce application root directory.
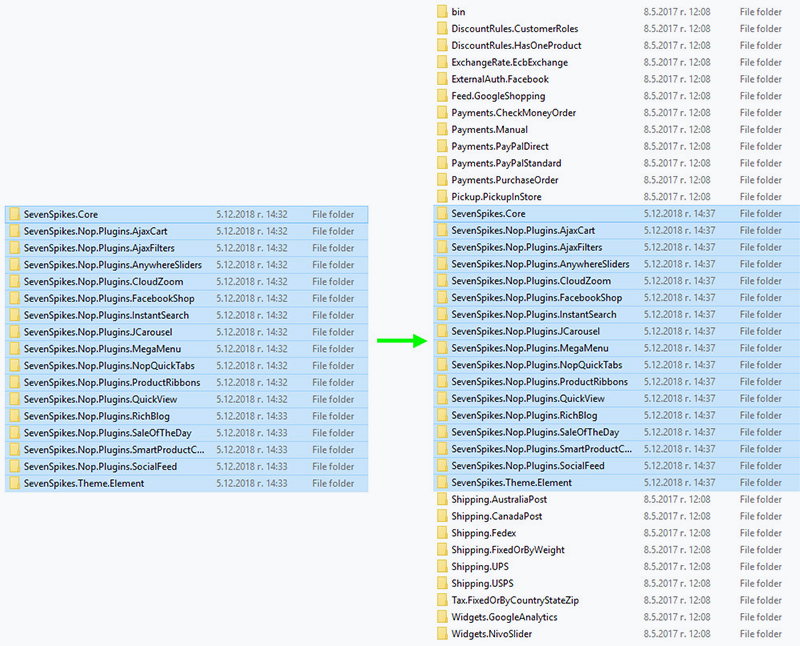
6 Open the extracted files directory. Open the ~/Themes folder. Copy its content and paste it to the ~/Themes folder in your nopCommerce application root directory.

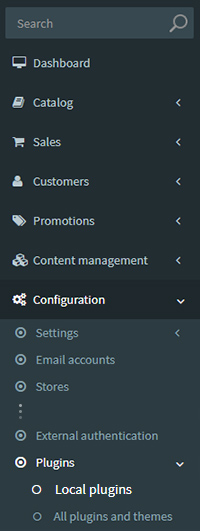
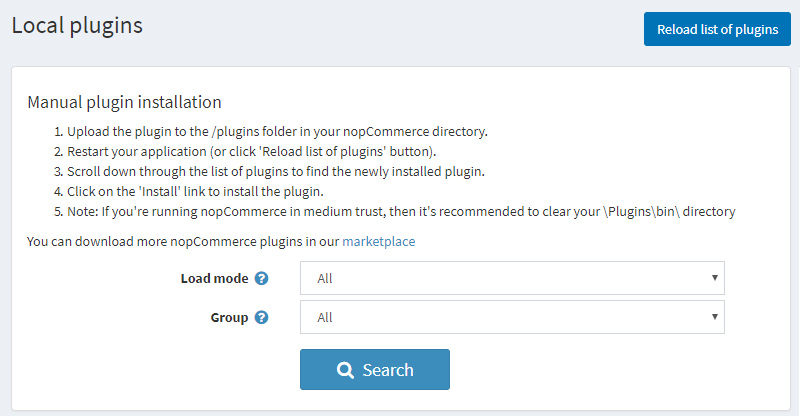
7 Go to the administration panel of your nopCommerce website. Click on ‘Configuration’ → ‘Plugins’ → ‘Local Plugins’.
8 Click on the ‘Reload list of plugins’ button.
9 Install the Seven Spikes Core plugin first.
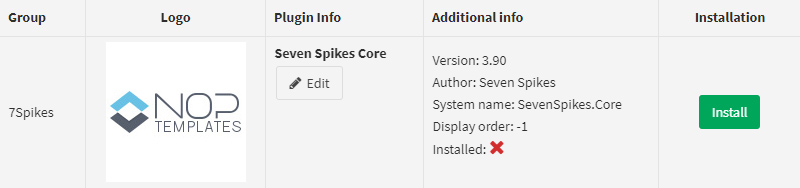
10 Install all other Nop-Templates plugins.
Once you’ve installed all the plugins from the theme package, a Nop-Templates menu item will appear in your administration side panel. You can configure your theme and plugins from there.
Wrap-up
If you’re using nopCommerce 4.00 and above, you will be able to upload and install your new nopCommerce theme directly from the administration panel of your nopCommerce store.
If you’re using nopCommerce 3.90 and below, you will need to extract the theme package on your computer first, copy the files from the ~/Themes and ~/Plugins directories and paste them to your nopCommerce application root directory.
In both cases the installation process is easy and shouldn’t take more than 10 minutes.
We hope this article was helpful! Feel free to ask us a question or share your experience with installing a nopCommerce theme in the comments section below!
Still haven't installed nopCommerce? Check out our detailed step-by-step guide to installing nopCommerce.


I have tried installing the plugin and theme, but the purguin coninfiguration panel shows 7spikes 12 purguin installed: failure ×.
I have tried 3 times to end the installation process by clicking the green install button and then clicking the "Restart application to apply changes" button in the top panel.
The failure indicator remains the same.
2. Please tell me how to install NopTiffanyTheme_4.5_DemoDB, the images on my site are not Tiffany view.
Once you install a theme you also need to switch to the newly installed theme by selecting it in the General Settings panel. Simply select Tiffany theme and you will be fine.
For more technical questions it is best to submit a ticket!
I purchased this for 4.80 version. After uploading the theme, I restart the application. Before I install any part of the theme, I want to install SevenSpikes.Core, but at the top of the window I have this error message:
The 'Microsoft.Win32.SystemEvents' assembly has collision, application loaded the '9.0.0.0' assembly, but the 'SevenSpikes.Core' plugin required the '4.0.0.0' assembly
The 'System.Drawing.Common' assembly has collision, application loaded the '9.0.0.0' assembly, but the 'SevenSpikes.Core' plugin required the '4.0.0.0' assembly
I have already created a support ticket for this with more details including the screenshots, 3 days have passed, and nobody has responded. Is someone really supporting this theme anymore or I have just wasted my money? Besides that, I am losing my project deadline...