The Ajax Filters Pro pack includes the Nop Ajax Filters plus the new home page incremental filters.
Working with the plugin is very simple. After you install it just go to Plugins -> Nop Ajax Filters Pro -> Settings.
Settings
From this section you can configure you Ajax Filters Pro plugin.
- Enable Ajax Filters Pro - Enable the Ajax Filters Pro.
-
Widget Zone - The name of the widget zone in which the Nop Ajax Filters Pro can be added.
NOTE: The Nop Ajax Filters Pro can be added only to one widget zone. - UI Mode - With this setting you can specify the ordering and the filtering groups themselves:
- [Categories] [Manufacturers] [Specification_1] [Specification_2] ... [Specification_N]
- [Categories] [Subcategories] [Manufacturers] [Specification_1] [Specification_2] ... [Specification_N]
- [Categories] [Specification_1] [Specification_2] ... [Specification_N]
- [Categories] [Subcategories] [Specification_1] [Specification_2] ... [Specification_N]
- [Manufacturers] [Specification_1] [Specification_2] ... [Specification_N]
- Show Top Level Categories Only - Choose whether the dropdown with categories will show only top-level ones.
Add more specification filters
You can do this from the grid on the settings page.

By default it is empty but you can easily add new specification filters by clicking the Add new record button. You could also Edit (only the Display Order) or Delete specification filters by clicking on the respective buttons.
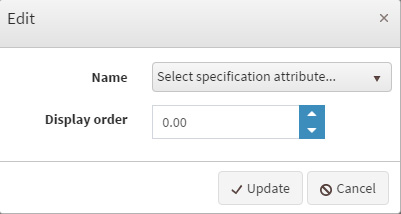
On the Add new record popup you will see a dropdown containing all the specifications you currently have and are not already added to your Ajax Filters Pro. You also can specify a Display Order which allows you to sort you filter groups at public store.