With the Knowledgebase plugin you can easily create and organize yout content into articles and categories.
You can navigate through the articles and categories from the navigation on the left or using the search above. The search is the fastest as it could be, because it is powered by Lucene. More specifically Lucene.Net which is port of the Lucene.
Each article has a separate page with the information about the article. You can put any content for the article from the administration.
You can have related articles and also can group them into categories.
Categories can also have separate pages where you can see all the articles for the category.
Set up
To install the Knowledgebase you would need to give read/write permissions to Lucene folder which you could find in Plugins/SevenSpikes.Nop.Plugins.Knowledgebase.
There are stored the Lucene indexes and the files in this folder are changed or read by Lucene every time you edit, delete, create or search for some article or category.
If you don't give permissions to this folder the plugin will throw error on installation.
Settings
- Enable - By checking this setting you enable the plugin, whose home page could be accessed from the http://youSite.com/knowledgebase
- Enable Administrators Only Access - Only store administrators can access the knowledgebase in the public area if this setting is checked.
- Enable Category Page - With this setting, you can choose if you want your categories to be clickable and to lead to the category page where you can see all the child categories and articles of the clicked category.
- Enable Comments - This setting allows you to choose if you want to have comments functionality enabled on your article pages.
- Show Captcha For Comments - This setting allows you to choose if you want your users to enter captcha when writing a new comment. This could save you from spambots.
- Comments Require Approval - With this setting you can filter the comments that your users are posting by choosing yourself which comments will be publicly visible on your article page.
- Allow Users To Edit Their Comments - If selected this setting will allow your users to edit their comments. Only the users themselves could edit their comments.
- Number Of Items Per Page - Set the number of items per page on results page.
- Number Of Results In Dropdown - Set the number of results in the autocomplete dropdown when searching.
- Reindex - Click the button if you want to re-index the knowledgebase articles and categories.
Manage Articles
From this section you can add new Articles, by clicking the Add New button. You could also view all the comments for this article by clicking the View Comments button, or preview the article in the public area by clicking the Preview button.

When you click the Add New button you will be able to edit the Article and SEO tabs.
From the Article tab you can manage everything about the appearance of your article in the public area.
- Published - With this setting you can control whether or not your article will be published. If not published it will not be seen in the public area. With this setting you can create drafts.
- Added To Menu - This setting allows you to choose if you want to add your article to the navigation menu.
- Display Order - You can use this setting to sort your articles on the primary level.
- Title - Here you can specify the title for your article.
- Navigation Title - Here you can specify your article title in the navigation. This setting allows you to separate your article title from your article navigation title.
- Content - Here you can enter your article content using the TinyMCE editor.
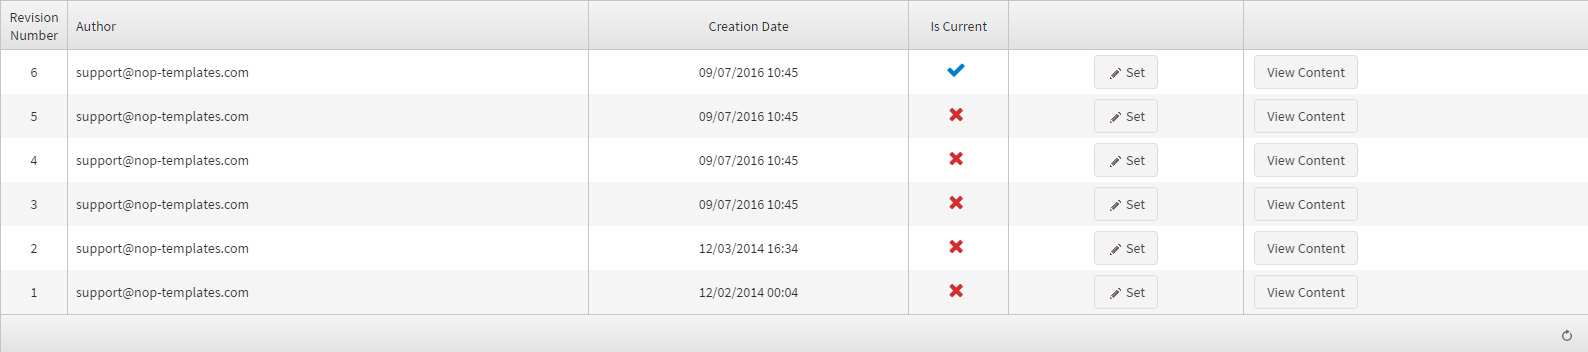
From the Revisions grid you can select and see previous versions of your article. If you want to roll back your article to some earlier state you just need to click the Set button.
If you need some information for some earlier state of your article you could find it be looking in the revisions by clicking the View Content button next to the revision you want to inspect.
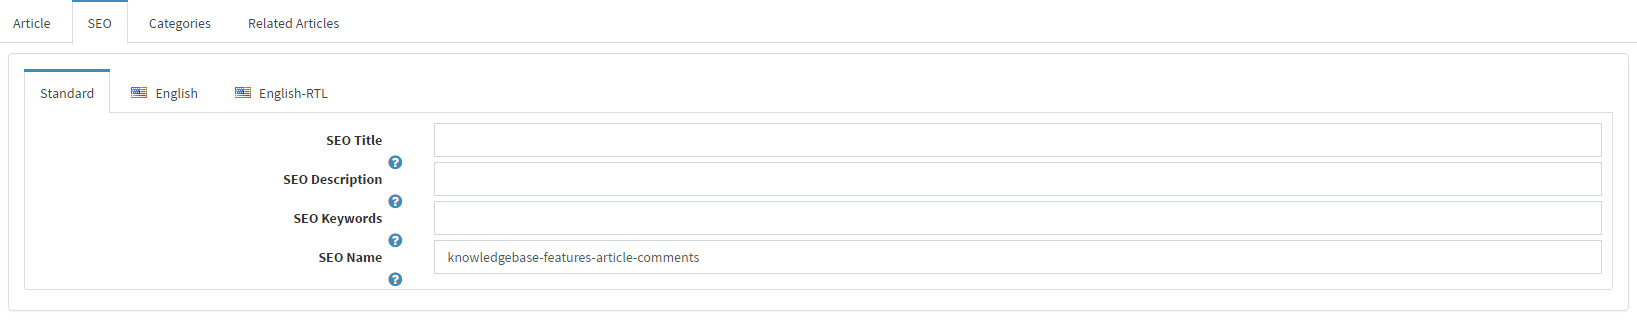
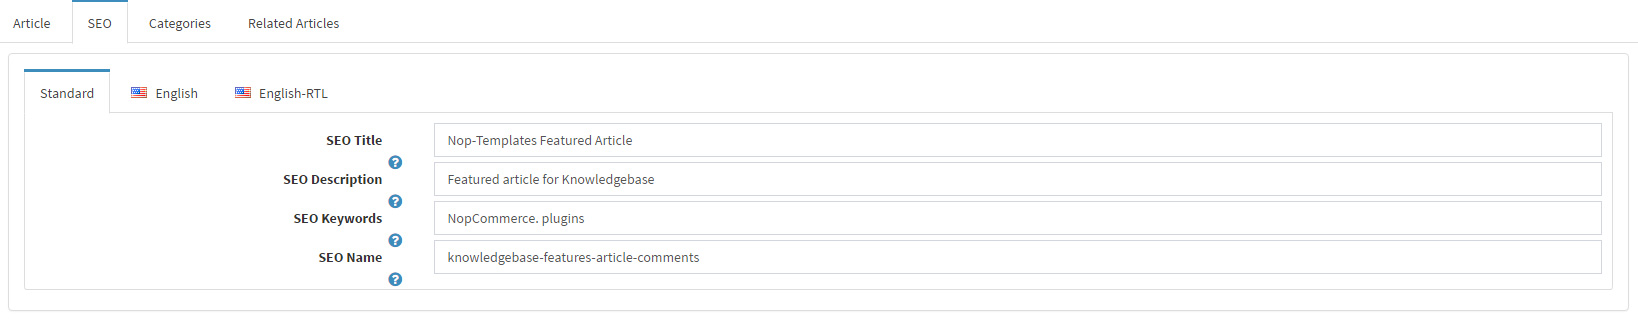
From the SEO tab you can control your SEO settings for the current article.
From the Category tab you can map your article to categories. Just click the Add New button and select the categories you want your article to be in.
From the Related Articles tab you can map articles with similar topics to your current article. To do this you need to click the Add Existing Article button and select the articles.
Using the display order option you can sort the related articles list.
Manage Categories
From the Manage Categories section you can manage your categories.
You could add new category by clicking the Add New button.
After clicking the Add New you will see several tabs.
From the Category tab you could manage your category primary settings:
- Name - This is your category name. It will be used to mark your category everywhere in the public area.
- Parent Category - From this setting you could select a parent category for your current category. If you don't want your category to have a parent, select the None option. A category could have only one parent.
- Display Order - This setting is used for sorting in the navigation.
- Published - This setting allows you to select whether or not your category is visible and accessible in the public area.
From the SEO tab you could manage your category SEO settings.
From the Articles tab you could select articles which you want to put in the current category. Just click the Add Existing Article and select the articles.
If you want to edit an existing category click the title of the corresponding category in the Tree View. This will open a popup from which you could edit your category.
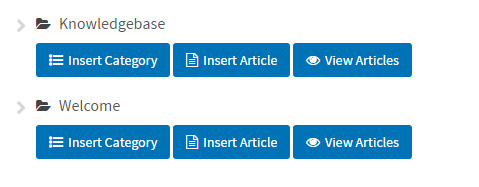
You could insert a category in another category by clicking the Insert Category button which you will see in the Tree View node for the corresponding parent category in which you want to insert the new category.
From the same node you could also insert articles for this category and to view all the articles that are already in the category, by clicking the corresponding buttons.
At left of the tree view node of every category you will see a little arrow. If you click it the tree view will expand and you will see all the children (if has any) categories for the category whose arrow you clicked.
Manage Comments
From this section you could see all comments published. You could Approve or Delete comments by clicking the corresponding buttons.

You can see the author, date, state(approved/unapproved) and content of the comments.
Search
Our search is based on Lucene. More specifically Lucene.Net which is port of the Lucene. It searches in article titles, contents and senames.
If you enable the category page it will search in the category names as well.
If you unpublish an article or category they will be removed from lucene index records and will not be found if searched for. If you publish them back they will be re indexed again.