The Nop Attachments plugin allows you to upload and instantly attach files or videos to one or many products in your online store. What makes this extension exceptional is its variety of features which can be easily managed straight from the admin panel.
Settings
From the Settings section you can set the setting that are common to all of your attachments.
-
Files are stored into... - By clicking the change button you can specify where you want to store your attachments files - database or the system.
Note: Do not forget to backup your database before changing this option - Product Attachments Panel Title - The title for the panel where the attachments will appear on the product details page.
- Default Widget Zone - The widget zone on the product details page, where the attachments will appear.
- Group Attachments By Category - Specifies whether the attachments should be grouped by their category.
- Add attachment links in Order Complete Emails - Specifies whether attachment files are linked in the order complete emails for the products. You need to use the %Order.Attachments% token in your OrderCompleted.CustomerNotification message template.
- Add attachment links in Order Placed Emails - Specifies whether attachment files are linked with the order placed emails for the products. You need to use the %Order.Attachments% token in your OrderPlaced.CustomerNotifications message template.
- Open links in a new window - Specifies whether the attachment links will be open in a new window.
Manage attachments from product administration page
You can manage attachments from the product administration page, just follow the steps in the picture above:
Go to Catalog -> Products -> Manage Products
Click Edit for which product you want to manage its attachments
In the product administration page you have two options:
- Add existing attachment - add existing attachment which will be shown for the product.
- Add new attachment - create new attachment which will be shown for the product.
Creating an attachment
You can create as many attachments as you want.
In order to create a new attachment go to Plugins -> Nop Attachments -> Manage Attachments. Click on the Add new Attachment button as shown on the image bellow.

Attachment - Settings tab
The Attachment Settings tab, contains general settings for the current attachment.
- Select Products - By default the Manually Select Products option is selected, which means that you need to manually select the products for which the attachment will be shown. If Automatically is selected then this attachment will be shown on multiple products based on a condition that you need to define.
- Visible - Specifies whether the attachment is visible in the public website.
- Name - This is the name of the attachment and is a required field. It is needed, so that you can discern between your attachments in the administration as you can have many attachments.
The name of the attachment will be used as title for the attachment hyperlink in the public website. - Short Description - The short description could be used primarily for administration purposes to remind the store owners of the purpose of the attachment. The description could also be shown in the public website. But it is hidden by default.
- Display Order - As it is possible to have several attachments for the same product then the display order is used to sort the attachments. The attachment with the lowest display order will be shown first.
- Image - The image is displayed in front of the the attachment link on the public site.
- Attachment Category - You can choose a category for the attachment. The category is used for grouping attachments together. If an attachment is in a category and the grouping option is enabled then in the public website the attachment will show under the chosen category along with all other attachments in the same category.
- Language - The language for which this attachment will be shown.
- Video Embed code - The video embed code for the attachment. It is used to play a video. For example you can add videos from Youtube, Vimeo etc. If a video embed code is specified the Download for the attachment will not be used (even if it is specified).
- Download - You can choose what type of download you want to use for your attachment. There are 2 choices: upload a file or specify an external url (if you have a file on a different server).
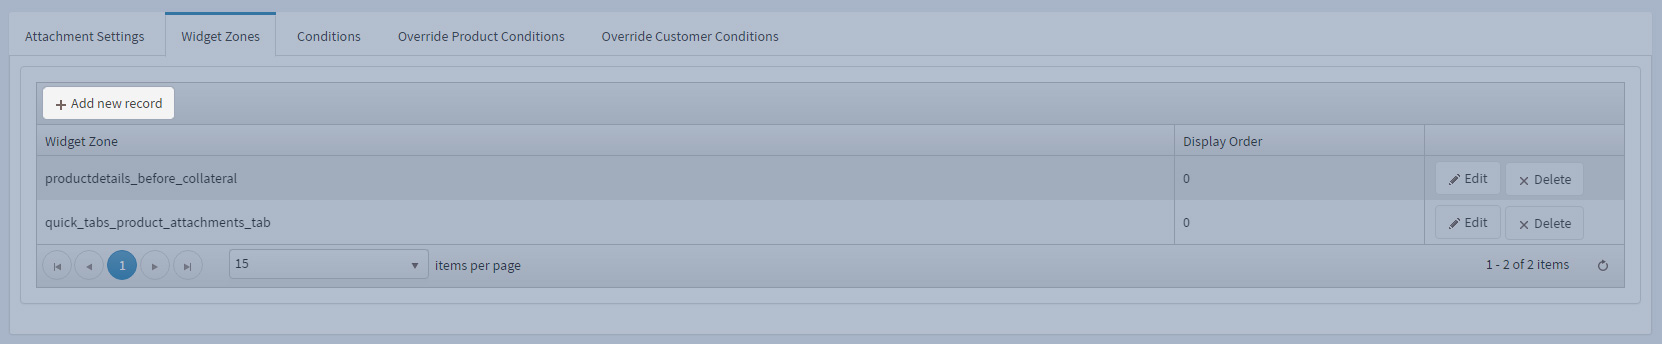
attachment - widget zones Tab
If you want to add the attachment to widget zones click the the drop-down and select your desired widget zone as shown on the image bellow. Optionally specify a display order.
Adding the attachment to products
After your attachment is created and added to the widget zone(s) you need to add it to products.
There are two ways of doing this depending on the Select Products setting:
- Manually - allows you to manually select the products
-
Automatically - add products based on conditions
NOTE: When you are adding a condition please note the following:- Setting the condition type to Product means that the condition will apply only for product pages.
- Setting the condition type to Customer means that the condition will apply only to the current customer (Guest or Registered).
Products Mapping
From Products mapping tab specify exact products on which product details page you want your Attachment to be shown.
- Click on the Add a new product button.
- Choose the products that you want to map to the attachment.
- Click on the Save changes button.
- Click on the X (close) button at the top right corner of the popup window and you will see the product grid refreshed with the added products.
Now the attachment will be shown only for the selected products.
Conditions
In the Conditions tab you can specify conditions for the current Attachment. If the conditions are met, the Attachment will be shown in the product details page of every product matching the condition.
You could find more information of how the conditions work in the following article - Conditions.
Override PRODUCT Conditions
From the Override Product Conditions tab you can include or exclude products regardless of the conditions. For more information refer to the Conditions article.
OVERRIDE Customer CONDITIONS
From the Override Customer Conditions tab you can include or exclude customers, for which the attachment will show on the product pages regardless of all conditions.
For more information refer to the Conditions article.
Creating an attachment category
You can create as many attachment categories as you need.
In order to create a new attachment category go to Plugins -> Nop Attachments -> Manage Attachment Categories. Click on the Add new Attachment Category button as shown on the image bellow.

Attachment Category Settings
The Attachment Category Settings tab, contains general settings for the current attachment category.
- Name - This is the name of the attachment category and is a required field. It is required, so that you can separate your attachment categories form each other as you can have as many categories as you need.
- Display Order - As it is possible to have several attachment categories for the same product then the display order is used to sort the attachment categories and show them in this order. The attachment category with the lowest priority number will be shown first, then the next category etc.
Creating default images for file attachments
By a adding a default image for a certain file extension you would not have to specify the image for each attachment individually. For example if you would like all .pdf file attachments to appear with the same pdf icon in front, you can configure this by adding a default image for the .pdf file extension.
In order to create a new default image go to Plugins -> Nop Attachments -> Manage Default Images for File Attachments. Click on the Add new File Extension Image button as shown on the image bellow.

File Extension Image Settings
The File Extension Image Settings tab, contains general settings for the current file extension image.
- Name - This is the name of the file extension and is a required field. It is needed, so that you can discern your file extensions from each other in the administration.
- Image - The image which will be shown for specified file extensions.
- File Extensions - The file extensions for which this image will be shown. The extensions should not contain a leading dot and need to be separated by a semicolon.