Integration
Once the Nop JCarousel plugin is installed you need to integrate it in your web site. You have three options for this: Widget, Manual or both.
1. Widget Integration
The Nop JCarousel plugin has widget support meaning that a given JCarousel can be displayed and integrated in one of the supported widget zones for the plugin. This can be achieved from the following places.
a) Go to Plugins -> Nop JCarousel-> Manage JCarousels
If you have already created a JCarousel you will see it in the list displayed. In order to add it to a specific widget zone you will need to click the Edit link. If no JCarousel appear on the list you will need first to create one by clicking the Add new JCarousel and then assing it to a given widget zone. In both of the cases you will end up on the following page on which you can edit all the JCarousels details. Click on the Widgets tab.
Create or update JCarousel page, Settings tab:
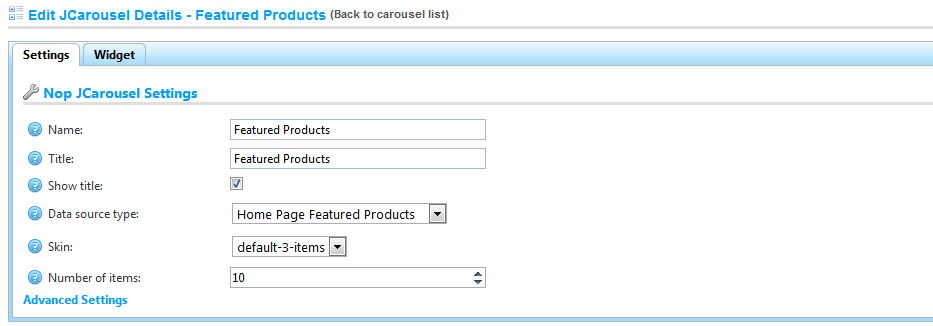
To create a new JCarousel you need to full the following required fields:
Name - the name of the JCarousel. (Required for the Manual integration)
Data source type - the type of data that will populate the JCarousel. For the more advanced users we have the option to give a custom data source, but only with the manual integration.
Skin - the skin of the plugin. The default predefined skins are designed for 3, 4 or 5 items to be displayed at once by the JCarousel.
Number of items - the number of items to be displayed by the JCarousel.
Create or update JCarousel page, Settings tab, Advanced Settings:
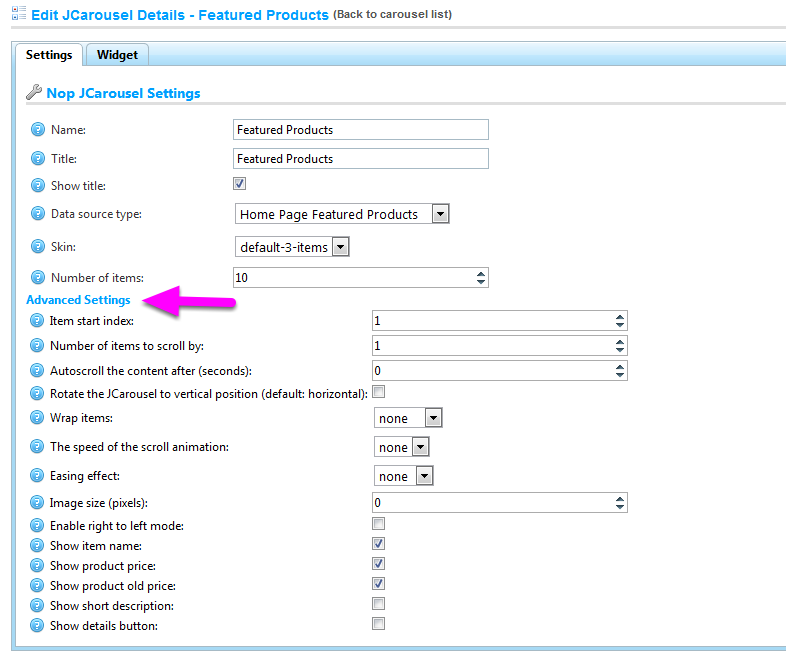
For the more advanced users we have created an Advanced Settings link. To show the settings you just need to click on the link. For more information about the settings hoover over their name with your mouse.
Create or update JCarousel page, Wiget tab:
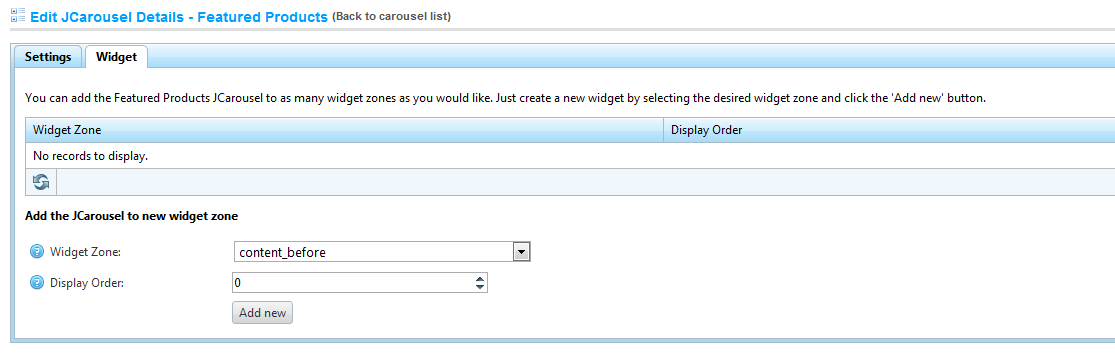
You can add the JCarousel to a specific widget zone by selecting the zone from the dropdown and clicking Add new.
Go to Content Management -> Widgets:

You need to set the Nop JCarousel as Is active. To do this click on the Edit button for the Nop JCarousel plugin and check Is active property. Then click the Update button. Congratulations, you have successfully set up the JCarousel.
2. Manual Integration (Advanced users only)
The other way of integrating the Nop JCarousel is to do it manually. To complete this task you need to go to the View, in which you want to integrate the JCarousel plugin and paste the following code at the place where you want to the JCarousel to appear.
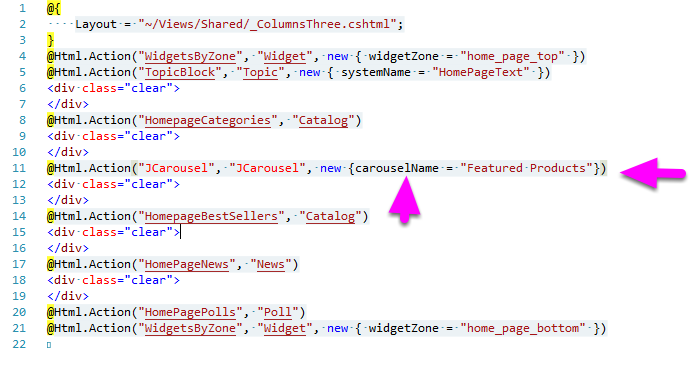
@Html.Action("JCarousel", "JCarousel", new {carouselName = "JCarousel Name"})
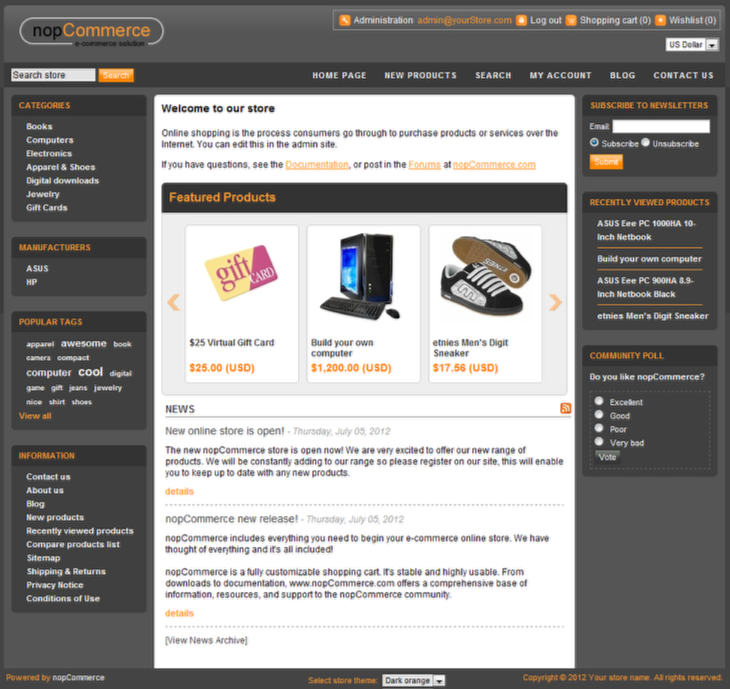
For the carouselName you need to write the exact name of the JCarousel that you have created or are going to create. In the image above the carouselName is Featured Products.
TIP: The manual integration is recommended for advanced users.
2.1 Manual Integration (Advanced users only) - Adding custom data source
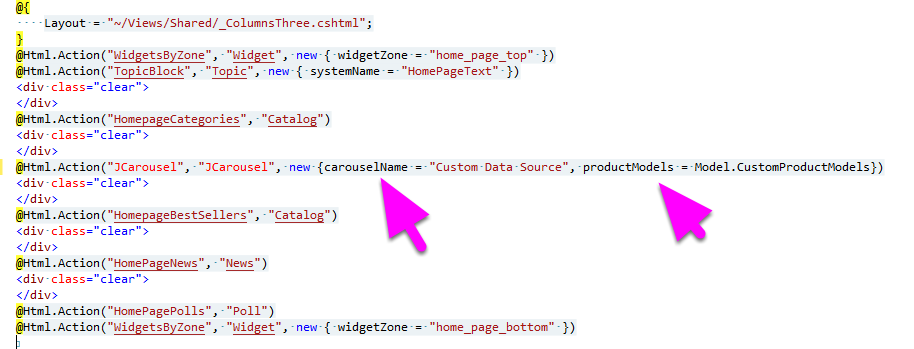
If you want to pass a custom ProductOverviewModel you need to add it to the productModels property. For example:
@Html.Action("JCarousel", "JCarousel", new {carouselName = "JCarousel Name", productModels = Model.CustomProductModels})
For the productModels property you need to pass IEnumerable<ProductOverviewModel>
3. Adding a custom Widget. (Advanced users only)
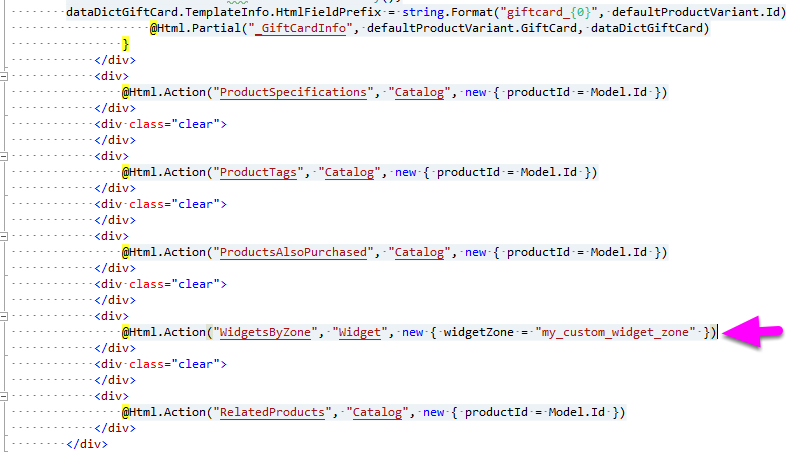
If you want to add a custom widget zone in nopCommerce, you can do it by adding the following code in the View and place, where you want to see the content of the widget.
@Html.Action("WidgetsByZone", "Widget", new { widgetZone = "custom_widget_name" }
For the widgetZone property add your custom widget name.
3.1 Adding a custom Widget. (Advanced users only)
To use the custom widget zone in the Nop JCarousel plugin you need to do the following:
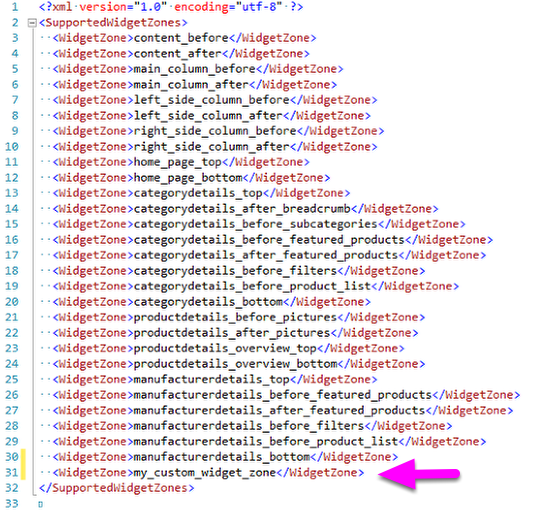
1. Open the SupportedWidgetZones.xml file located in the folder of the Nop JCarousel plugin.
2. Add a new row like shown in the picture above. Replace the custom_widget_name with the name of the widget that you have created.
<WidgetZone>custom_widget_name</WidgetZone>