Working With Nop Html Widgets
General information on how to setup your html widgets.
1. Creating an html widget

You can create as many html widgets as you need.
In order to create a new html widget go to Plugins -> Nop Html Widgets -> Manage Html Widgets. Click on the Add new Html Widget button as shown on the image above.
a) Html Widget Settings
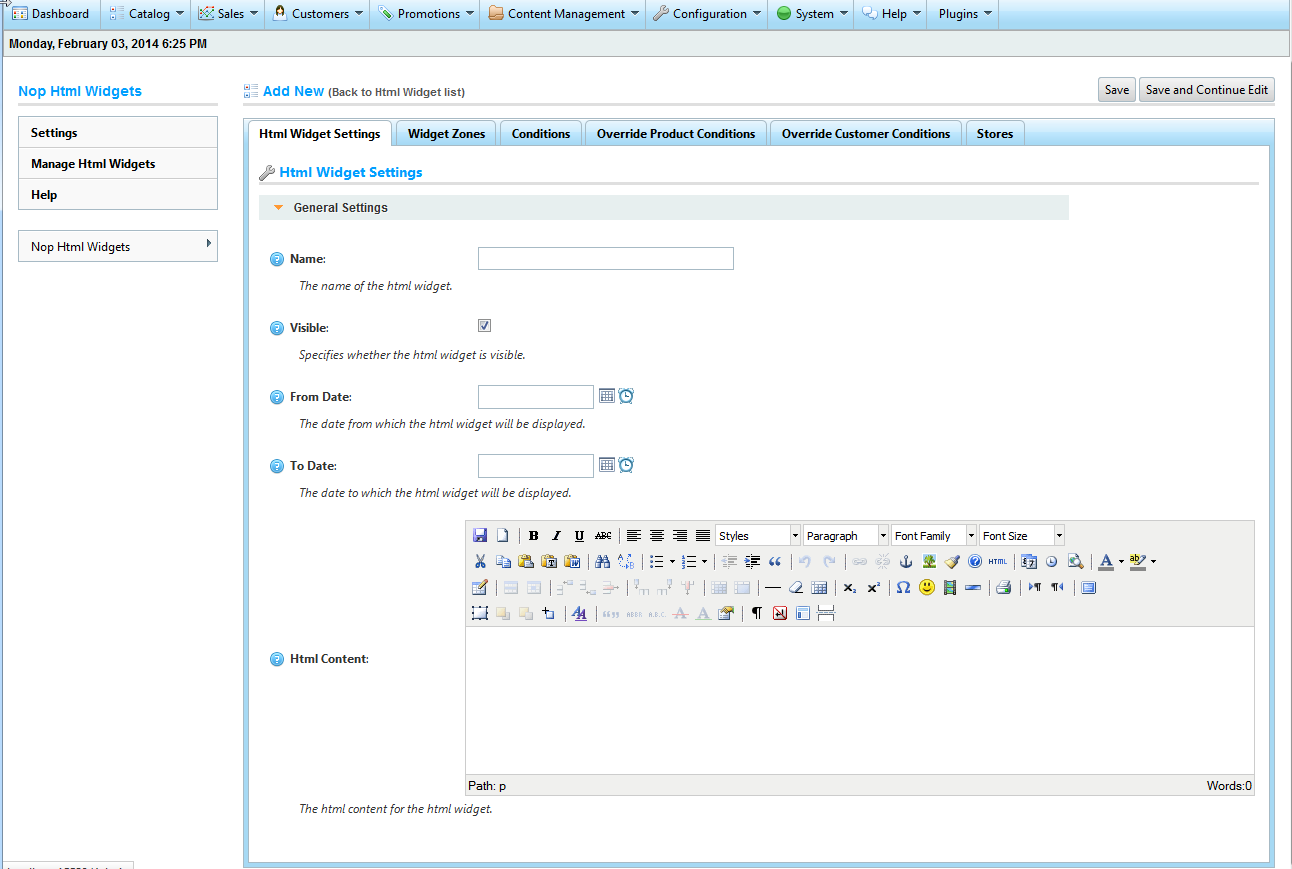
The Html Widgets Settings tab, contains general settings for the current html widget.
Name - This is the name of the html widget and is a required field. It is needed, so that you can discern between your html widgets in the administration as you can have many html widgets.
Visible - Specifies whether the html widget is visible in the public website.
From Date - The date from which the html widget will be displayed in the public website.
End Date - The date to which the html widget will be displayed in the public website.
NOTE !!!
You can leave both( From Date & End Date) empty if you want an endless html widget.
Html Content - The html content which will be displayed in the public website.
b) Add the html widget to a widget zone
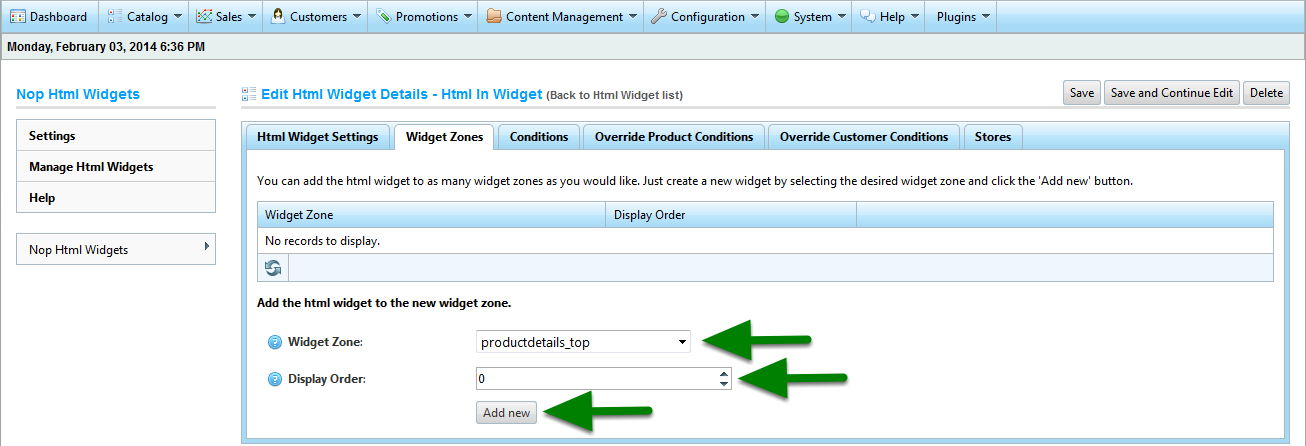
- If you want to add the html widget to widget zones click the the drop-down and select your desired widget zone as shown on the image above.
- Optionally specify a display order.
- Click the Add new button.
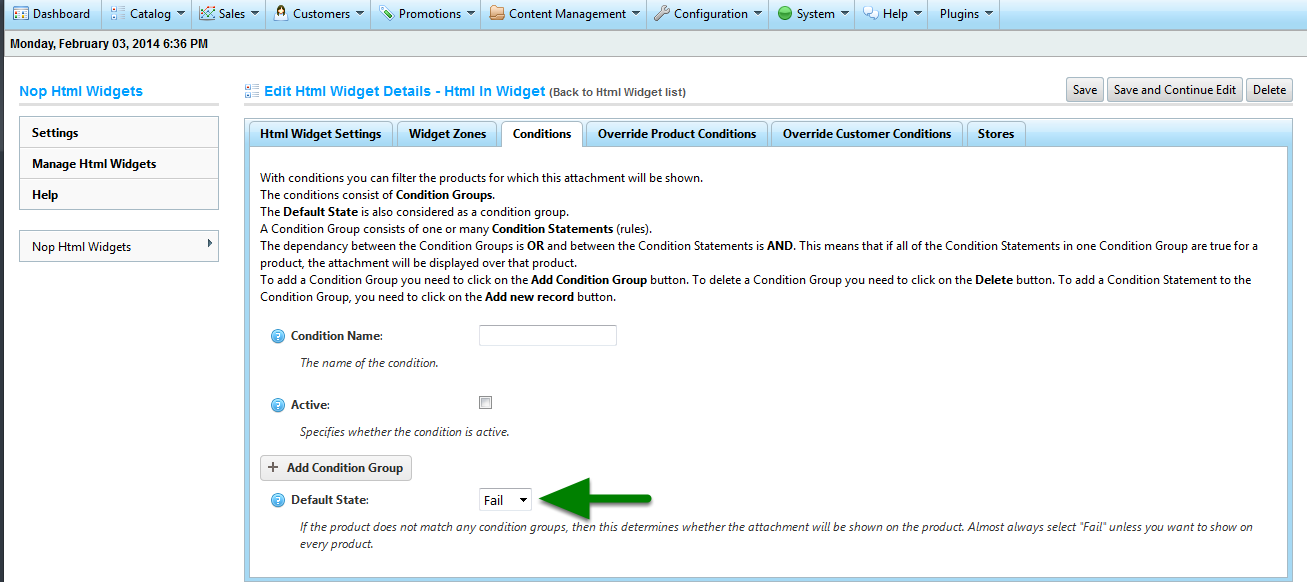
c) Conditions - Default State
In the Conditions tab you can specify conditions for the current html widget. If the conditions are met, the html widget will be shown.
Conditions consist of condition groups. For a Condition to be true at least one Condition Group needs to be true. In other words Condition Groups are evaluated with an OR between them.
Condition Groups consist of Condition Statements. For a Condition Group to be true all Condition Statements in the group need to be true. In other words Condition Statements are evaluated with an AND between them.
The Default State is a default Condition Group. This means, that if you do not add any other Condition Groups, the Default State will determine whether the Condition is true or false. This also means that if the Default State is set to Pass the whole Condition will evaluate to true because Condition Groups are evaluated with an OR between them (only one Condition Group needs to be true for the whole Condition to be true).
In other words if you set the Default State property to Pass the html widget will be shown on all products in your store, no matter if you add other Condition Groups.
d) Conditions - Condition Groups
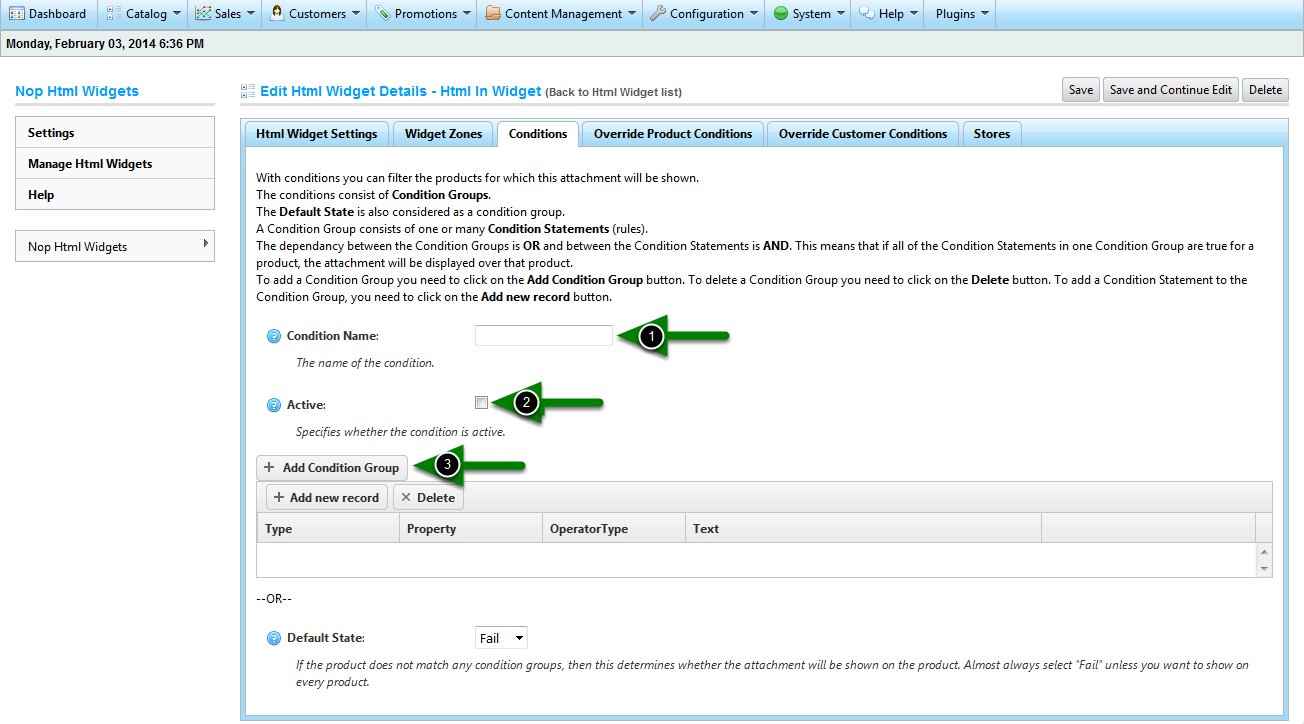
- Add a Condition Name.
- Set Active if you want to activate/deactivate the condition.
- To add a Condition Group you need to click on the Add Condition Group button.
e) Conditions - Condition Statements
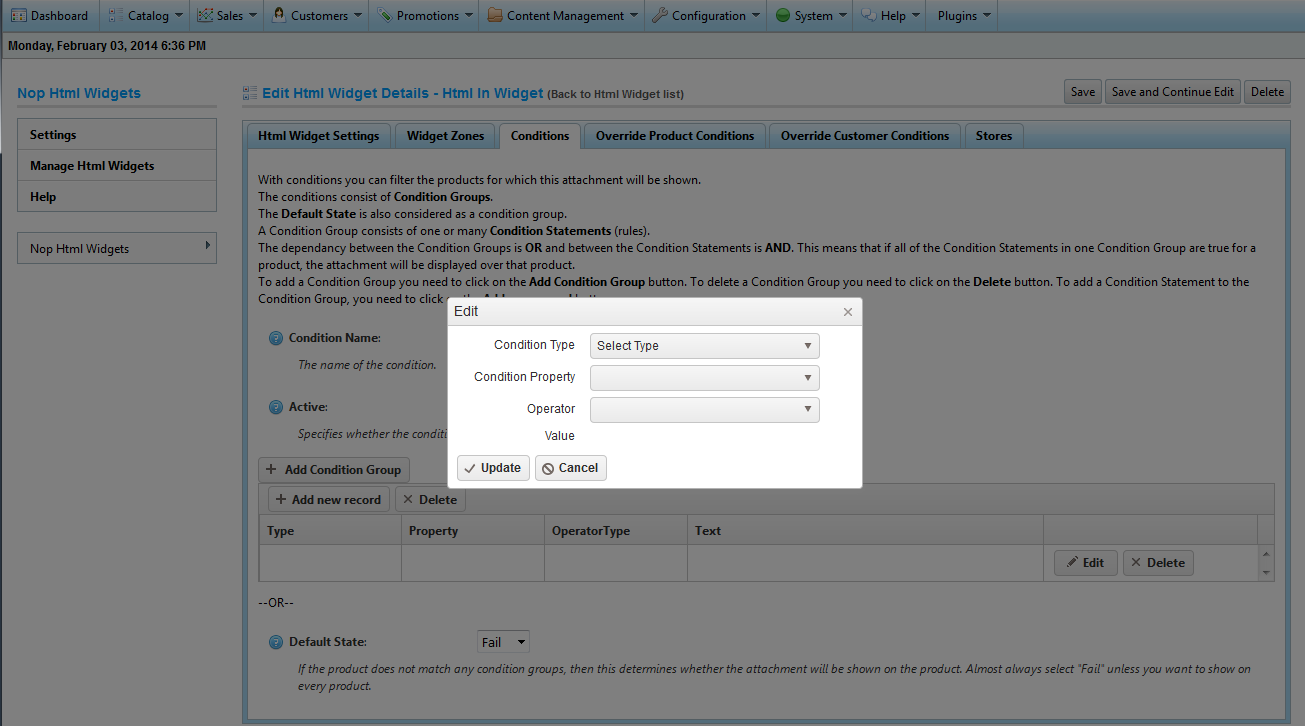
When you click on the Add new record button, in a Condition Group this popup will appear.
From the Condition Type dropdown, you can choose a type for the Condition Statement (rule).
From the Condition Property dropdown, you can choose for what property this condition will be applied.
From the Operator dropdown you can choose the operator that will be applied for the Type and Value.
The Value is either in a dropdown or a numeric textbox - depending on the choice of Condition Property. In it you can select the value for your Condition Statement.
f) Conditions - Condition Example
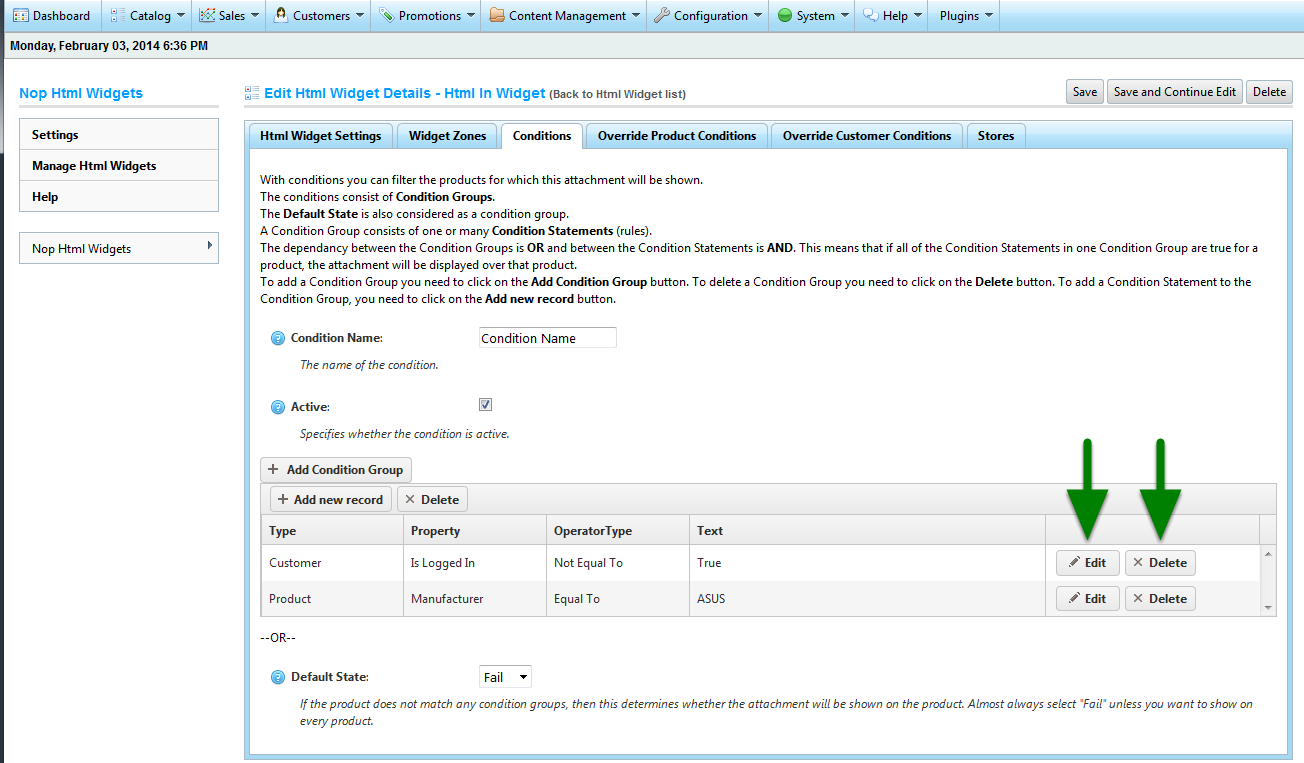
In the picture above, you can see an example of a Condition Group with two Condition Statements.
Assuming that the html widget is mapped to a widget zone on the product details page, this condition specifies that the html widget will be shown when the Manufacturer of the product is Equal To ASUS and the Customer is NOT logged in. If any of this Condition Statements is false the whole Condition Group is false and if the Default State is set to Fail the conditions are not met, and the html widget will not be shown for the current product.
Please note that the product condition statement is valid only if the html widget is mapped to a widget zone on the product details page. Otherwise the product condition statement will be evaluated to false as will any conditions statements with a Condition Type Product.
You can Edit or Delete a Condition Statement by clicking on the respective buttons.
g) Override Product Conditions
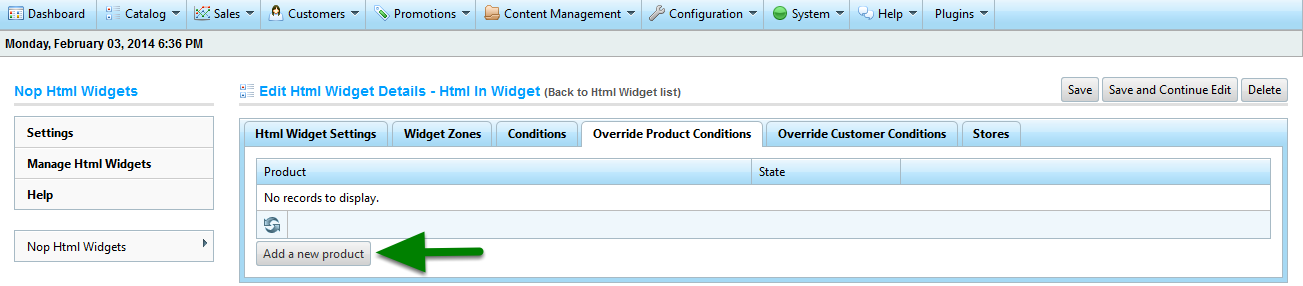
From the Override Product Conditions tab you can include or exclude products regardless of the conditions. For example if you add a product with the include state, the html widget will be shown for that product on its product details page, regardless of all conditions. If you add a product with the exclude state, the html widget will not be shown for that product on its product details page, regardless of all conditions.
You can add a product override by clicking on the Add a new product button.
Please note that the product overrides are valid only if the html widget is mapped to a widget zone on the product details page. Otherwise the product overrides will be disregarded.
h) Override Product Conditions - Creating a Product Override
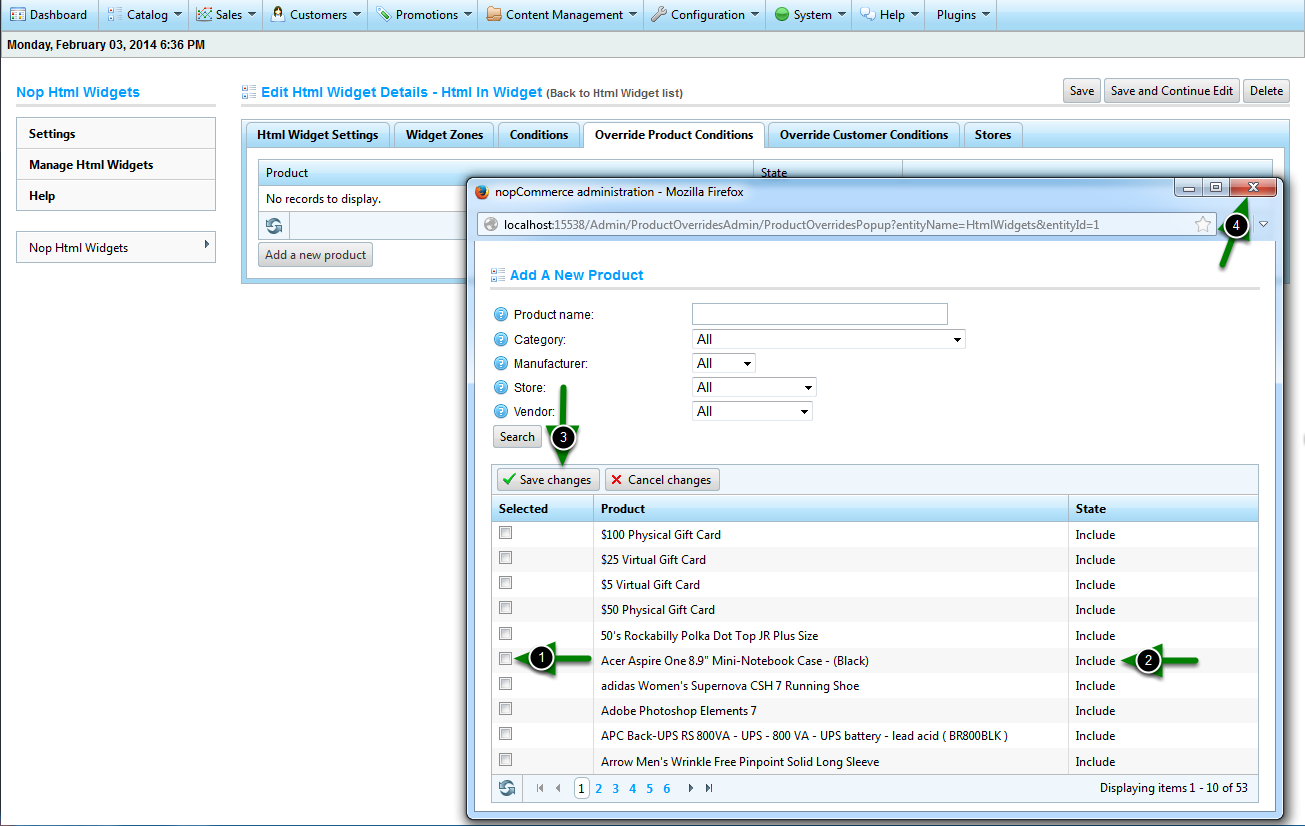
To add a Product Override you need to select the product, by clicking on the checkbox next to it. You can also change the State of the product.
After you have selected your products, you need to click on the Save changes button, or on the Cancel changes if you want to discard your selection.
You can filter your products by Product name, Category, Manufacturer, Store and Vendor.
After you have finished adding Product Overrides, click on the close button at the top right corner of the window and you will see the Product grid refreshed with the added product overrides.
i) Override Product Conditions - Editing a Product Override
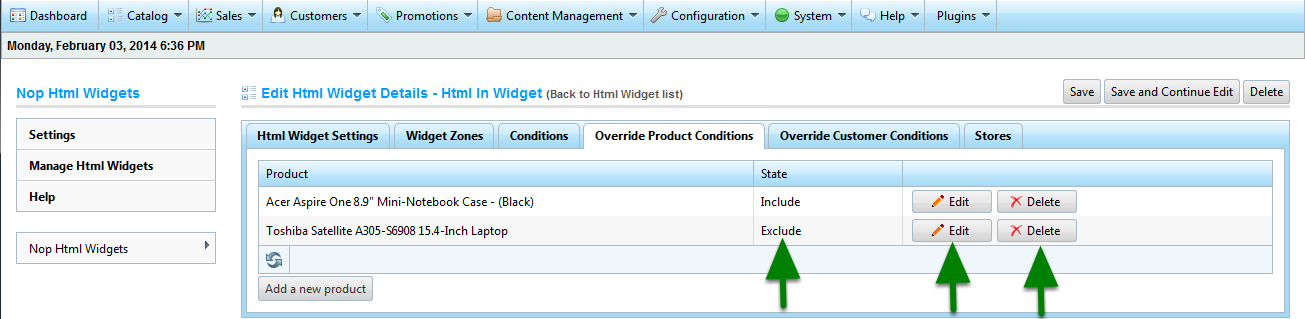
In the picture above, you can see two product overrides. The Toshiba Satellite product have the Exclude state. This means, that the html widget will not be shown for this product.
The Acer Aspire product have the Include state. This means, that the html widget will be show for this product, regardless of the condition.
From the grid, shown in the picture above, you can edit or delete a Product Override.
j) Override Customer Conditions - Creating a Customer Override
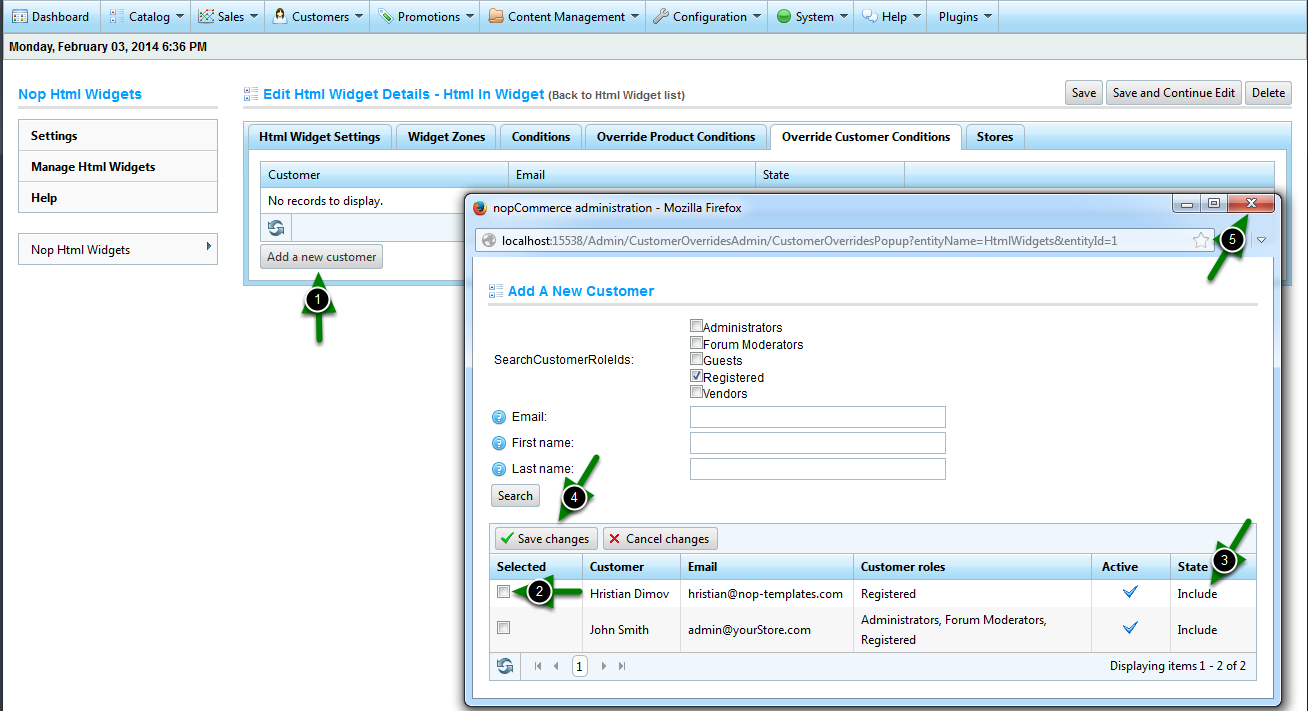
From the Override Customer Conditions tab you can include or exclude customers, for which the html widget will show on the product pages regardless of all conditions. For example if you add a customer with the include state, the html widget will be shown on the product pages (assuming that the widget is added to a widget zone on the product page) for this customer, regardless of all conditions. If you add a customer with the exclude state, the html widget will not be shown on the product pages for this customer, regardless of all conditions.
You can add a customer override by clicking on the Add a new customer button and follow the steps in the image above.