Configuration (Optional)
Once the Nop Anywhere Sliders plugin is installed, it is integrated in your web site. If you want to show the Nop Anywhere Sliders in a custom widget zone, please follow the steps in this lesson.
1. Add a custom widget zone and add the Nop Anywhere Sliders to it
a) Add a custom widget zone
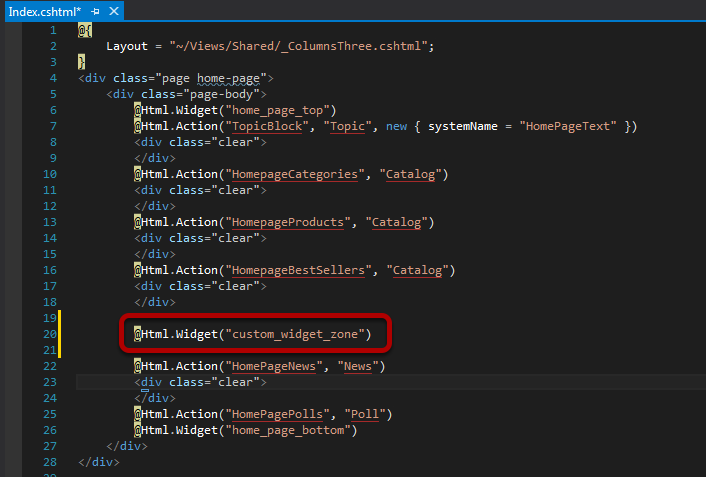
If you want to add the Nop Anywhere Sliders to a specific part of the Home page, you need to add a custom widget zone to the Index.cshtml view.
To add a custom widget zone, use the following code:
@Html.Widget("custom_widget_name")
Instead of "custom_widget_name" add the name of your custom widget zone.
After doing this, the Nop Anywhere Sliders will be shown where you have added the custom widget zone, in this example - after the category navigation. But before that you need to complete the steps below.
NOTE: You can add this custom widget zone on multiple pages, and use it for multiple sliders.
b) Adding a custom widget zone to a Layout page and showing the Nop Anywhere Sliders on one page only (for example on the Home page after the menu)
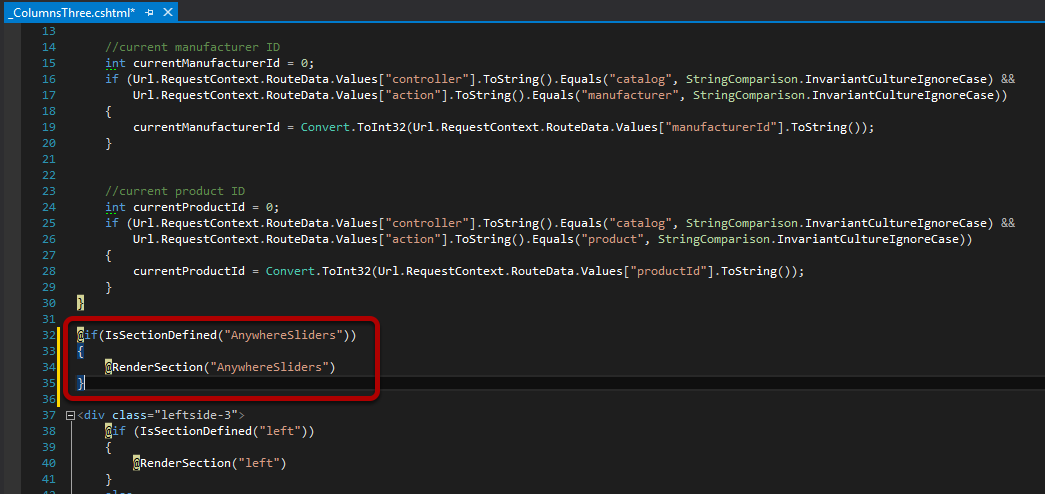
Open the _ColumnsThree.cshtml view and add the following section rendering. It is imprtant to add this to the layout that the Index.cshtml view uses which in the default case is the _ColumnsThree.cshtml view.
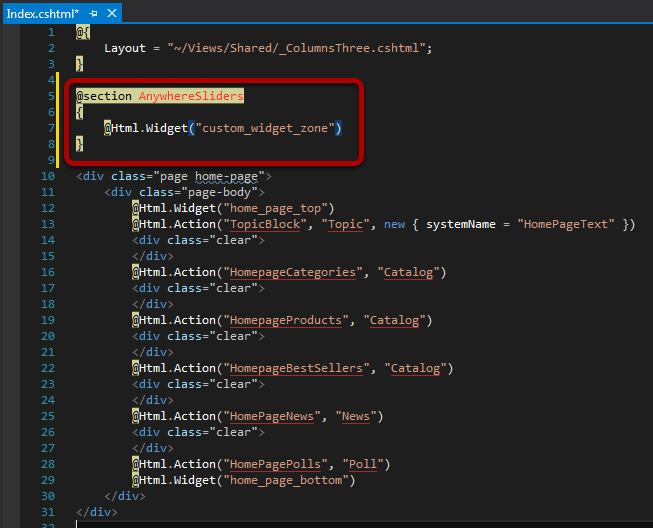
Open the Index.cshtml view and define the section as described in the image above.
Instead of "custom_widget_name" add the name of your custom widget zone.
c) Add the custom widget zone to the Nop Anywhere Sliders
To use the custom widget zone in the Nop Anywhere Sliders plugin you need to do the following:
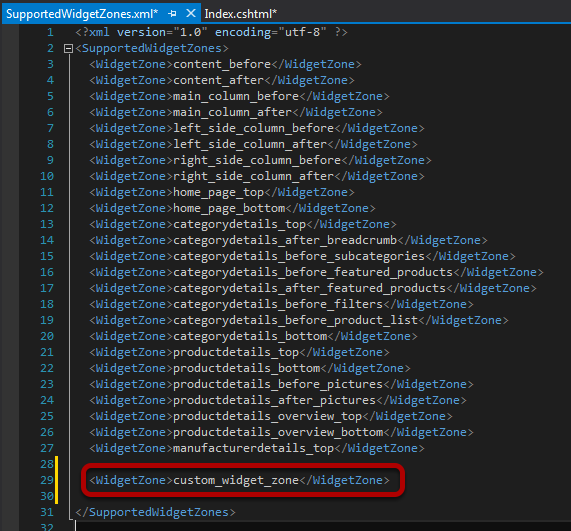
- Open the SupportedWidgetZones.xml file located in the folder of the Nop Anywhere Sliders plugin.
- Add a new row like the one shown in the picture above. Replace the custom_widget_name with the name of the widget that you have created.
<WidgetZone>custom_widget_name</WidgetZone>
Save the file and restart your application.
d) Set up the Nop Anywhere Sliders to work with the custom widget zone
To add the Nop Anywhere Sliders plugin to your custom widget zone, please follow the steps below:
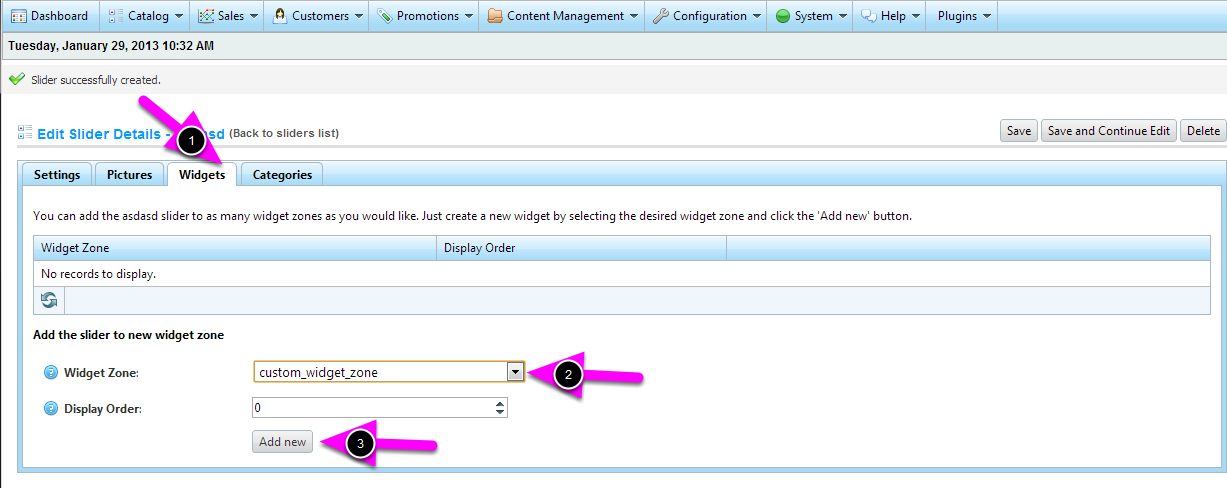
- Go to an existing slider or create a new slider.
- Go to the Widgets tab.
- From the Widget Zone drop-down select your custom_widget_zone.
- Click the Add new button.
Your slider is now added to your custom widget zone. It will be shown only on the pages, on which you have added your custom widget zone.