Integration
Once the Nop Ajax Filters plugin is installed you need to integrate it in your web site. You have two options for this: Automatic or Manual.
1. Automatic Integration
If your are working of the default NopCommerce installation and Dark Orange theme and you have not done any modifications to the Category View,
you can use the Automatic Integration option of the Nop Ajax Filters. To enable this option, from the Admin panel:
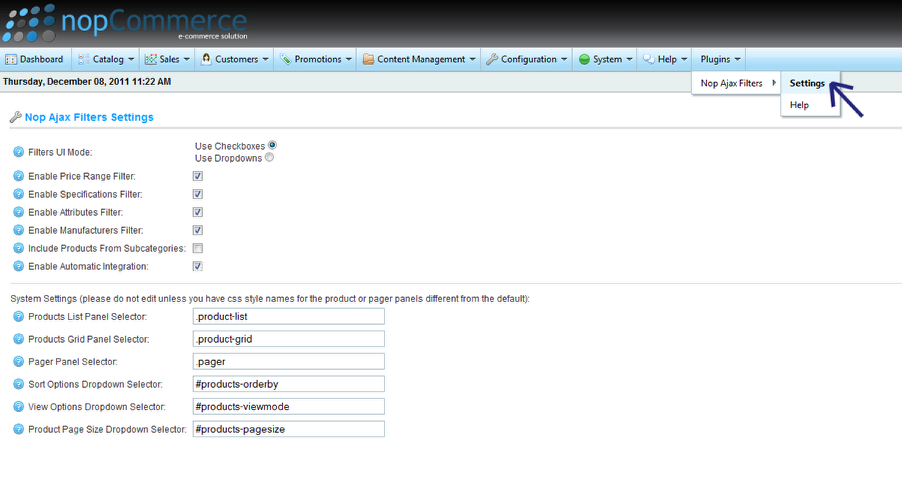
a) Go to Plugins -> Nop Ajax Filters -> Settings:
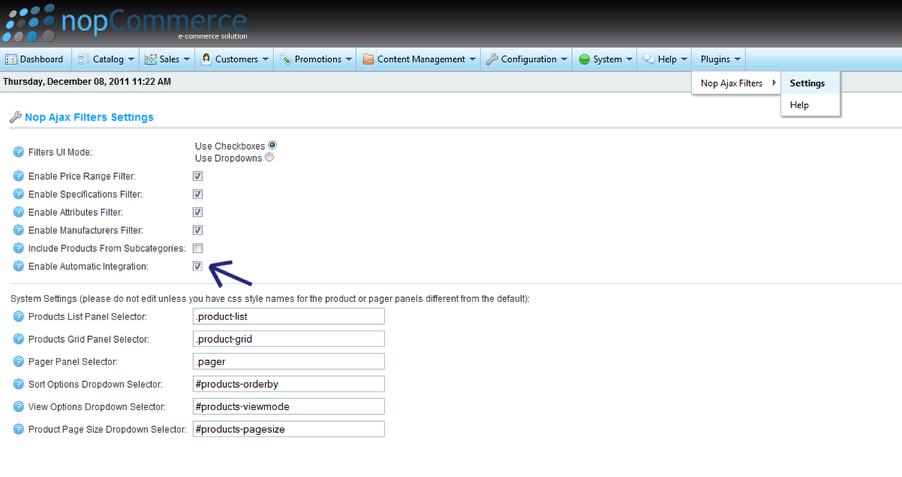
b) Check the Enable Automatic Integration checkbox:
2. Manual Integration
If you have done modifications to your NopCommerce installation, for example you have a custom Layout\Master Page or a custom Category View,
you need to integrate your Nop Ajax Filters manually. To integrate your Nop Ajax Filters manually:
a) Make sure that the Enable Automatic Integration option in the Nop Ajax Filters Settings is unchecked.
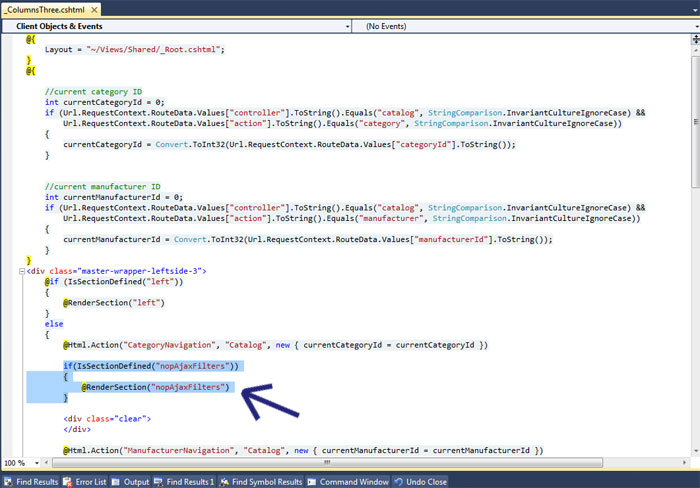
b) Open your _ColumnsThree.cshtml file (or any other Layout\Master Page file that you might be using) in Visual Studio or a text editor and add the following code, wherever you would like the Nop Ajax Filters to appear:
if(IsSectionDefined("nopAjaxFilters"))
{
@RenderSection("nopAjaxFilters")
}
For example:
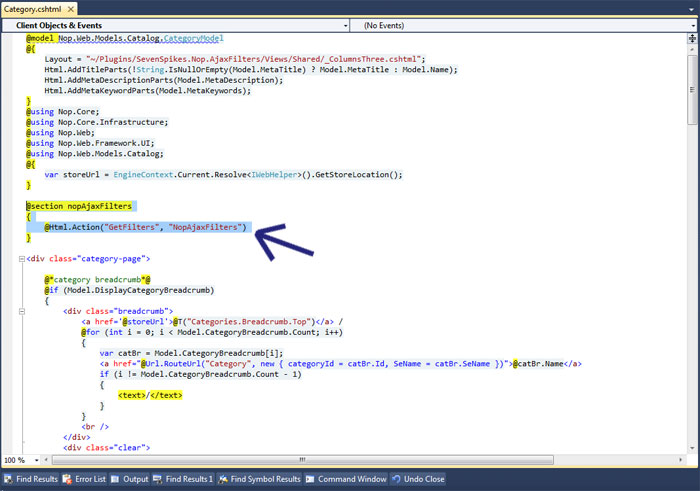
c) Open your Category View file in Visual Studio or a text editor and add the following code above the main div element:
@section nopAjaxFilters
{
@Html.Action("GetFilters", "NopAjaxFilters")
}
For example:
Your Nop Ajax Filters should now be successfully integrated.
After installing and integrating the Nop Ajax Filters you can change the settings of the filters by going to the Admin panel and choosing the Plugins -> Nop Ajax Filters -> Settings menu.